1 Get Started
It is simple to download, install, purchase, and activate the software. Follow below steps.
1.1 Download & Install
Step 1. Download it on Your PC
If you don't have Kingshiper Data Recovery yet, click the button below to download it. Or visit here to download it.

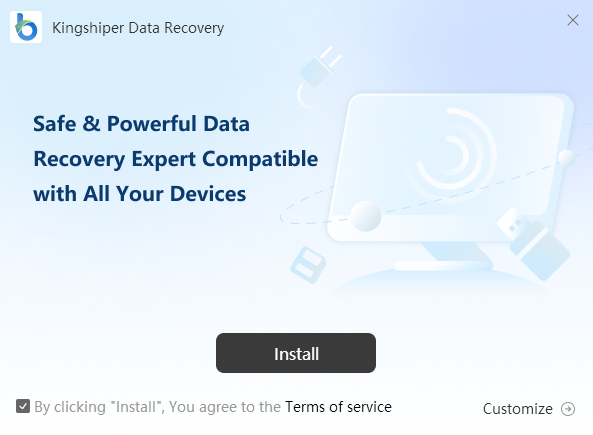
Step 2. Install Kingshiper Data Recovery
From the pop-up window, you can click the Install button to install our product as the default, or you can choose the "Customize" option. After that, you can click the "Install" button to go ahead.
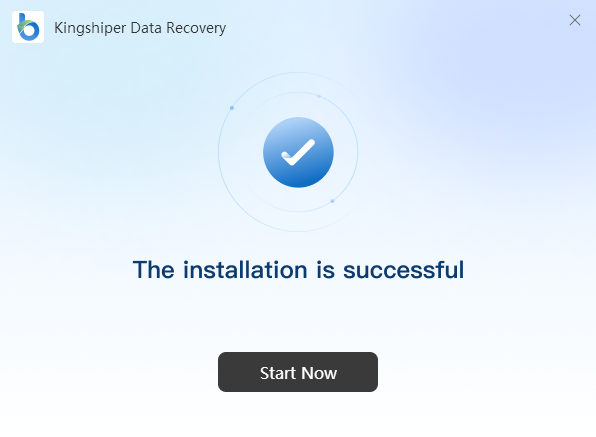
Step 3. Launch Kingshiper Data Recovery
It will take seconds to install Kingshiper Data Recovery successfully. A window like the one below will prompt you that you can click the Start Now button to open Kingshiper Data Recovery at once.
1.2 Login with Kingshiper Account(Register) & Update & Uninstall
1.2.1 Login Kingshiper Data Recovery with Kingshiper Account
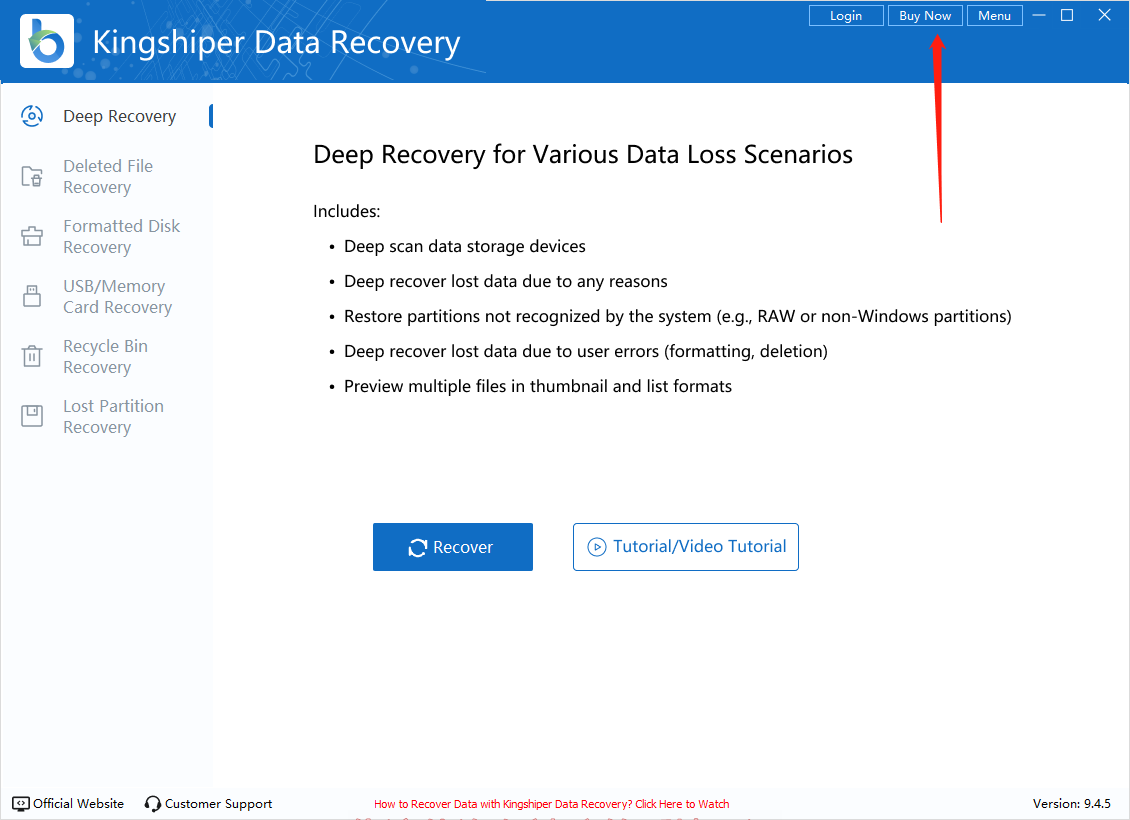
With the trial version of Kingshiper Data Recovery, you can recover only one file at a time. If you want to enjoy the full features without any limitations, please simply click the “Buy now” option in the upper-right corner to purchase Kingshiper Data Recovery from the official store.
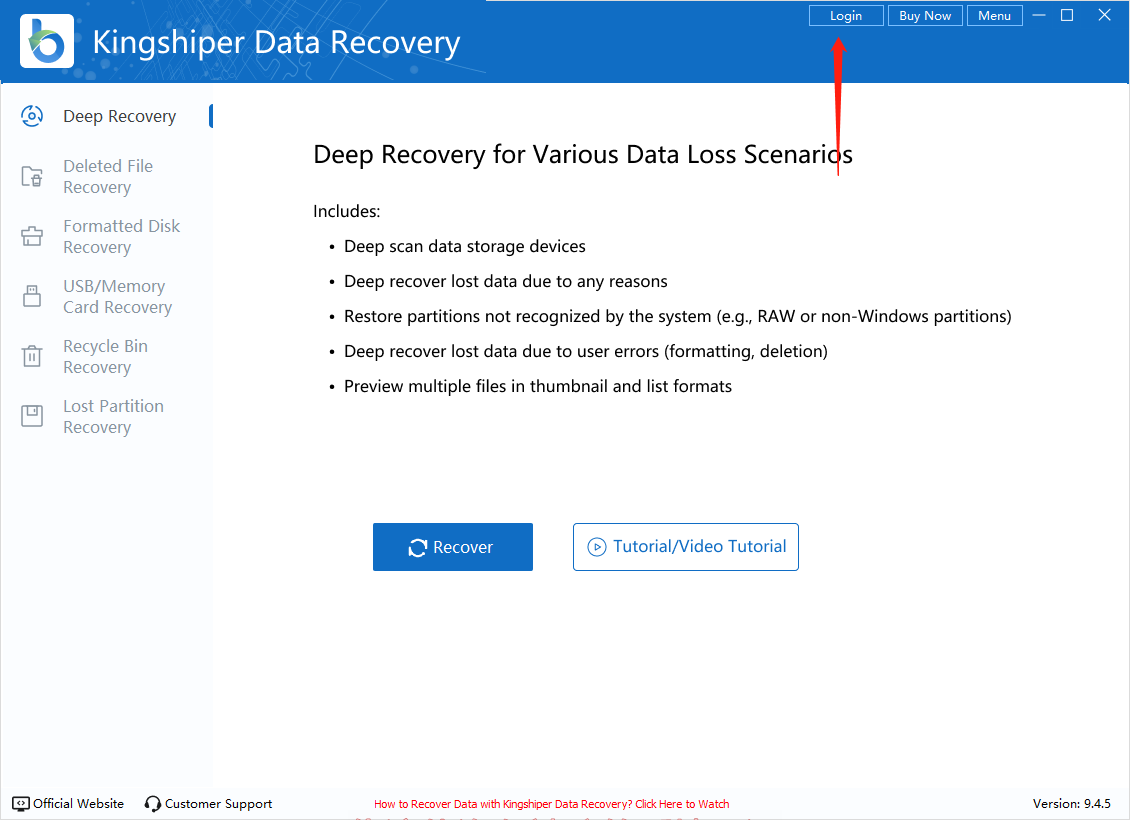
If you have already purchased Kingshiper Data Recovery, please log in with the Kingshiper Account by clicking the Login button.
1.2.2 What is Kingshiper Account?
Kingshiper Accouont refers to the account you created from one of the Kingshiper products. It helps you manage your order details and log in to Kingshiper products that support Kingshiper Account.
1.2.3 How to log in to Kingshiper Data Recovery?
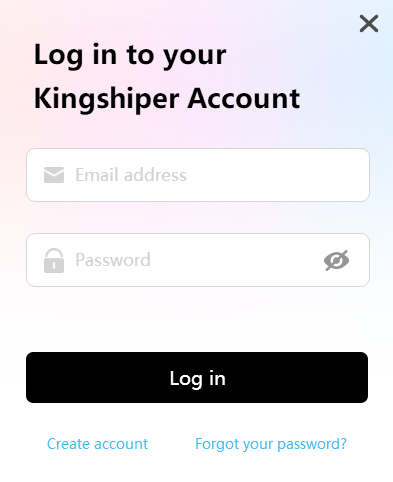
Launch Kingshiper Data Recovery after installation, and click the Login button in the upper right corner to get a new window as shown below.
1.2.4 How to sign up for a new Kingshiper Account
If you don't have a Kingshiper Account, then you need to click the Create account here option on the initial interface and create a new account.
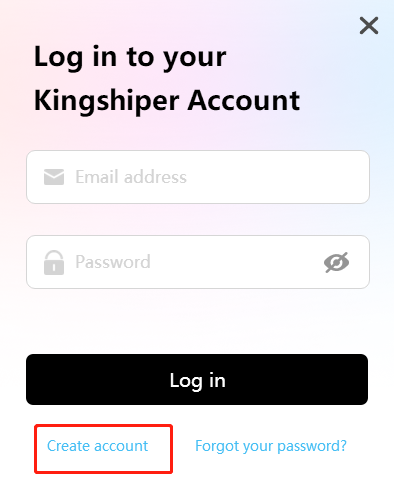
You'll get a new interface to enter your email address and set a password, and then click the “Create Account” button to create the account.

1.2.5 What can you do with Kingshiper Account?
You can click on the “Member Center” button to open the Kingshiper official website and click on the Person icon, then choose “Account Center”. You can edit your profile, change your password, and check your order on this page.
My order: You can find the Order, Profile, and Security information here.
Profile: You can edit your personal information from this tab.
Security: You can change your password here.
1.2.6 Update
If you want to check if your Kingshiper Data Recovery is the latest version and update it, you can follow the steps below to update automatically.
Step 1. Check for Updates.
Go to the “Menu” icon, and click the “Check for Updates”. It will pop up a Live Update window, please press “Go to Update” to download the package.

Step 2. Update the package.
After downloading the latest version, please press “OK” to terminate the program and install the new version from the pop-up window. You can also click "Cancel” to install it next time.
1.2.7 Uninstall
If you think Kingshiper Data Recovery hasn't met your expectations or you don't want to use it now, you can uninstall it as below:
Go to “Control Panel” > “Programs” > “Programs and Features” > “Uninstall” and then right-click the icon of Kingshiper Data Recovery and select Uninstall. Click “OK” when asked "Are you sure you want to completely remove Kingshiper Data Recovery and all of its components?"

1.3 Brief Introduction
Thank you for your interest in Kingshiper Data Recovery. Kingshiper Data Recovery is a powerful data recovery tool designed to help you recover lost files and data from various devices. Whether your data was lost due to a hardware issue, software crash, or accidental deletion, Kingshiper can help get it back. It works with many types of devices, including removable drives, hard drives, USB drives, and memory cards. The software offers both fast and deep scanning options to ensure you can recover your files quickly and thoroughly. With its easy-to-use interface and reliable results, Kingshiper Data Recovery is a trusted choice for anyone looking to restore lost data.
2 How to Use Kingshiper Data Recovery
2.1 Interfaces & Buttons
Please launch Kingshiper Data Recovery on your computer; the main interface will display. Some basic functions are as below.
2.1.1 Overall Features
2.1.1.1 Recovery Options
Kingshiper Data Recovery offers six powerful recovery modes: "Deep Recovery," "Deleted File Recovery," "Formatted Recovery," "USB/Memory Card Recovery," "Recycle Bin Recovery," and "Lost Partition Recovery." These options help you recover lost data quickly and effectively in various scenarios.

2.1.1.2 Supported Devices
This tool works with a wide range of devices, including computer partitions, hard drives, USB drives, memory cards, and other external storage devices, making it a versatile solution for any recovery need.
2.1.1.3 File Organization
Kingshiper Data Recovery categorizes scanned files automatically, allowing you to filter and recover specific file types easily. This saves time and makes the recovery process more efficient.
2.2.2 Key Features
2.2.2.1 Deep Recovery
Select "Deep Recovery" to perform a full scan of your storage device to locate and restore files lost due to any cause. If you're unsure how the data was lost, this is the best option for maximizing recovery chances.

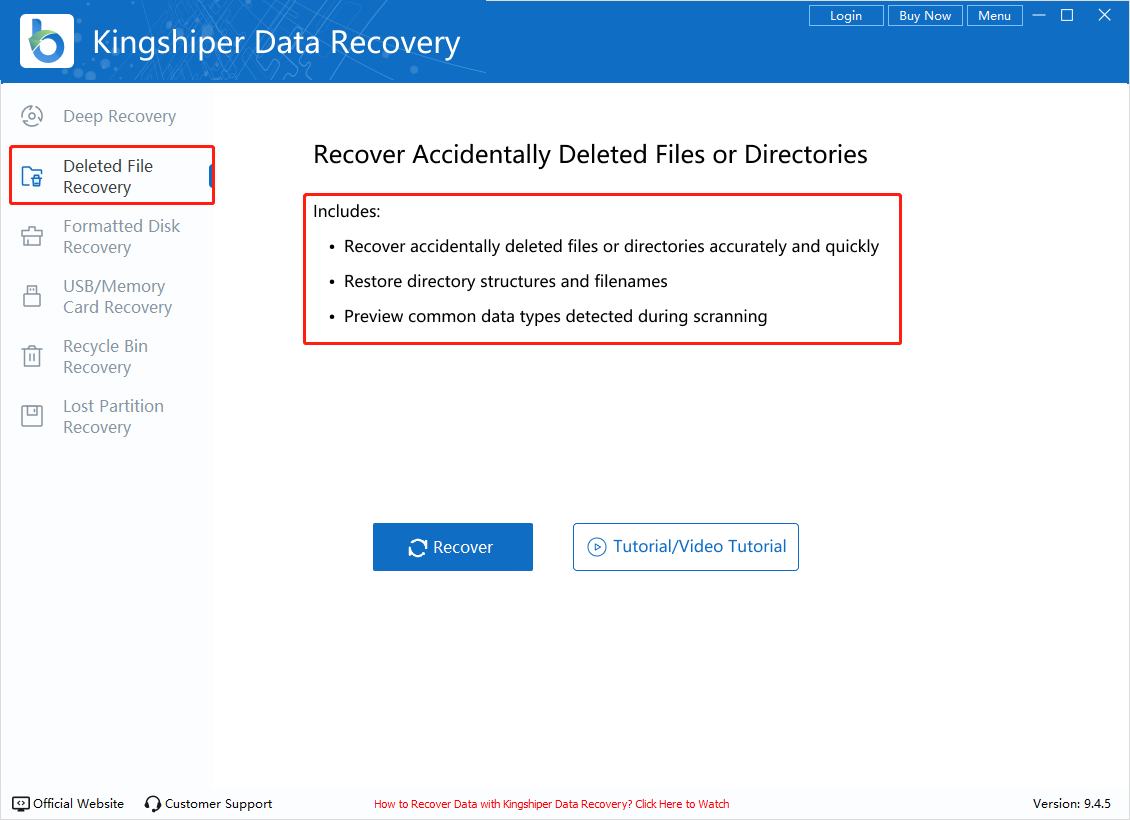
2.2.2.2 Deleted File Recovery
This can quickly restore accidentally deleted files and folders, maintaining the original file structure and names for easy access.
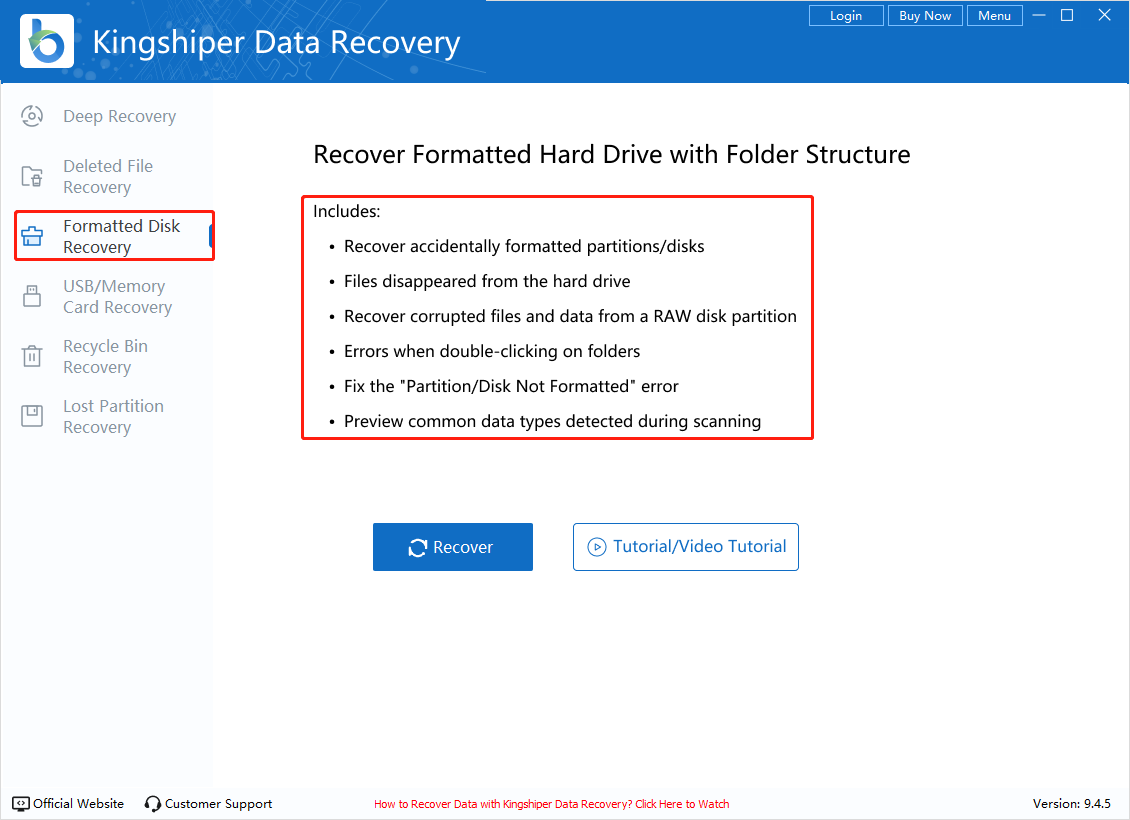
2.2.2.3 Formatted Disk Recovery
Use "Formatted Recovery" to recover data lost due to the accidental formatting of a partition or drive. It also works for restoring files lost due to corruption or data errors.
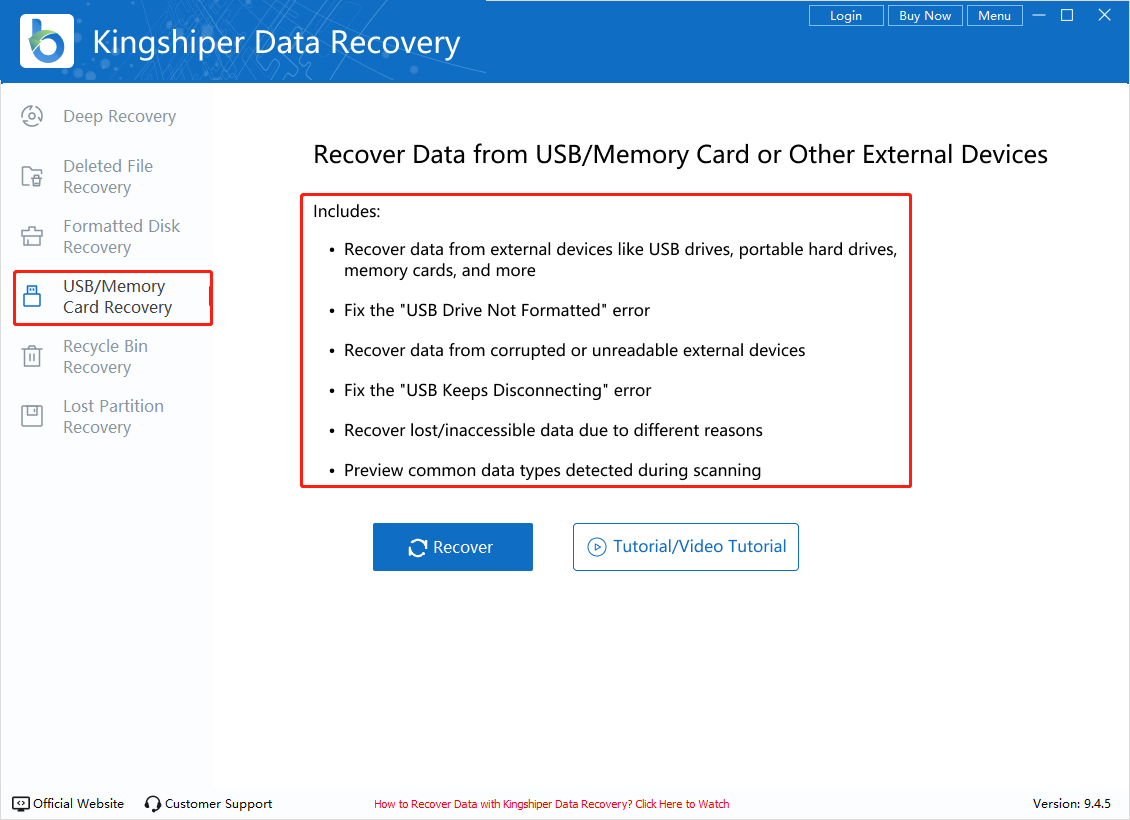
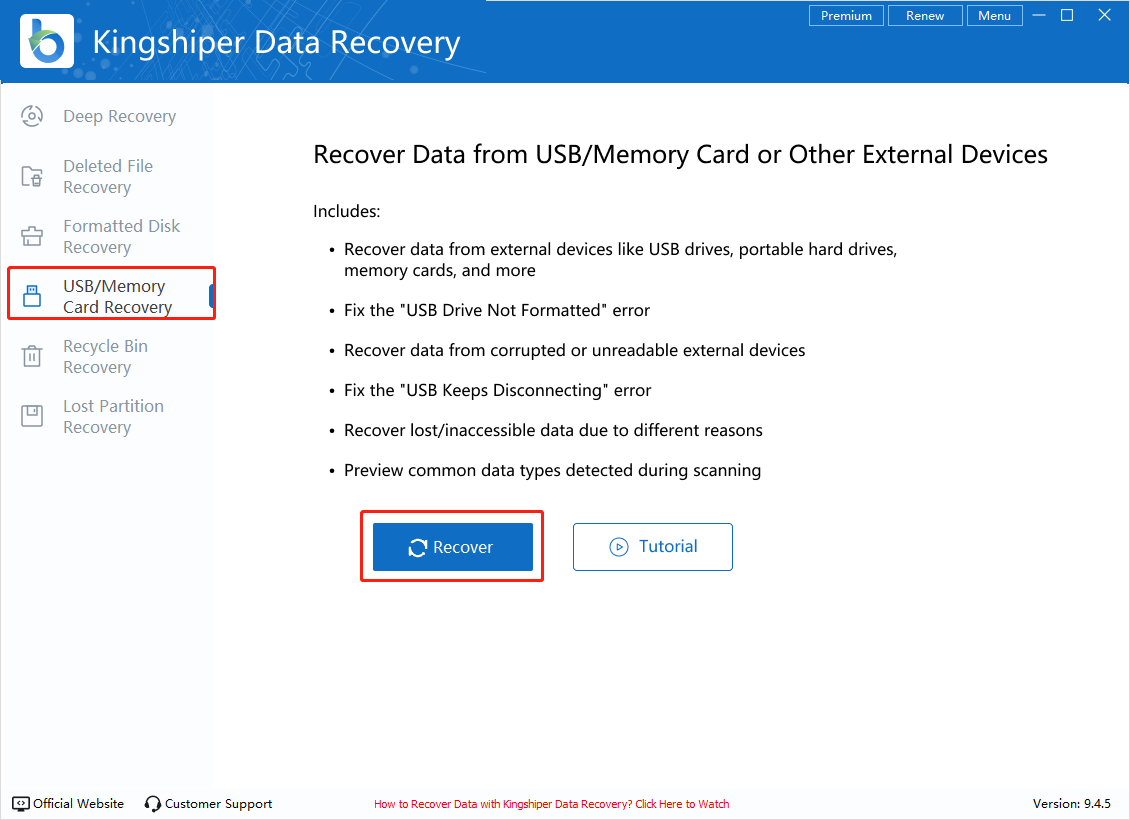
2.2.2.4 USB/Memory Card Recovery
Select "USB/Memory Card Recovery" to retrieve lost files from external storage devices like USB drives, SD cards, external hard drives, and camera memory cards. It also fixes issues like unreadable files and unformatted drives.
2.2.2.5 Recycle Bin Recovery
With "Recycle Bin Recovery," you can quickly restore files that were deleted and emptied from the recycle bin, ensuring you can recover important data even after deletion.

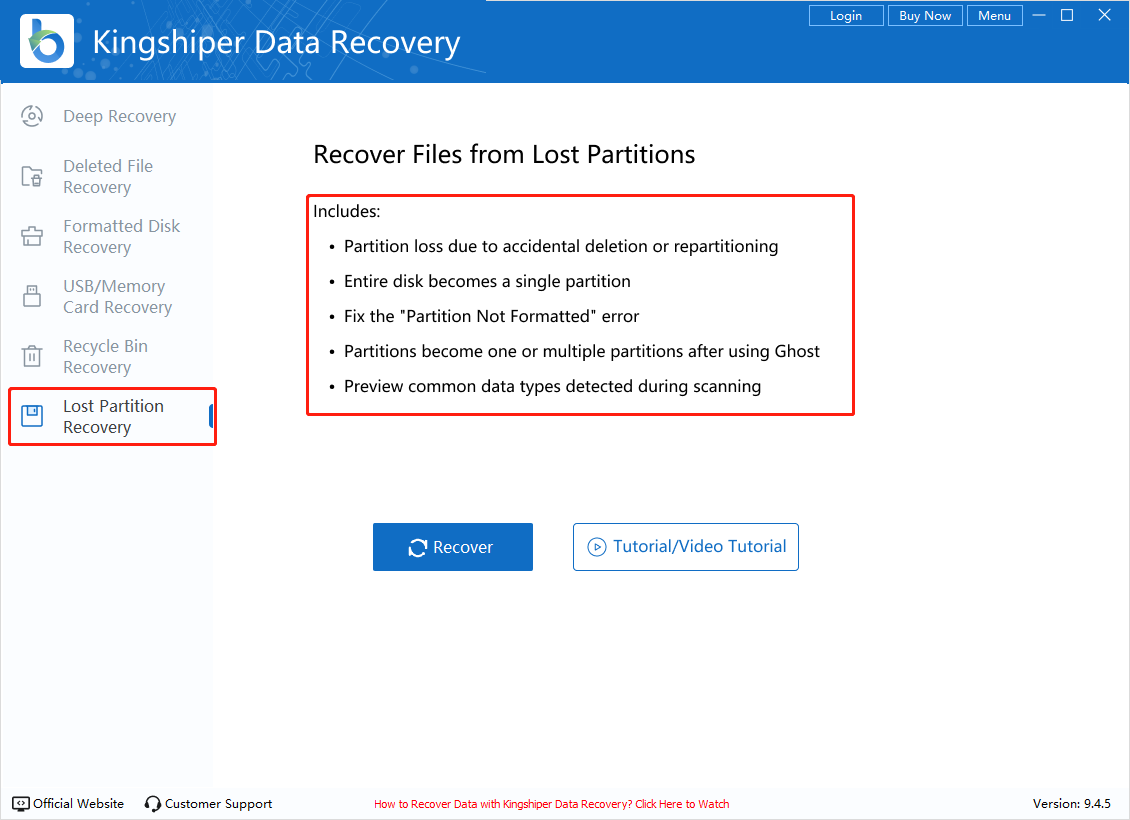
2.2.2.6 Lost Partition Recovery
Lost Partition Recovery restores data from deleted or lost partitions, even after repartitioning or ghosting. It’s ideal for recovering files after system or partition changes.
3 Step-by-Step Tutorials
3.1 How to Recover Permanently Deleted Files from PC
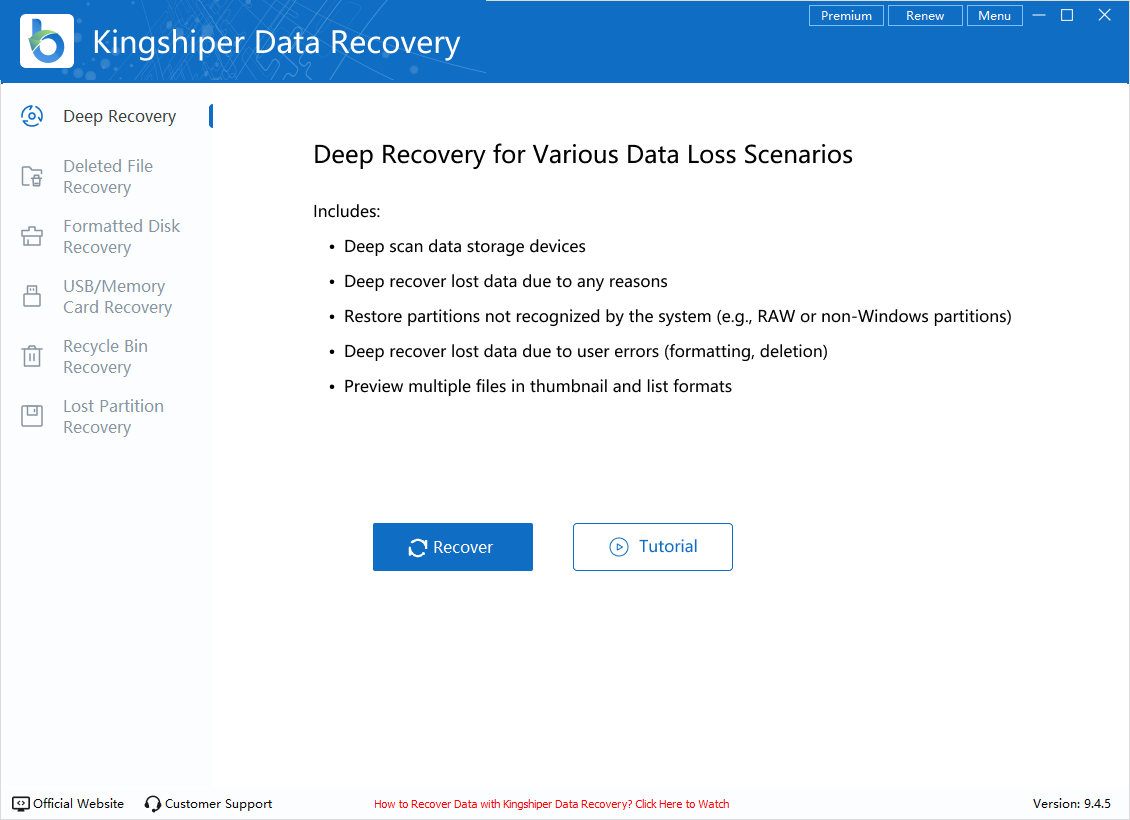
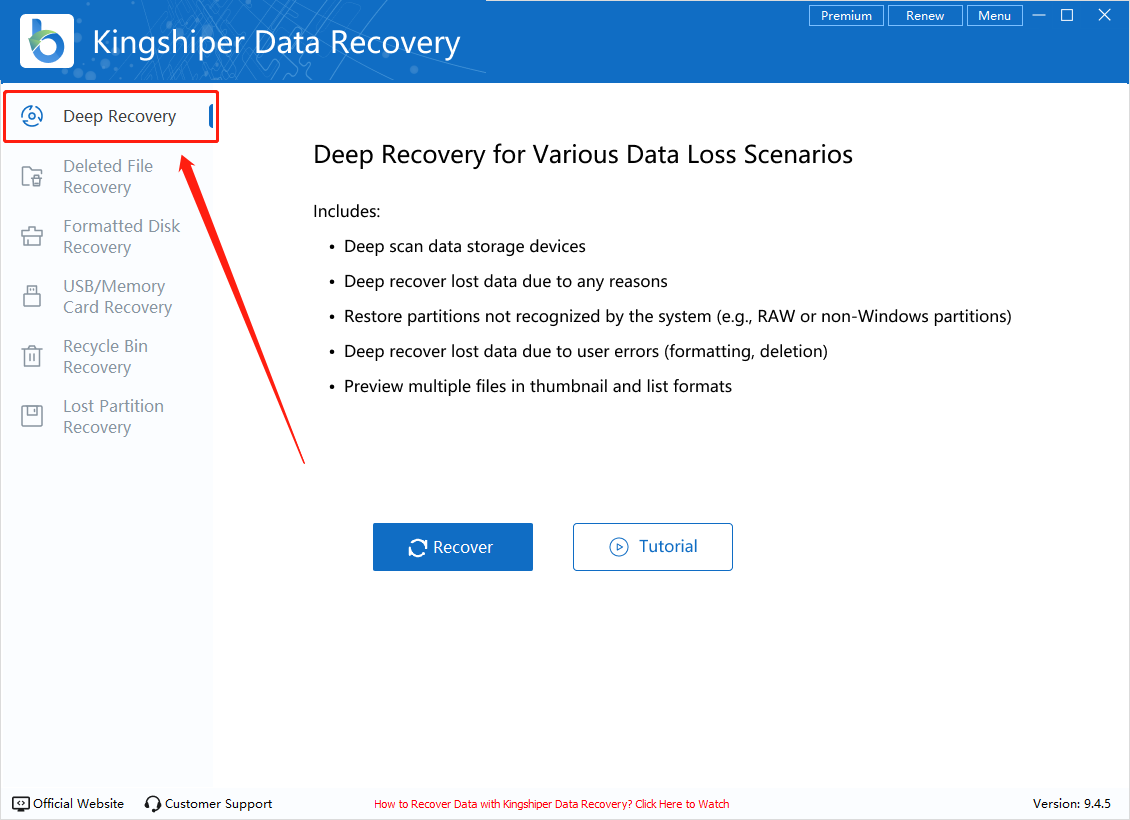
Step 1. Open Kingshiper Data Recovery, select "Deep Recovery" on the left panel, and click "Recover”.
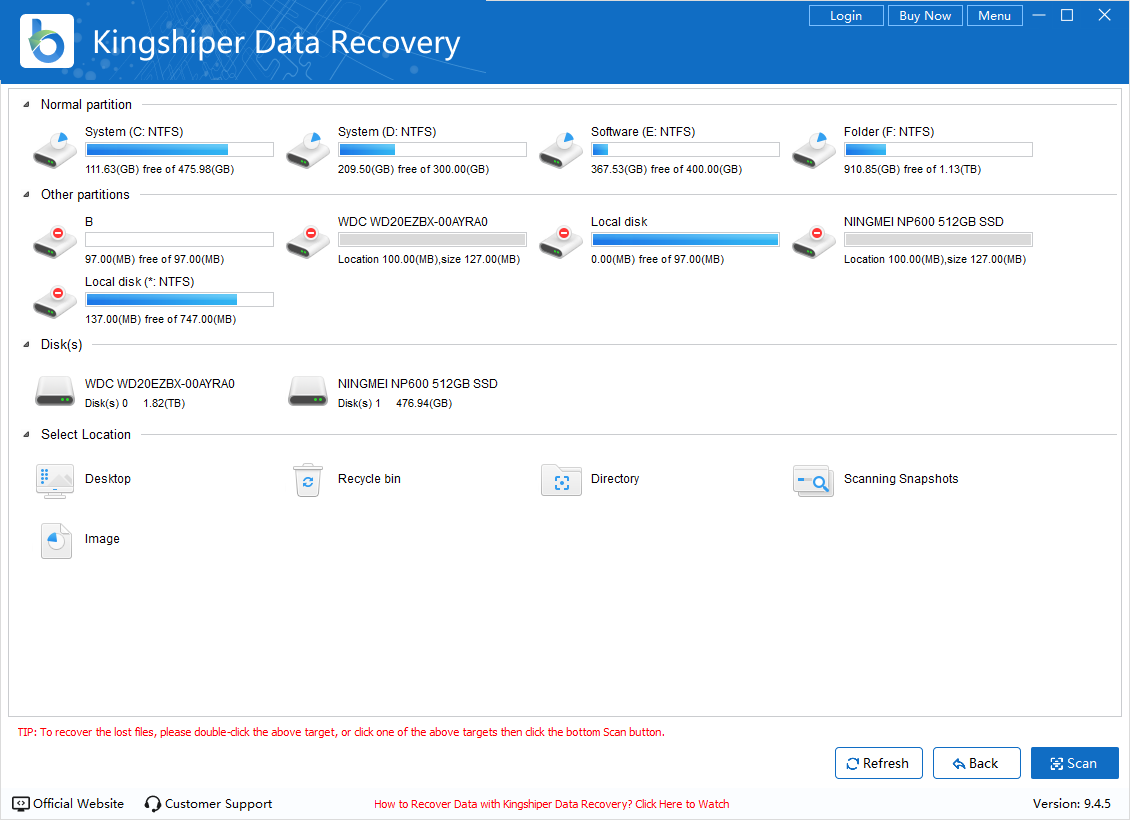
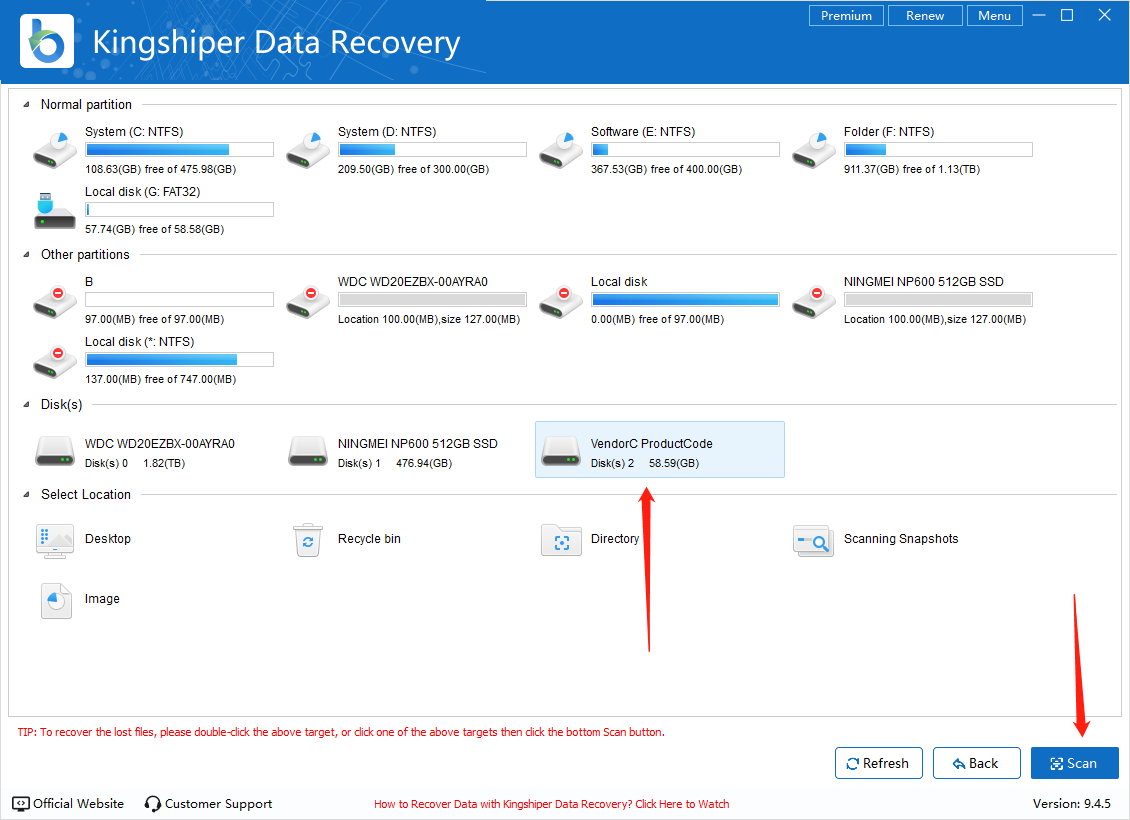
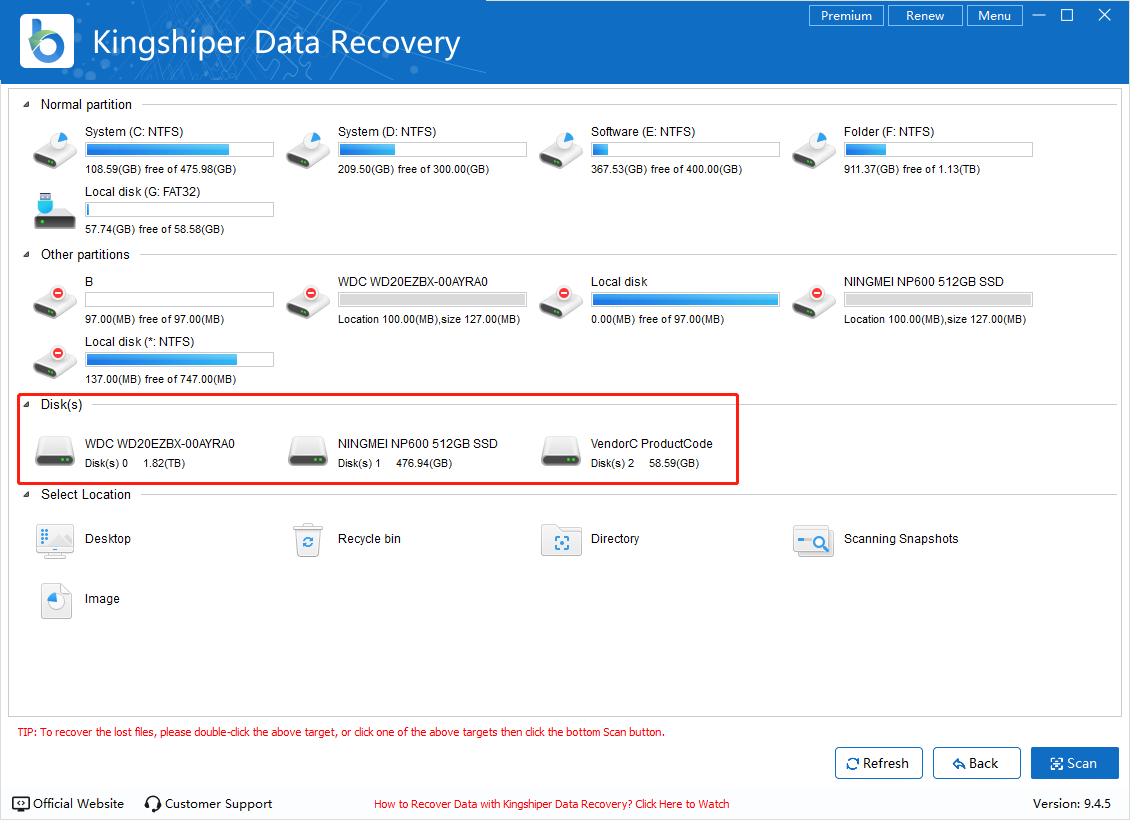
Step 2. Choose the partition, disk, or storage device you want to scan, then click "Scan."
Step 3. As the scan progresses, you can select files to recover without waiting for the scan to finish. Then, click "Recover" in the bottom right corner.
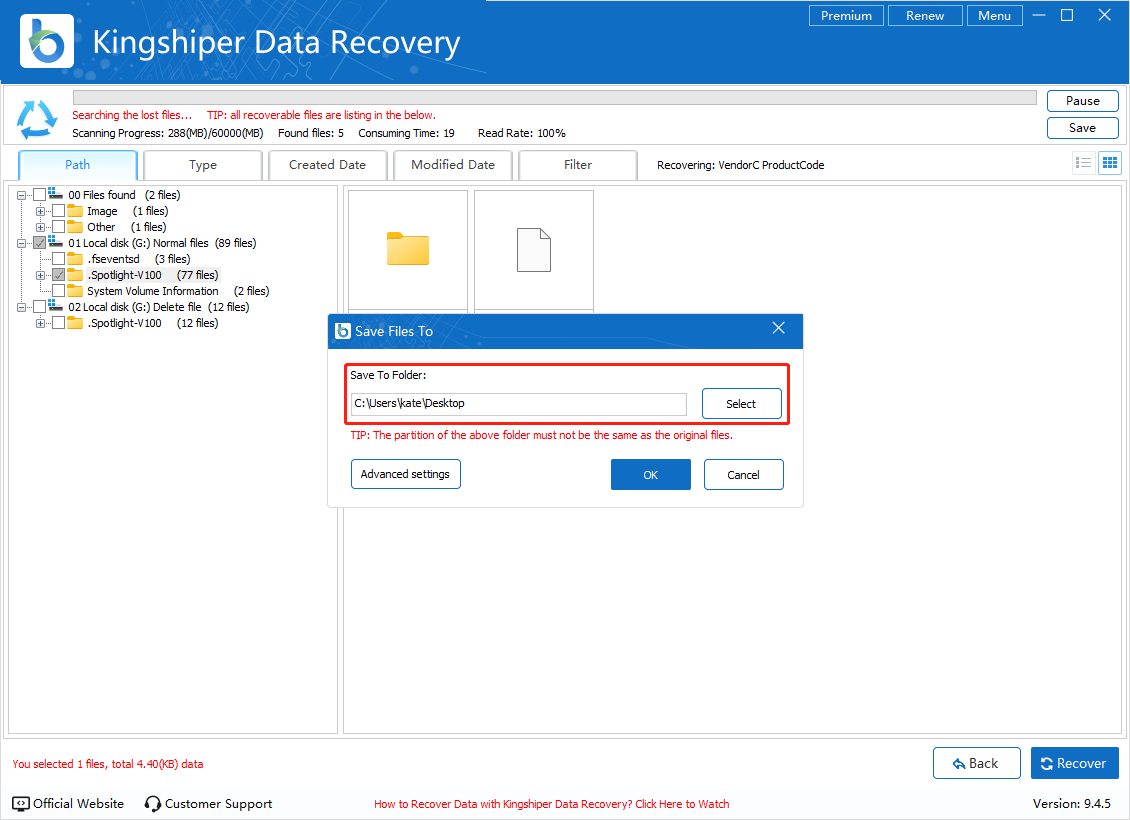
Step 4. Choose a new location to save the recovered files. Avoid saving them to the original location to prevent overwriting. Then, click "OK."
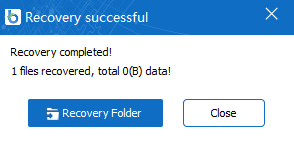
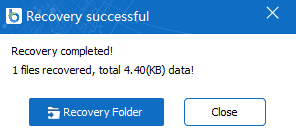
Step 5. Once the recovery is complete, click on the “Recovery Folder” to view the recovered files.
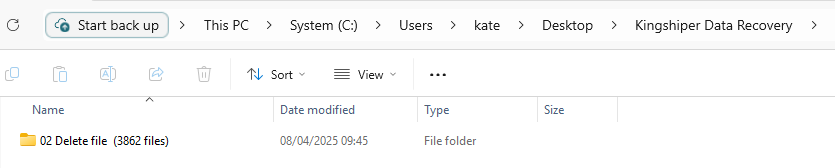
Step 6. As shown below, the recovered files are now available.
3.2 How to Recover Files Deleted from Recycle Bin
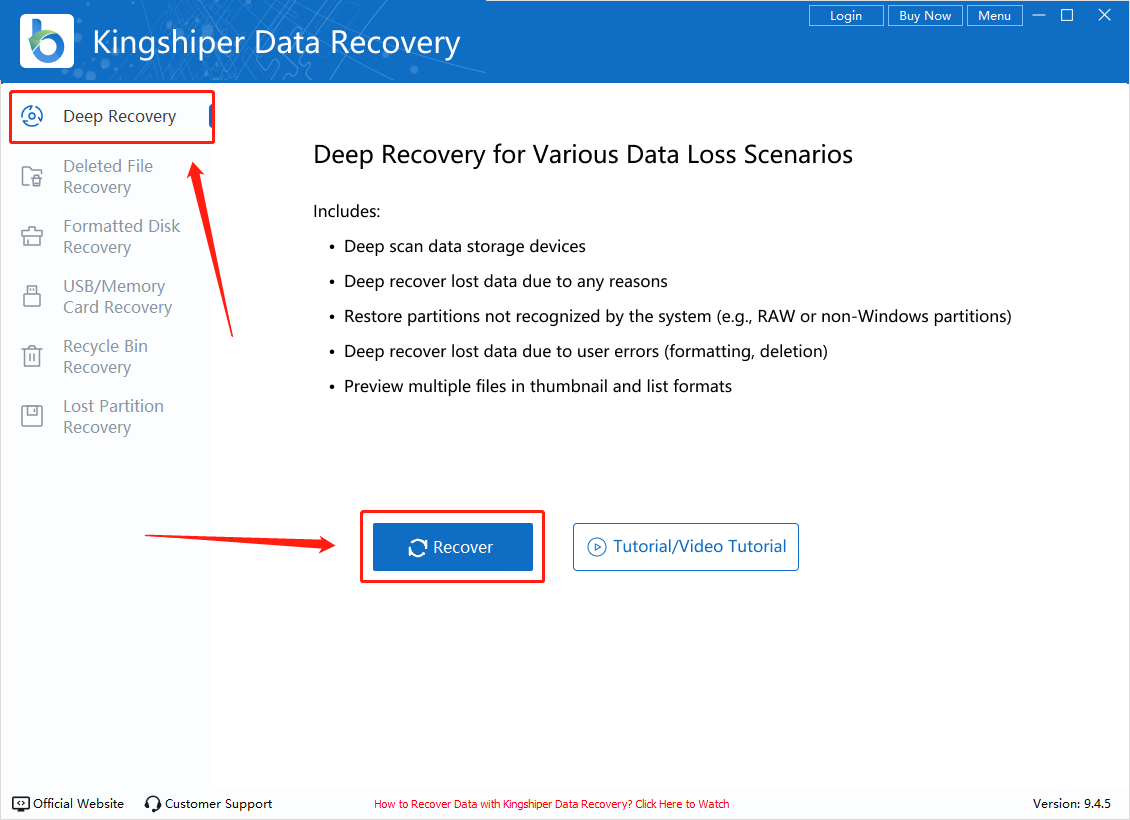
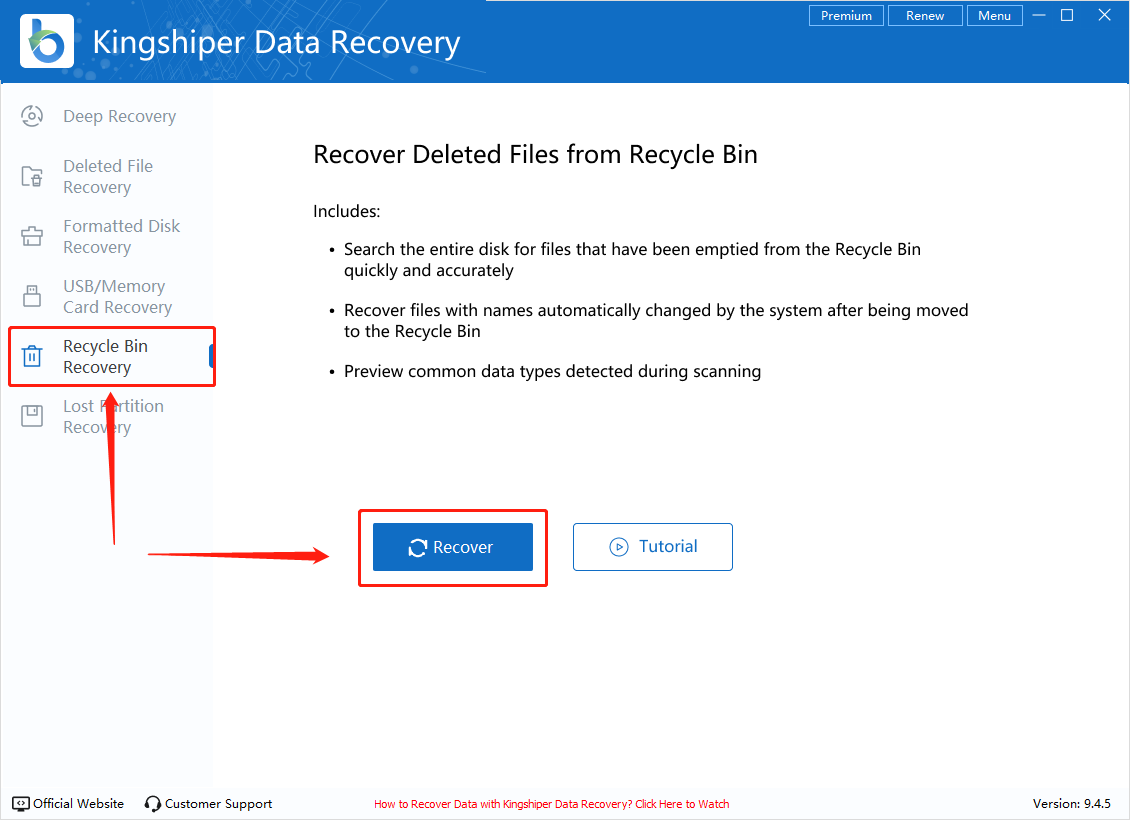
Step 1. Launch Kingshiper Data Recovery, select "Recycle Bin Recovery" on the left panel, and click "Recover".
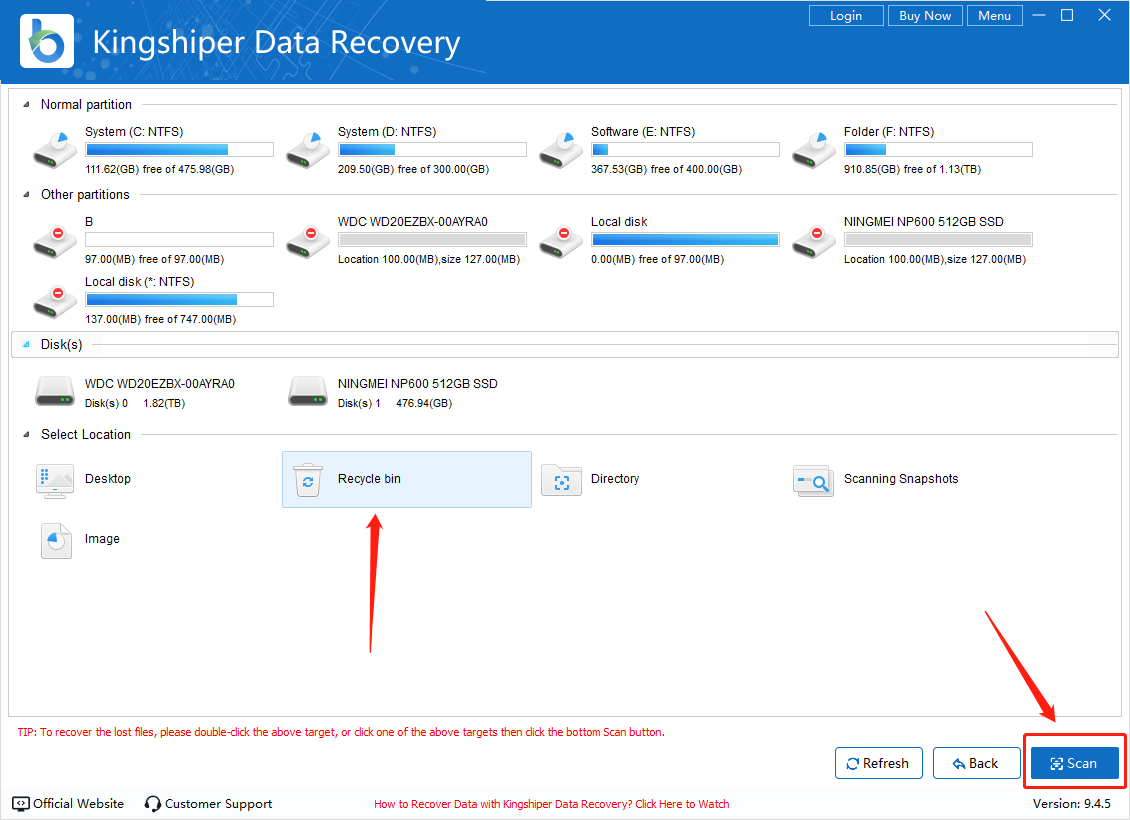
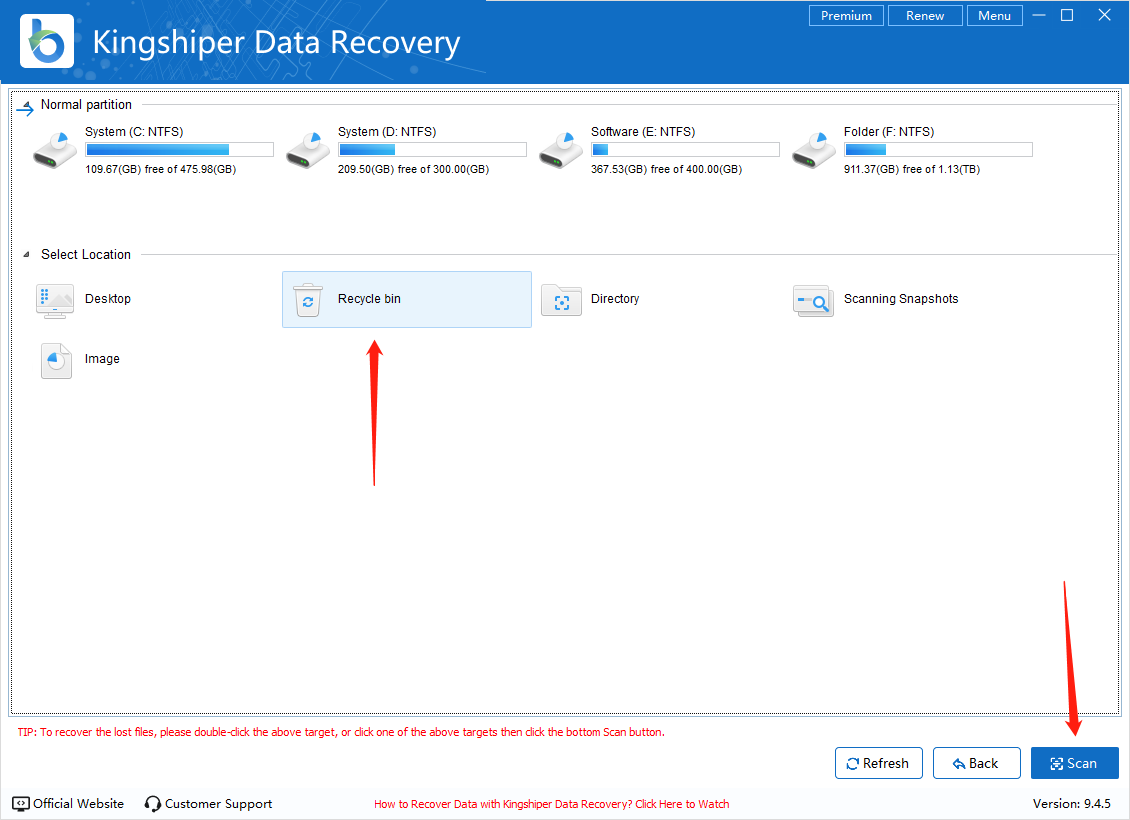
Step 2. Select "Recycle Bin" and click "Scan."
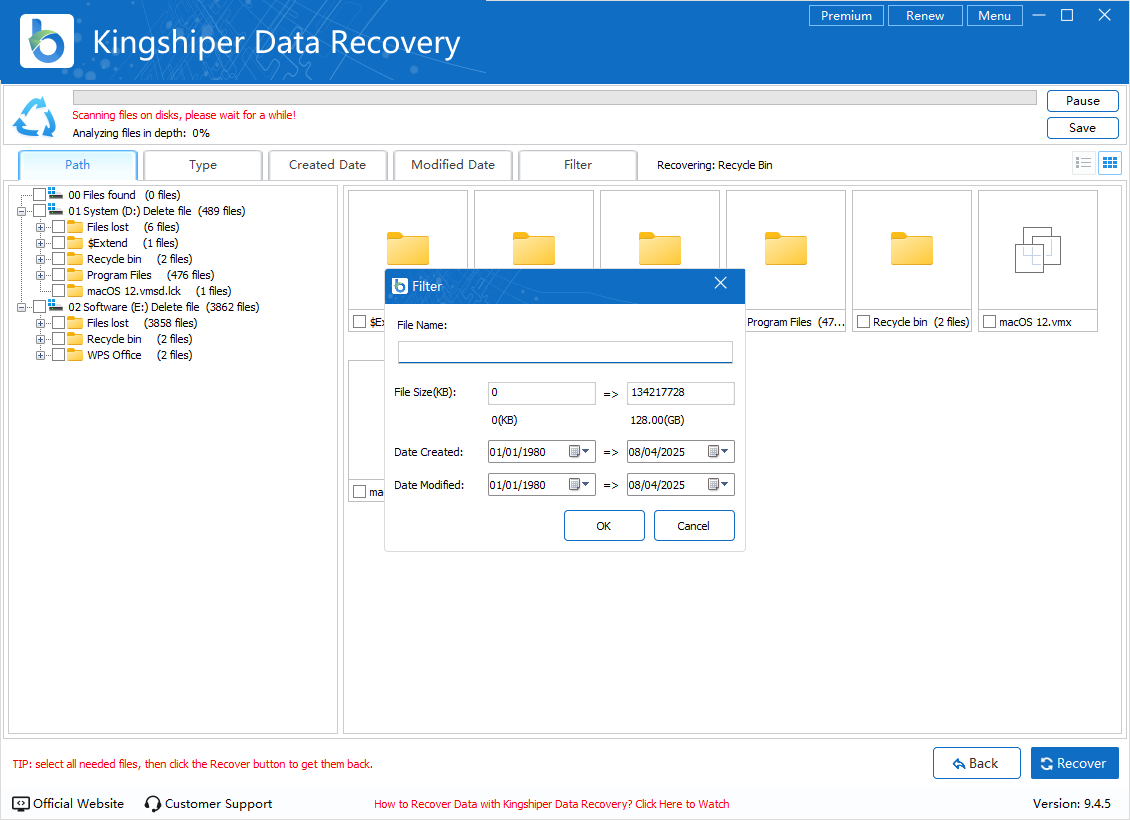
Step 3. The software will scan for all file types. You can filter the results by file type for easier sorting.
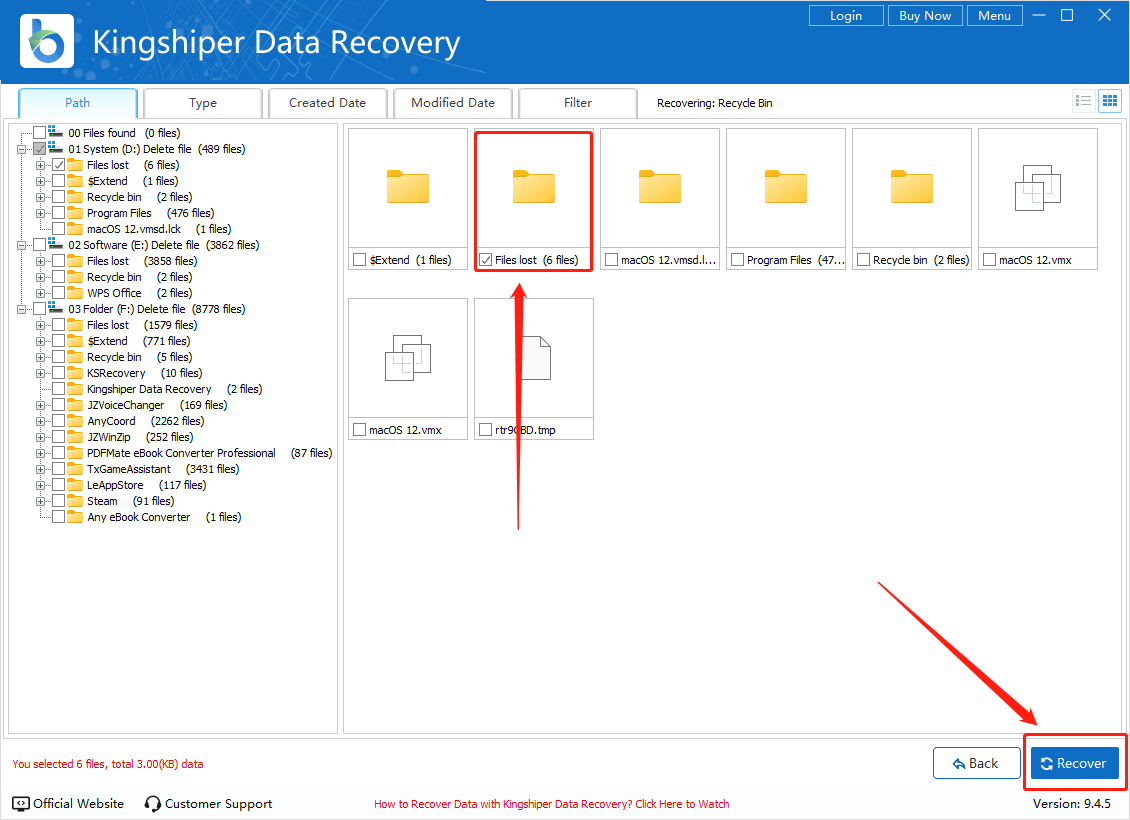
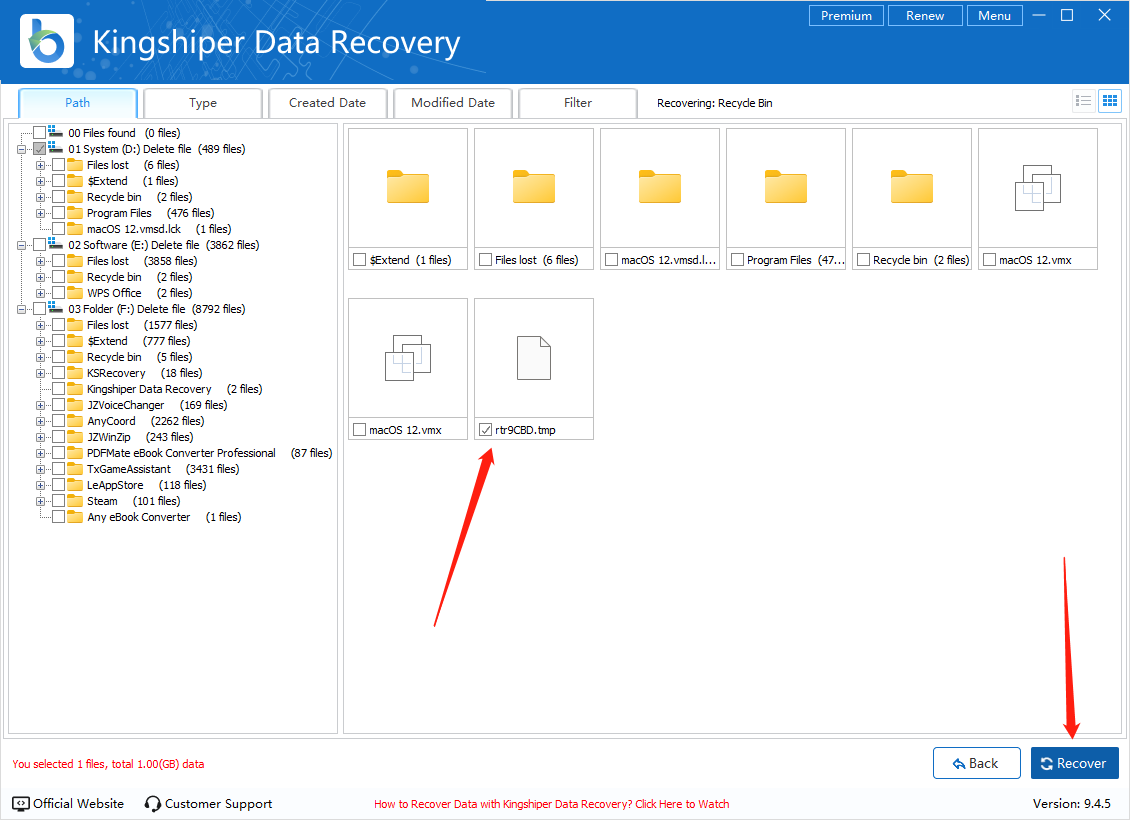
Step 4. When you find the files you want to recover, select them and click "Recover." You don't need to wait for the scan to finish.
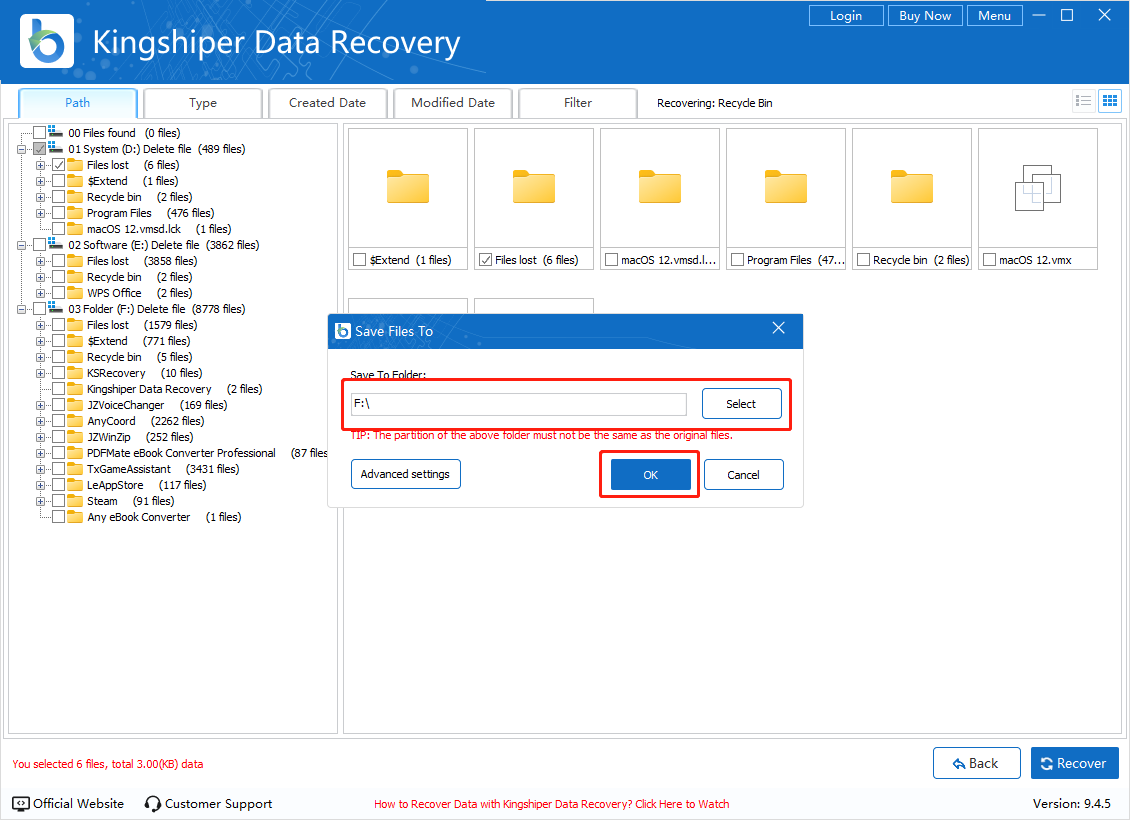
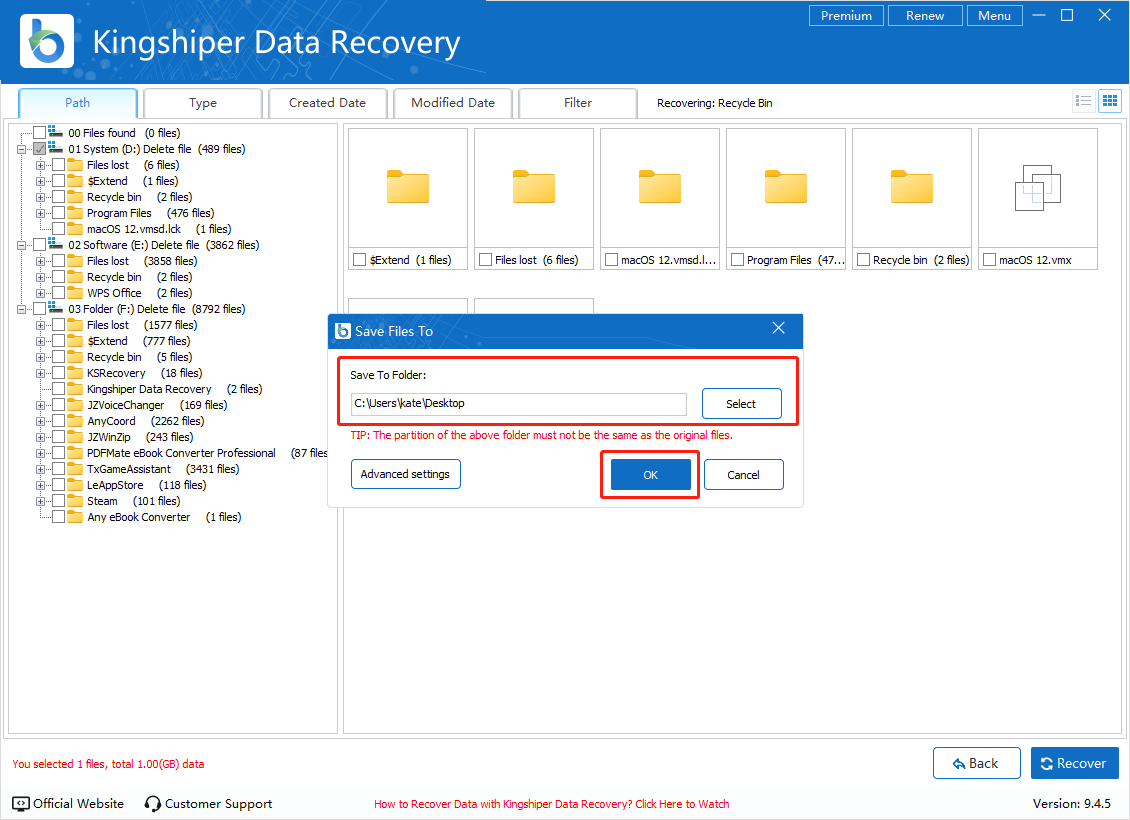
Step 5. Choose a new location to save the recovered files. Avoid using the original location to prevent overwriting. Then, click "OK".
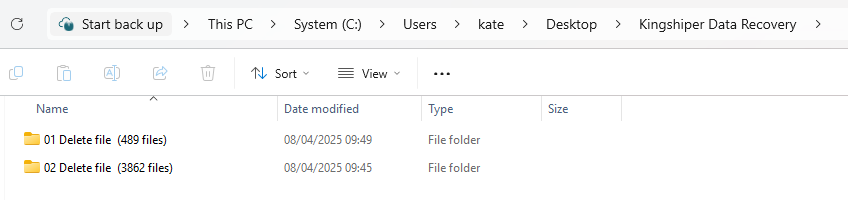
Step 6. After the recovery is complete, open the folder to view the recovered files. The recovered files will appear as shown below.
3.3 How to Quickly Find Specific Files
Note: After scanning, using specific categories to locate files allows for more accurate recovery.
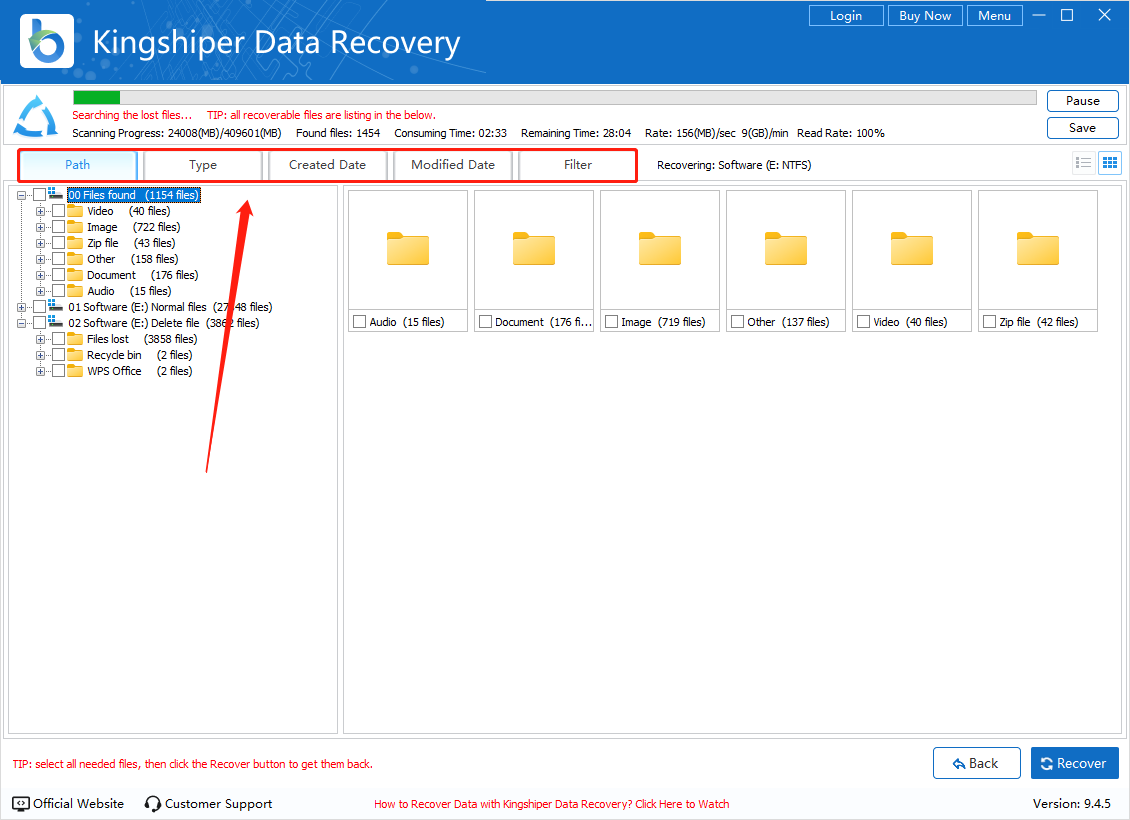
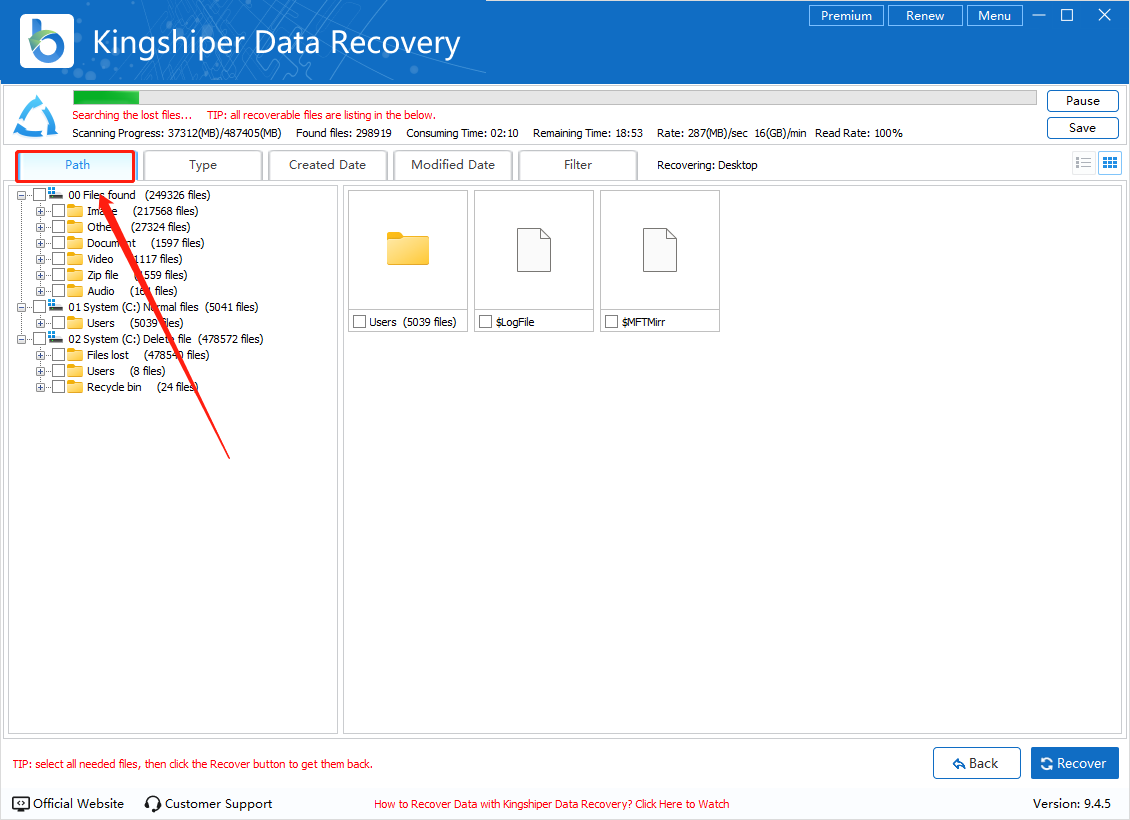
Search by Category: You can search and recover files by filtering based on Path, Type, Created Date, or Modified Date.
Once the scan is complete, files are categorized by path by default. You can also switch to other filter options to find your files more efficiently.
Combined Category Search: Use multiple filters together to narrow down the search and recover exactly what you need.
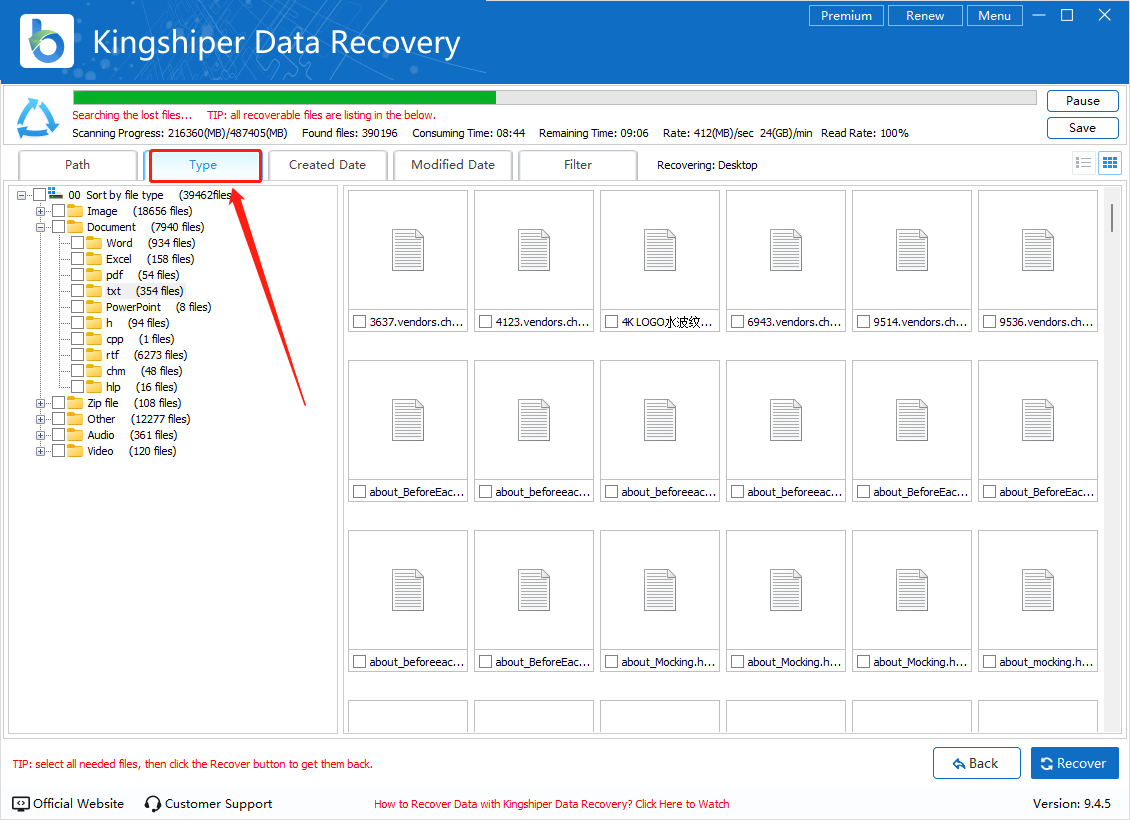
1. First, select "Type" and choose the desired format (e.g., .txt).
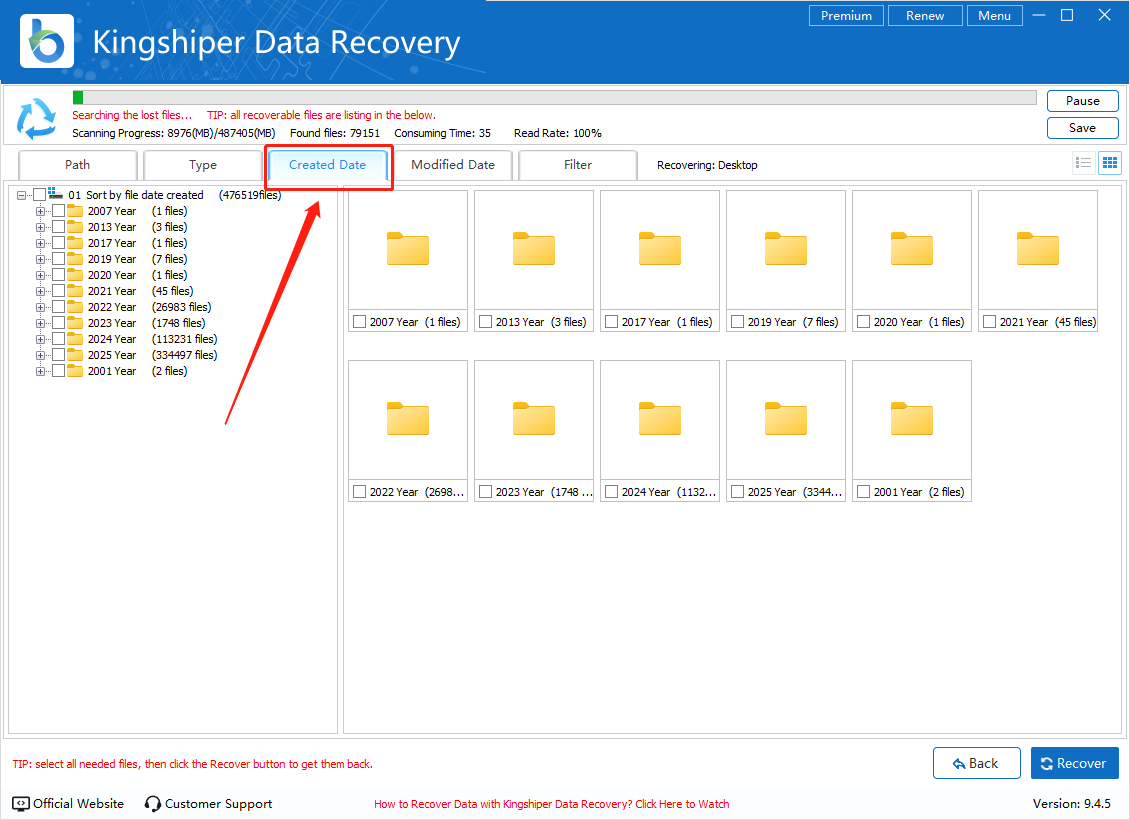
2. Select "Created Date". By checking the available options, you can see that there are “.txt” files created in 2007 Year. This means that files matching both conditions are available, allowing you to accurately find the “.txt” files they want to recover.
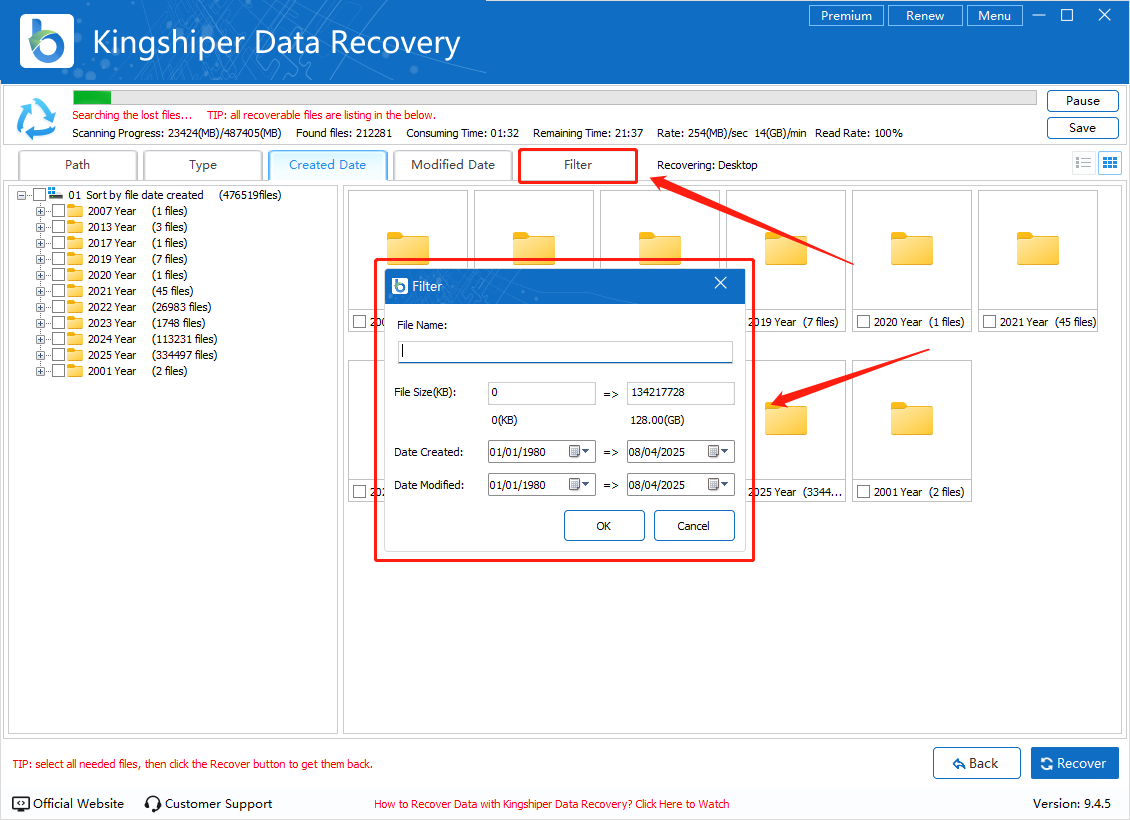
Filter: If you're not sure which category the file belongs to, you can simply enter the file name or related keywords to search and recover it directly.
3.4 How to Recover Data from a RAW Drive
A RAW drive error can occur when a hard drive or partition becomes unreadable, showing a format prompt or zero available space. If the data is important, do not format the drive.
Step 1. Connect the external drive to your computer, open Kingshiper Data Recovery, and select "Deep Recovery." Then, click "Recover".

Step 2. Select the RAW drive or partition (usually shown as unallocated space) and click "Scan."
Step 3. While scanning, you can preview the files and select the ones you want to recover.

Step 4. Choose a new location to save the recovered files.
Step 5. After recovering your data, you can fix the RAW drive.
How to Fix a RAW Drive:
Open File Explorer and right-click on the RAW drive. Then, select "Format" and click "Start."

FAQs about Kingshiper Data Recovery
4.1 How to Fix Can’t Format USB and Restore Data?
Method 1: Check for Physical Damage
Start by checking if the USB drive has any physical damage. Try plugging the USB drive into another computer or USB port to see if it's recognized. If the drive isn’t detected, it may be physically damaged and require professional repair.
Method 2: Remove Write Protection
If the USB drive is write-protected, you won't be able to format it. Check if the drive has a physical write-protection switch. If it does, slide the switch to the unlocked position and try formatting again.
Method 3: Use Disk Management Tool
The built-in Windows Disk Management tool can help resolve formatting issues by resetting the partition table.
1. Connect the USB drive to your computer. Press “Win + R” to open the Run dialog, type “diskmgmt.msc”, and hit Enter to open Disk Management.
2. Locate the USB drive in the list, right-click on it, and select "Reset Partition Table."
3. Confirm by clicking "Yes" in the pop-up window.
4. Restart your computer, reconnect the USB drive, and try formatting again.
Method 4: Run a Virus Scan
If the USB drive is infected with a virus, it may prevent formatting. Use antivirus software to run a full scan on the drive. If any threats are found, follow the software’s instructions to remove them. Once cleaned, try formatting the drive again.
Method 5: Recover Data Before Formatting
If you need to recover important data before formatting, use data recovery software to retrieve your files first.
1. Launch Kingshiper Data Recovery from your desktop. Select "USB/Memory Card Recovery" and click "Recover".
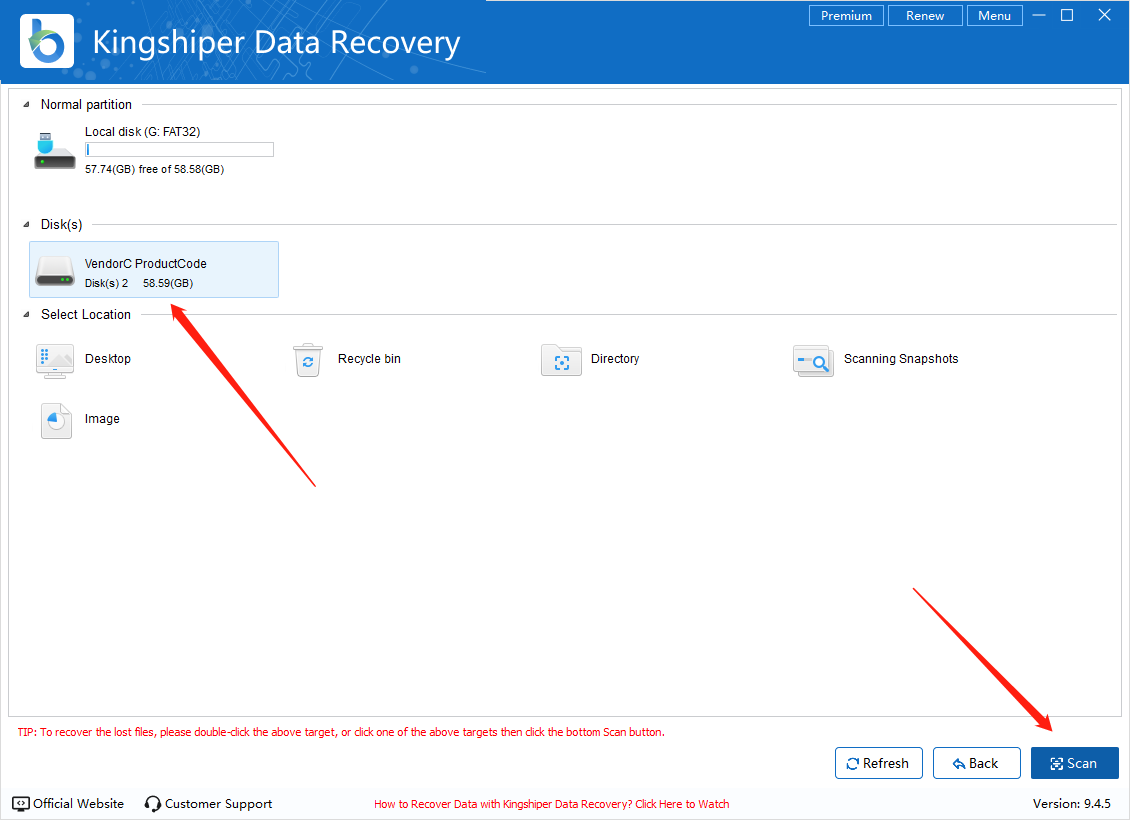
2. In the scan window, select the USB drive and click "Scan."
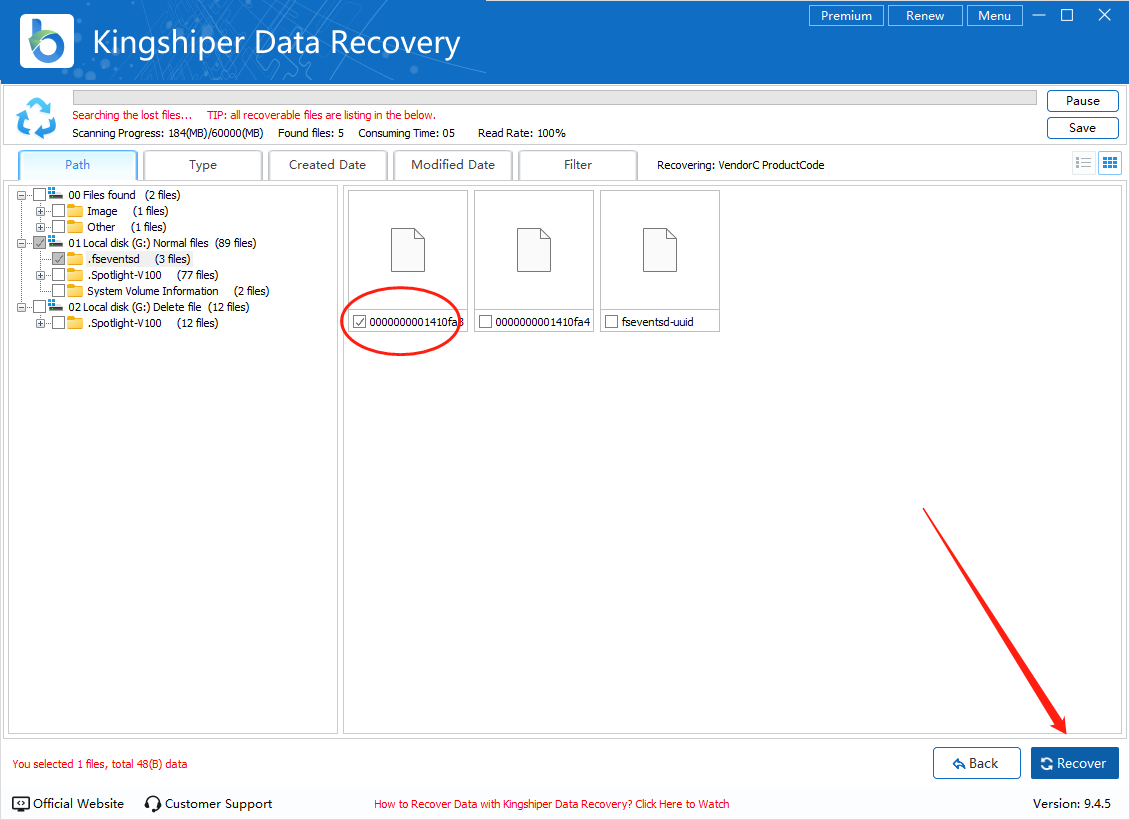
3. Once the scan is complete, tick the files you wish to recover and click "Recover." Choose a safe location to save the recovered files.
4.2 How to Remove Write Protection from a USB Drive
Method 1: Check and Disable the Physical Write Protection Switch
Many USB drives have a physical write protection switch to prevent accidental data loss or virus infection. Check the exterior of the USB drive for a switch. If you find one, slide it to the unlocked position and try accessing the drive again.
Method 2: Use the Registry Editor
If the write protection is caused by a registry error, you can disable it through the Registry Editor.
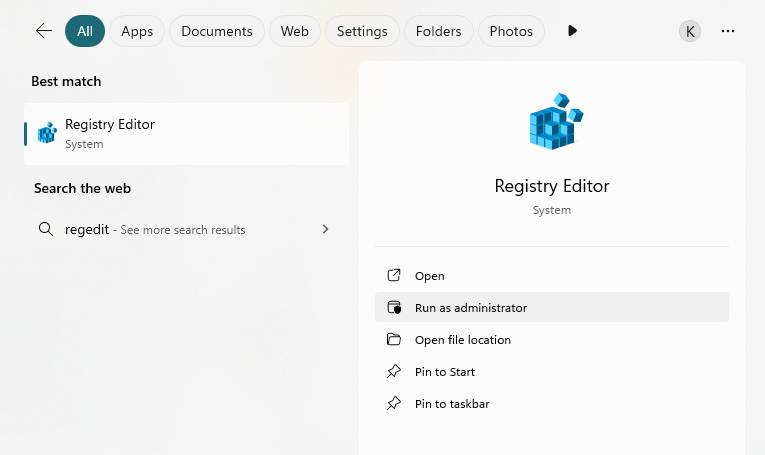
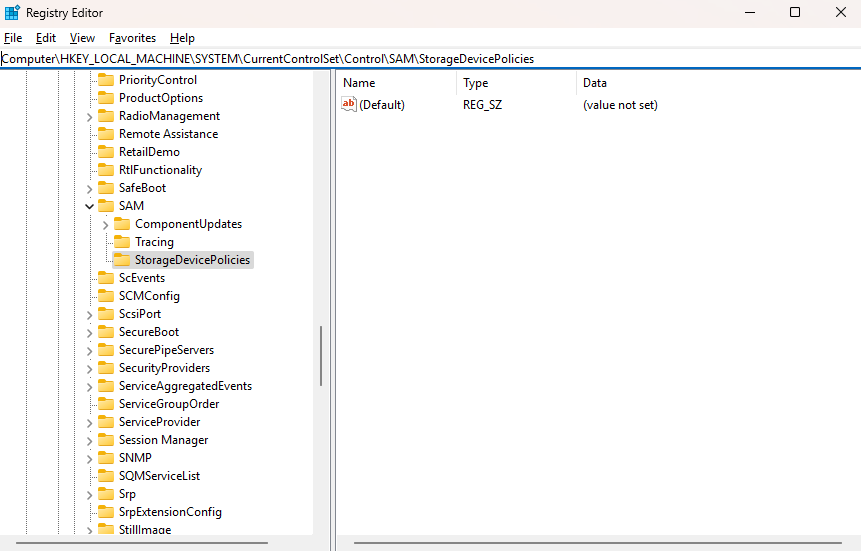
1. Open the Start menu, type "regedit", and press Enter to launch the Registry Editor.
2. Navigate to: HKEY_LOCAL_MACHINE\SYSTEM\CurrentControlSet\Control\StorageDevicePolicies
Note: If “StorageDevicePolicies” doesn’t exist, right-click “Control”, select “New”>“Key”, and name it “StorageDevicePolicies”.
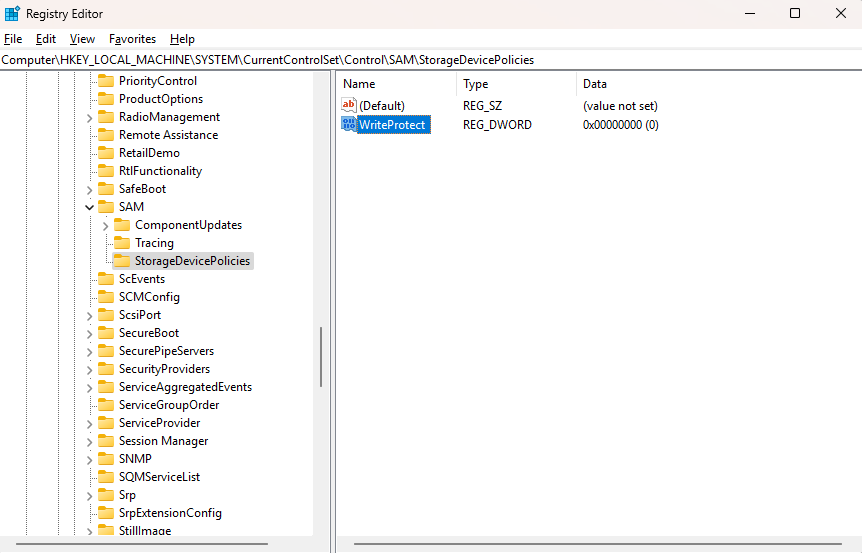
3. Right-click the right panel, select “New” > “DWORD (32-bit) Value”, and name it “WriteProtect”.
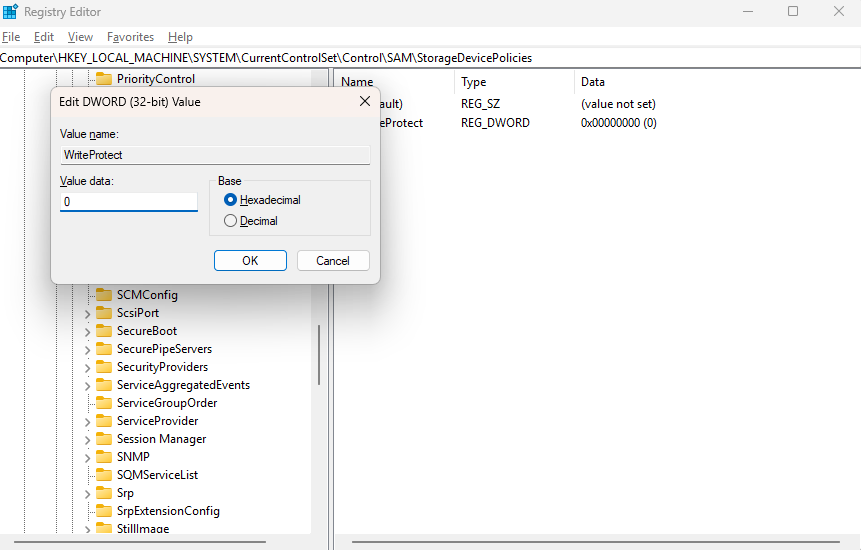
4. Set the value of “WriteProtect” to 0. Close the Registry Editor, reconnect the USB drive, and check if the write protection is removed.
Method 3: Change Disk Policy
Restricted disk permissions can also cause write protection issues. Adjusting the disk policy to "Better Performance" can help.
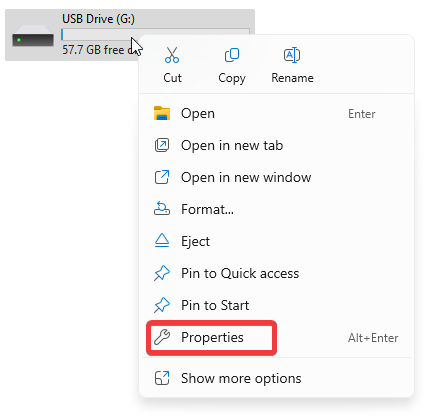
1. Insert the USB drive into your computer. Open File Explorer, right-click on the USB drive, and select “Properties”.
2. Go to the “Policies” tab and select "Better Performance."Click “OK” to apply the changes.
Method 4: Run an Antivirus Scan
Virus infections can trigger write protection on a USB drive. Run a full antivirus scan on the drive to detect and remove any threats. After the scan, try accessing the drive again.
Method 5: Change File Permissions
If the write protection is set at the file system level, you can modify the drive's permissions to regain control.
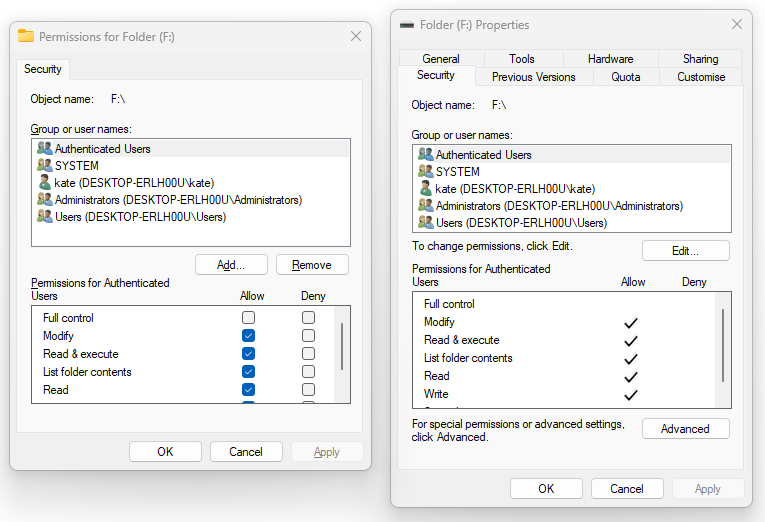
1. Right-click the USB drive and select “Properties”. Go to the“Security” tab and click “Edit”.
2. Under “Group or user names”, select “Everyone”.
3. Tick “Full Control” under Permissions and click “OK” to confirm.
Method 6: Use Diskpart to Clear Write Protection
The Diskpart command-line tool allows you to modify drive attributes directly from the Command Prompt.
1. Press “Win + R”, type “cmd”, and press Enter. Type “diskpart” and press Enter.
2. Type “list disk” and press Enter to display all connected drives.
3. Identify your USB drive's number and type: select disk 0 (Replace“0”with your drive's number).
4. Type: attributes disk clear readonly. After that, reconnect your USB drive.

Method 7: Format the USB Drive
If none of the above methods work, formatting the drive may be necessary. Be aware that this will erase all data on the drive, so back up important files beforehand.
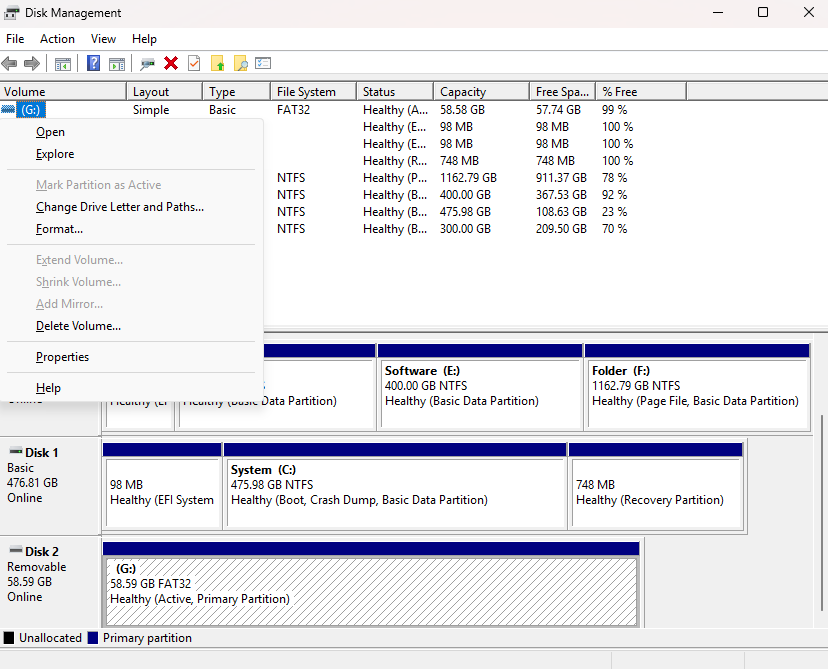
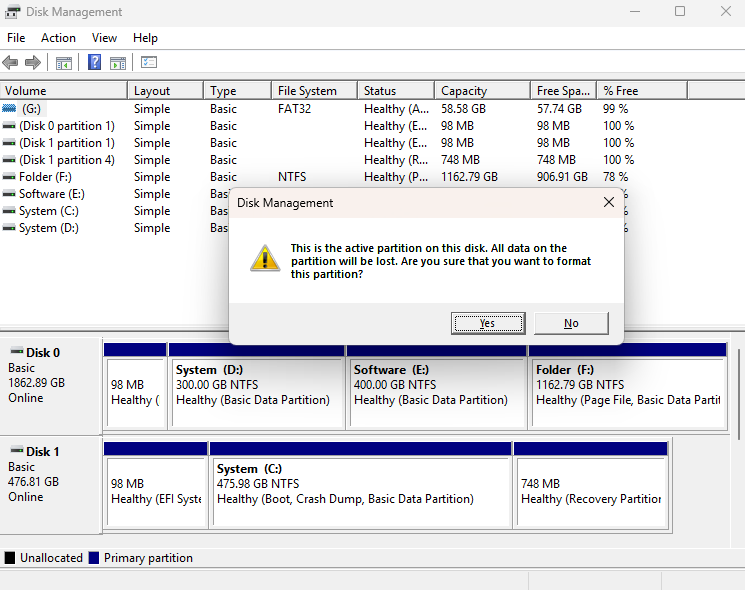
1. Insert the USB drive into your computer. Open “Control Panel” > “System and Security” > “Create and format hard disk partitions”.
2. Right-click the USB drive and select “Format”.
3. Confirm by clicking “Yes” in the pop-up window to complete the process.
4.3 How to Fix an External Hard Drive Not Recognized by PC
If your computer can't detect an external disk, you can troubleshoot the issue by checking the disk status in Disk Management. Here's how to diagnose and fix the problem:
Step 1. Press Win + R to open the Run dialog box and type “diskmgmt.msc” and press Enter to launch Disk Management.

Step 2: Analyze the Disk Status
Once in Disk Management, check the disk's status and take the appropriate action based on the situation:
Situation 1: Disk Not Initialized
The disk may not have a valid signature or partition, causing it to appear as "Not Initialized."
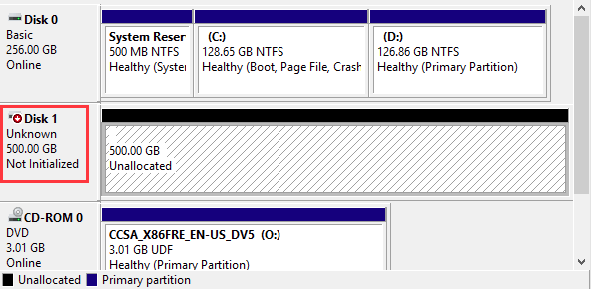
Warning: Initializing a disk will erase all data on it. If you have important files on the disk, consider using professional data recovery software to restore them before proceeding.
Here are the detailed steps:
1. Right-click the Unallocated space. Select “New Simple Volume” and click “Next”. Follow the prompts to create a new partition.
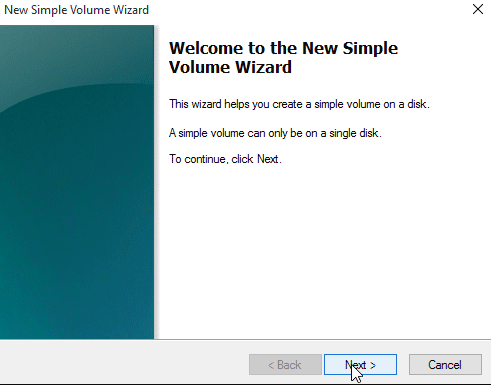
2. Once the disk is initialized, launch Kingshiper Data Recovery and click on the “Recover” button to start recovering your data.
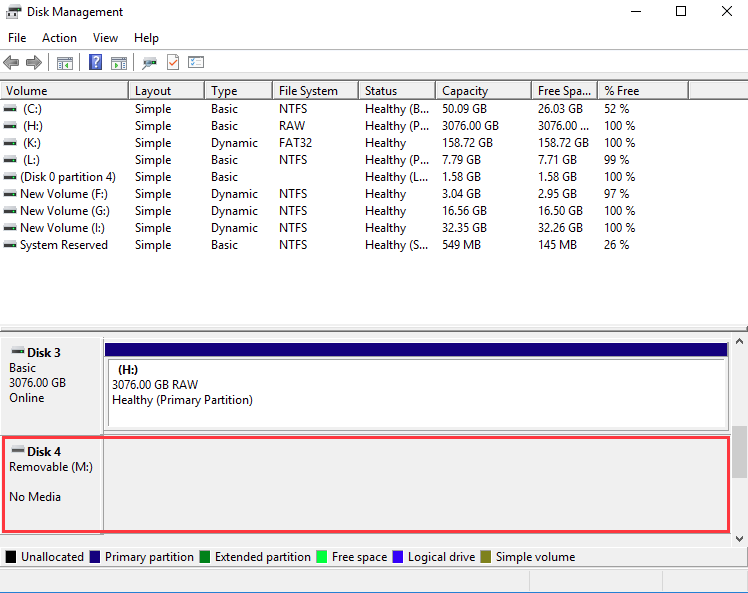
Situation 2: No Media
If the disk status shows "No Media," the drive may have a serious hardware issue. The best and fastest way to solve this issue, please take the disk to a professional repair center for diagnosis and repair.
4.4 What to Do If a Scan Returns No Results
If you’re using the USB/Memory Card Recovery function and the scan returns empty, there may be underlying issues with the external device itself. Here's how to analyze the problem and recover lost files:
Possible Causes
The external device (USB drive, memory card, hard drive, etc.) may have existing issues, such as: a) File system corruption; b) Hardware failure; c) Connection problems
If you see a prompt asking you to format the device when you connect it, this indicates that the device's file system might be damaged.
Solution: Use the “Deep Recovery” Feature
Step 1. Select “Deep Recovery” mode in the Kingshiper Data Recovery. This mode performs a more thorough scan and can retrieve files lost due to corruption or accidental deletion.
Step 2. In the deep scan interface, select the physical disk where the lost files were located. If you're unsure which disk to select, compare the available disk size to identify the correct one.
Step 3. After the scan completes, locate and select the files you want to recover.
4.5 How to Determine if a File Can Be Recovered?
After completing a disk scan using Kingshiper Data Recovery, you can check whether the files are recoverable by previewing them. Files that can be previewed are usually recoverable.
1. How to Preview Files:
Document:
The preview panel (on the right side) will display a content summary.
You can also double-click the file to open and view the first page.
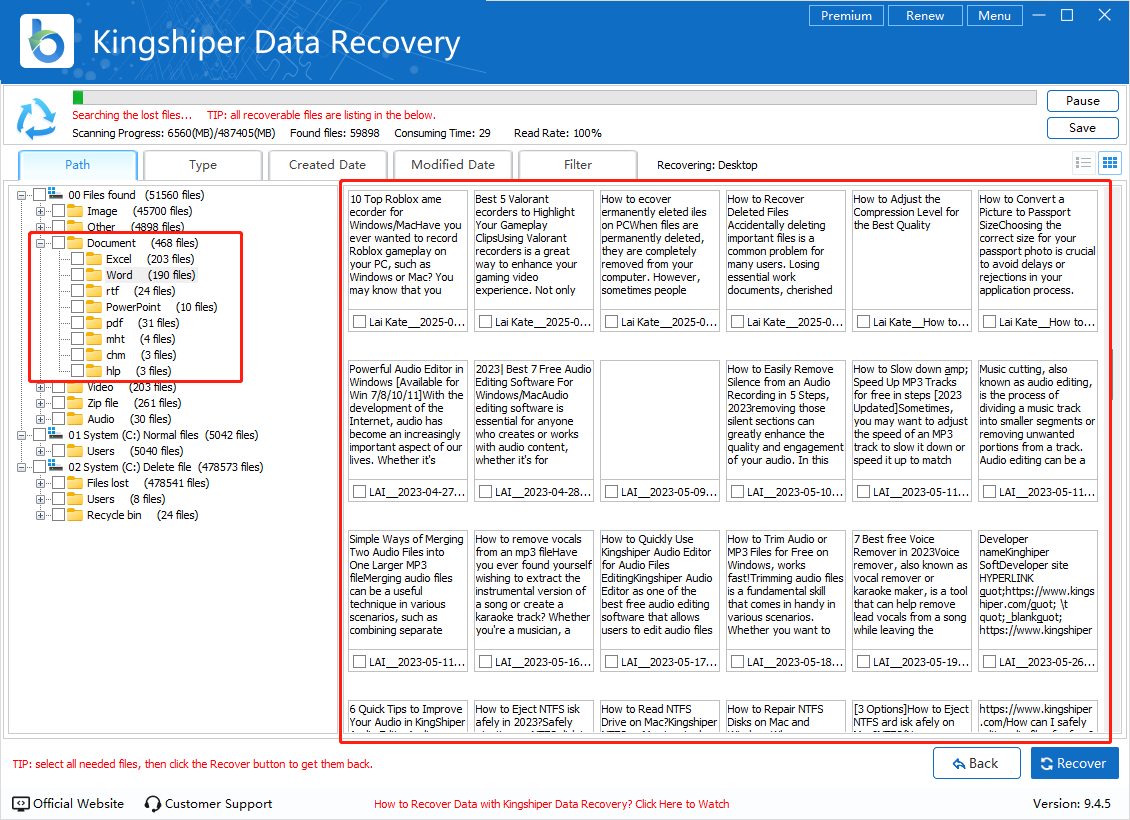
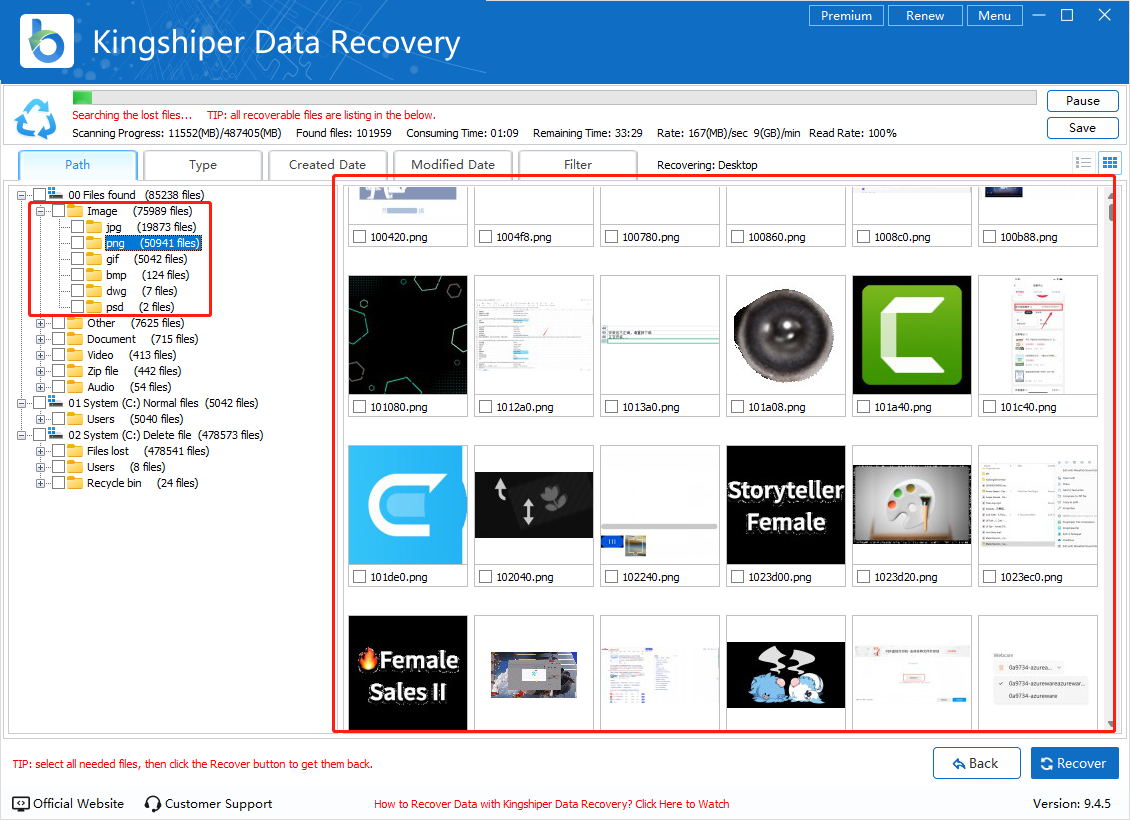
Image:
The preview panel will show a thumbnail of the image.
Double-click the image to open and view it in full size.
2. When Files Cannot Be Previewed
If a file cannot be previewed, it's likely damaged and may not open properly after recovery.
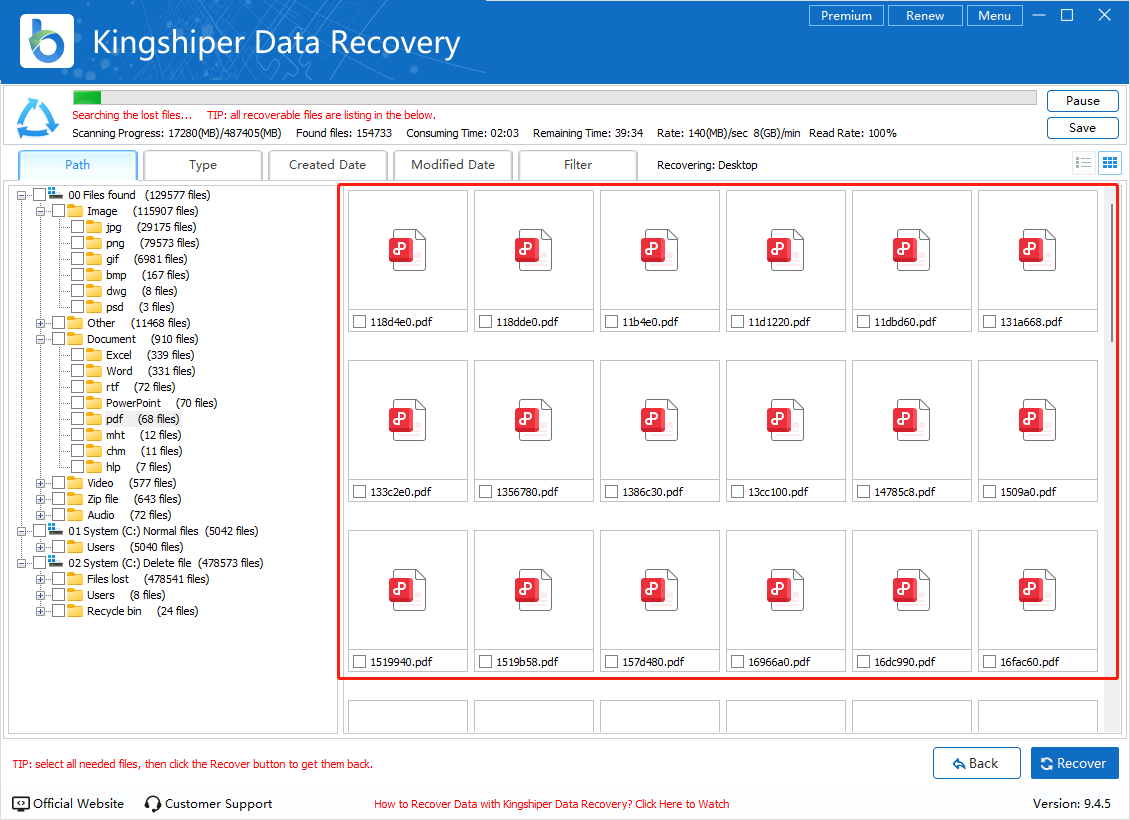
Image:
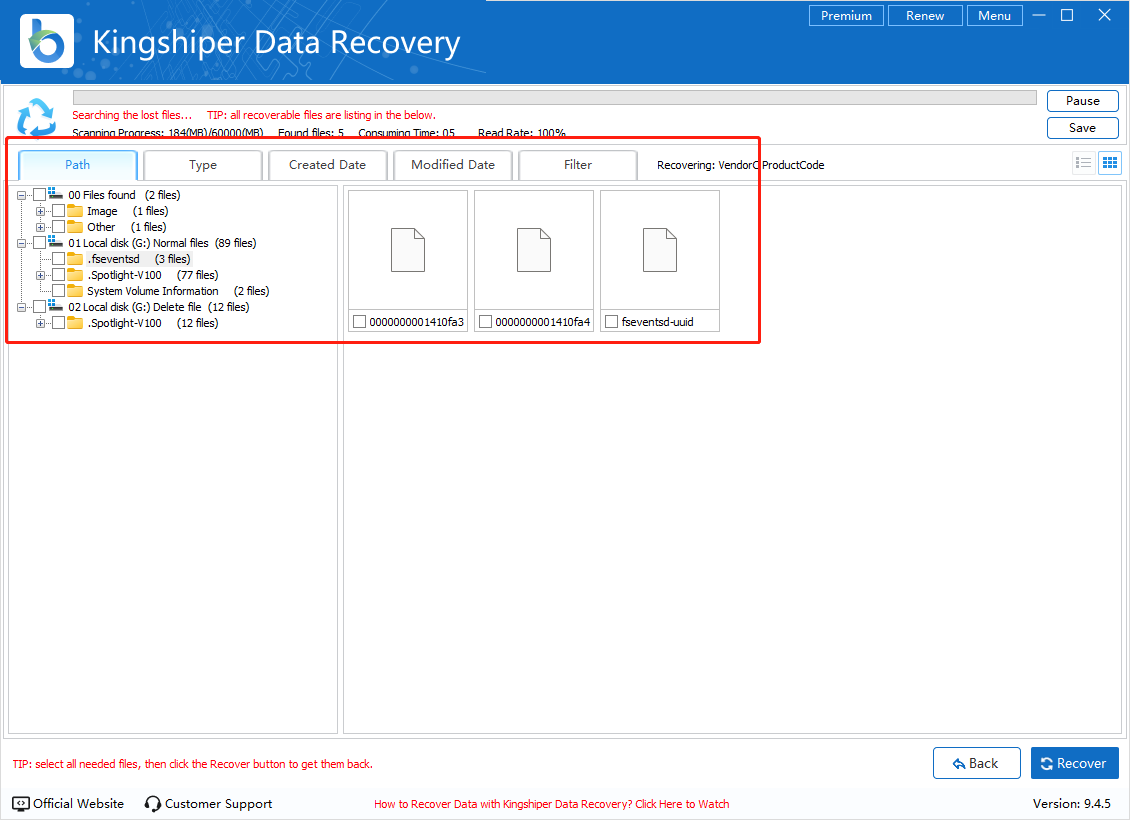
If the preview panel shows only a generic file icon instead of an image thumbnail, the file is probably corrupted and may not open after recovery.
Document:
If the preview panel shows only a software icon without displaying the content, the document is likely damaged and may not be readable after recovery.
5 Support and Help
If you have any feedback or suggestions on Kingshiper Data Recovery, please do not hesitate to let us know. We are also enthusiastic about replying to all your questions about using it. Please feel free to contact us, and we'll help you right away.
Submit Ticket: https://www.kingshiper.com/contact
Email: [email protected]


 All
All


 Hot Products


