1 Get Started
It is simple to download, install, purchase and activate the software. Follow the below steps.
1.1 Download & Install
Step 1. Download it on Your PC
If you don't have Kingshiper File Manager yet, click the button below to download it. Or visit here to download it.

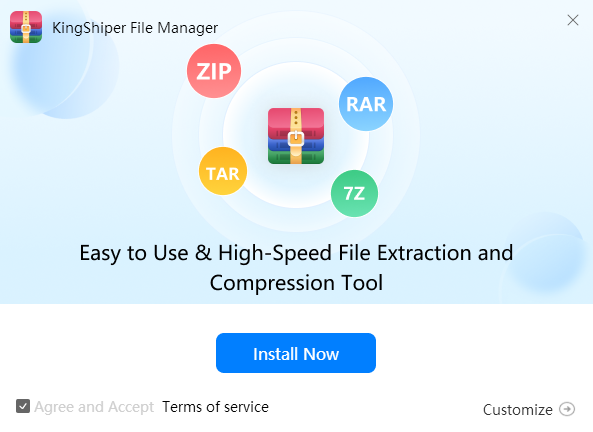
Step 2. Install Kingshiper File Manager
From the pop-up window, you can click the “Install” button to install our product as the default or you could choose the “Customize” option. After that, you can click the Install to go ahead.
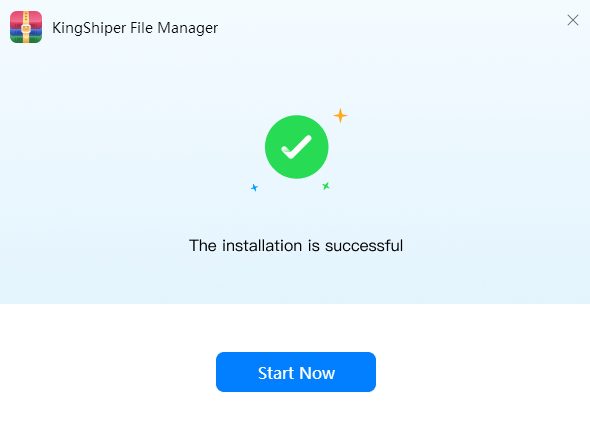
Step 3. Launch Kingshiper File Manager
It will take seconds to install Kingshiper File Manager successfully. A window like the below will prompt you that you can click the “Start Now” button to open Kingshiper File Manager at once.
1.2 Login with Kingshiper Account(Register) & Update & Uninstall
1.2.1 Login Kingshiper File Manager with Kingshiper Account/Old License
With the premium version of Kingshiper File Manager, you'll have the following permissions.
A) Trial users can use the software only three times. The exported images, videos, GIFs, PDFs, Word documents, and PPTs will have an official watermark.
B) Trial users cannot set a password for the archive files.
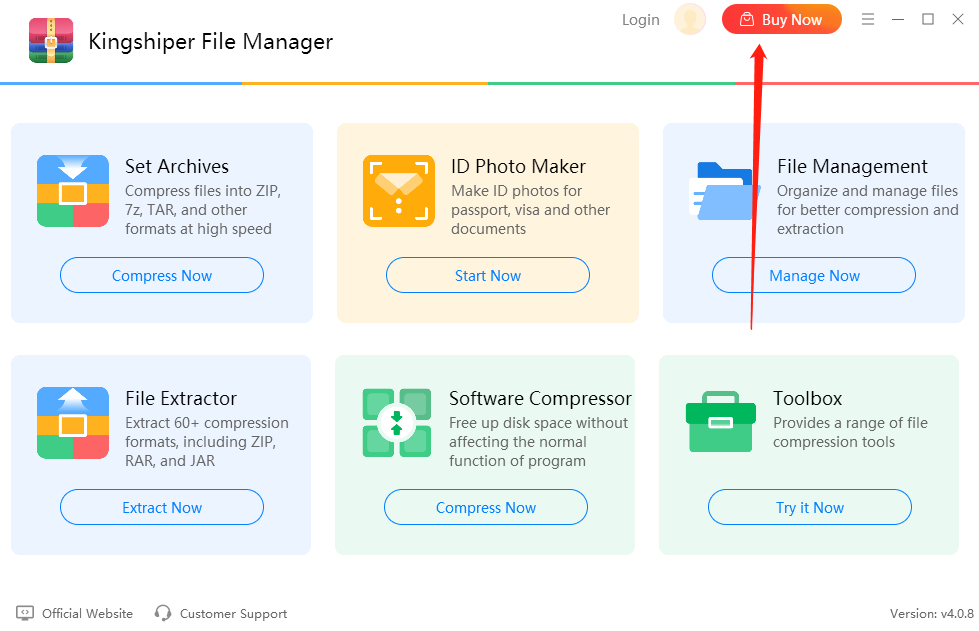
If you want to enjoy the full features without any limitations, please simply click the “Buy now” option in the upper-right corner to purchase Kingshiper File Manager from the official store.
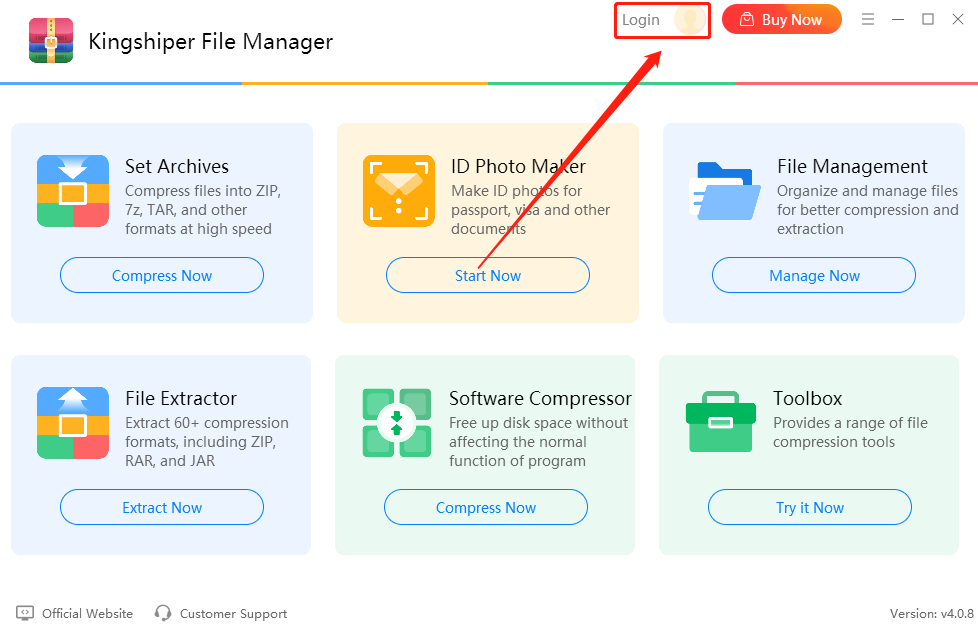
If you have already purchased Kingshiper File Manager, please log in with the Kingshiper Account by clicking the Login button.
1.2.2 What is Kingshiper Account?
Kingshiper Account refers to the account you created from one of the Kingshiper products. It helps you manage your order details and log in to Kingshiper products that support Kingshiper Account.
1.2.3 How to log in to Kingshiper File Manager?
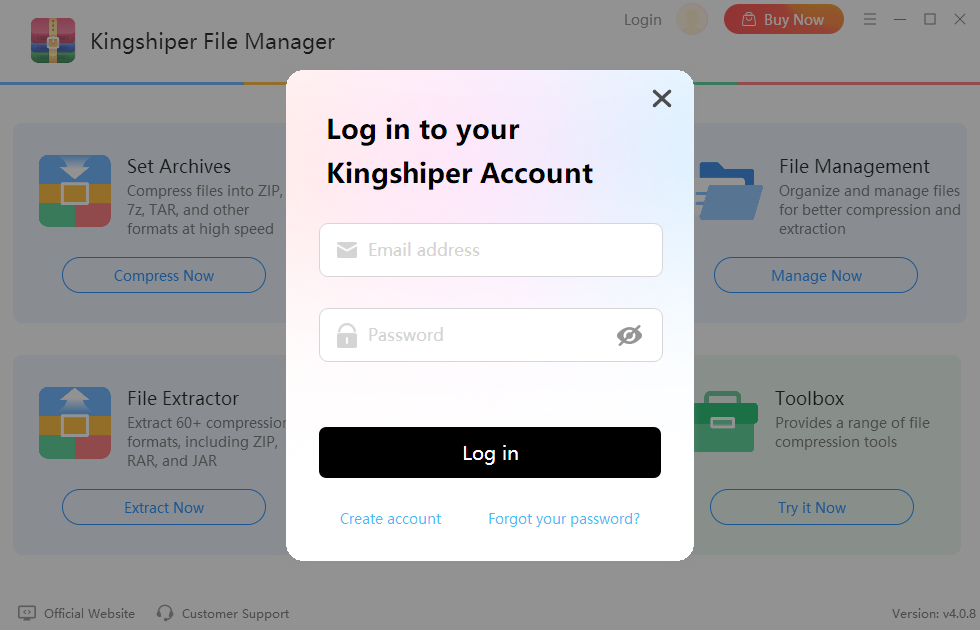
Launch Kingshiper File Manager after installation, and click the Login button in the upper right corner to get a new window as below.
1.2.4 How to sign up for a new Kingshiper Account.
If you don't have a Kingshiper Account, then you need to click the Create account here option on the initial interface and create a new account.
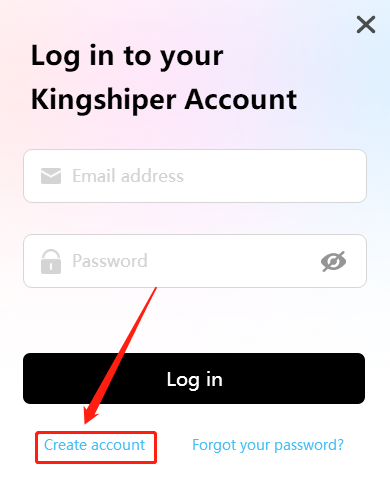
You'll get a new interface to enter your email address and set a password, and then click the “Create Account” button to create the account.

1.2.5 What can you do with Kingshiper Account?
You can click on the “Member Center” button to open the Kingshiper official website and click on the Person icon, then choose “Account Center”. You can edit your profile, change your password, and check your order on this page.
My order: You can find the Order, Profile, and Security information here.
Profile: You can edit your personal information from this tab.
Security: You can change your password here.
1.2.6 Update
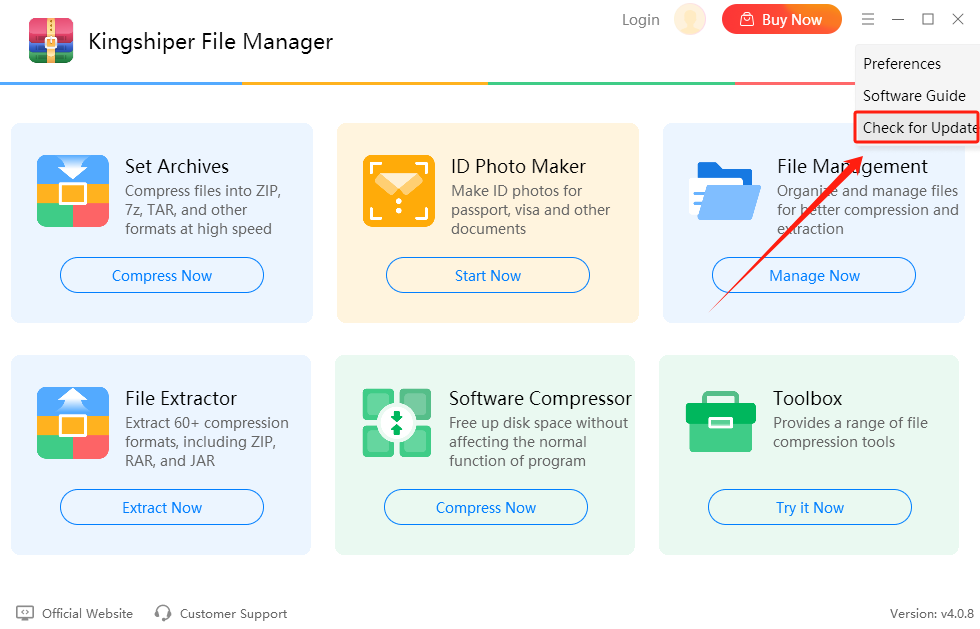
If you want to check if your Kingshiper File Manager is the latest version, you can follow the step below:
Go to the “Menu” icon, and click the “Check for Updates”. It will pop up a Live Update window.
1.2.7 Uninstall
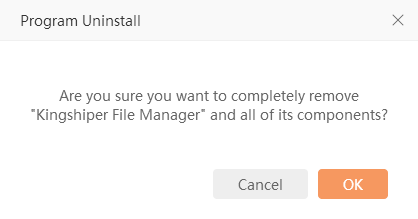
If you think Kingshiper File Manager hasn't met your expectations or you don't want to use it now, you can uninstall it as below:
Go to “Control Panel” > “Programs” > “Programs and Features” > “Uninstall” and then right-click the icon of Kingshiper File Manager and select Uninstall. Click “OK” when asked "Are you sure you want to completely remove Kingshiper File Manager and all of its components?"
1.3 Brief Introduction
Thank you for your interest in Kingshiper File Manager. Kingshiper File Manager is an all-in-one tool designed for handling and organizing various files. It offer six main features, including Set Archives, ID Photo Maker, File Management, File Extractor, Software Compressor, and Toolbox. With this tool, you can easily and quickly extract and compress files and software in seconds with no quality loss.

2 How to Use Kingshiper File Manager
2.1 Key Features
Please launch Kingshiper File Manager on your computer; the main interface will display. Some basic functions are as below.
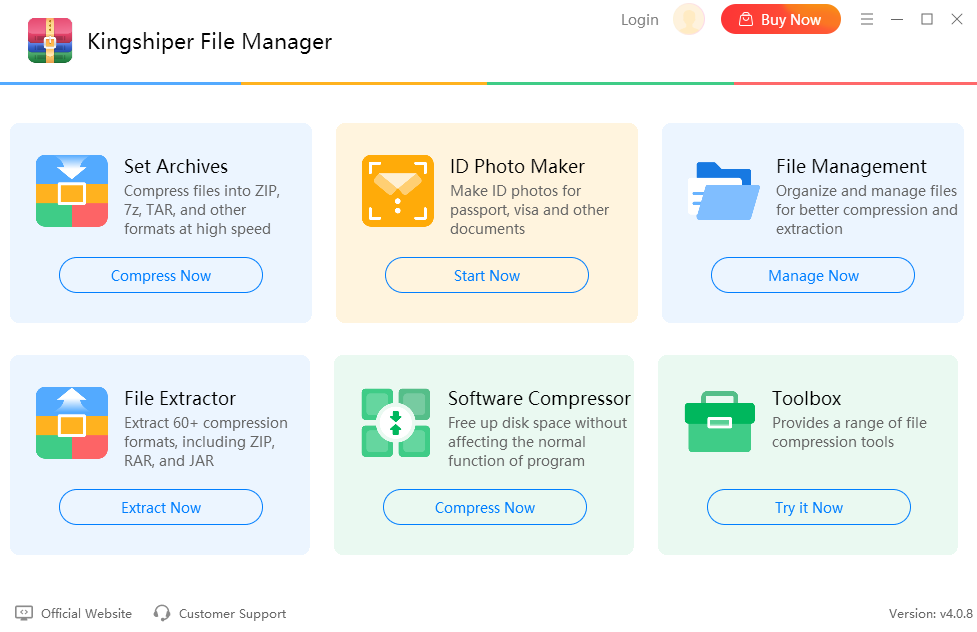
2.1.1 Home
There are 6 options you can operate on the home: Set Archives, ID Photo Maker, File Management, File Extractor, Software Compressor, and Toolbox.

2.1.2 Preferences
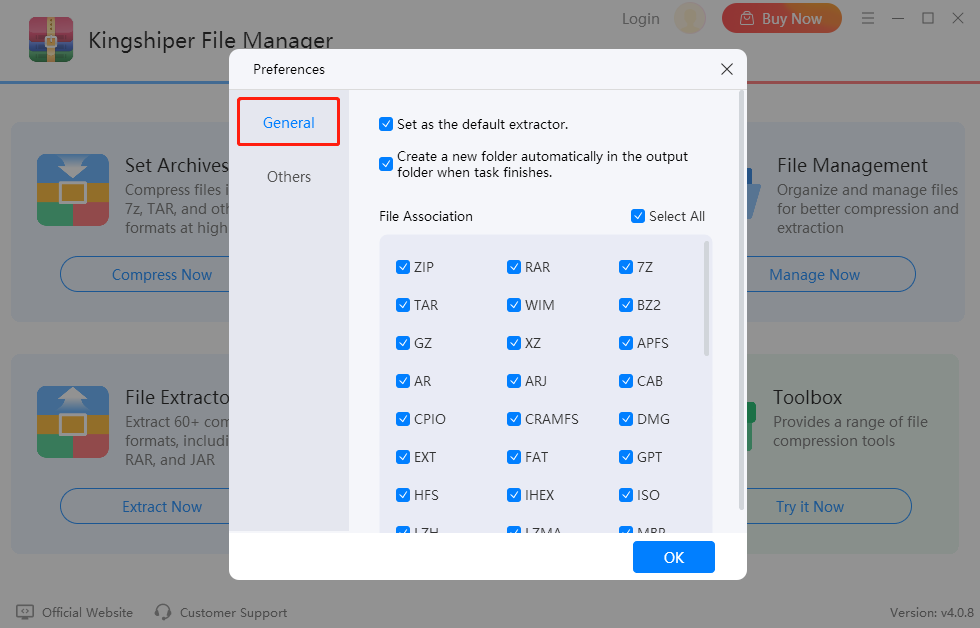
2.1.2.1 General Settings
Find the Menu option at the top-right corner, and click on “Preferences”. In the “General”, you can set Kingshiper File Manager as the default extractor, and adjust the output option and File Association.
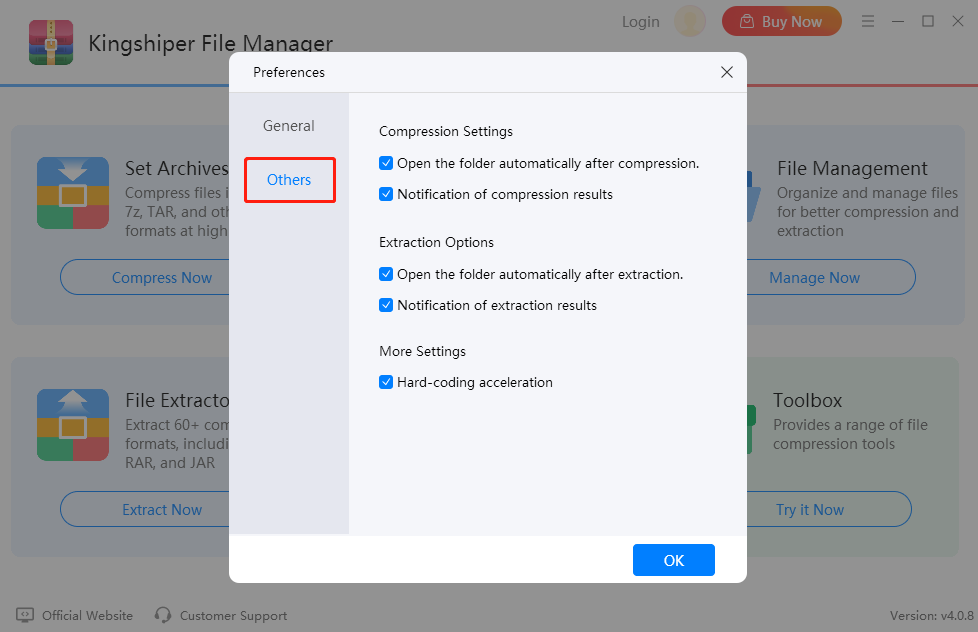
2.1.2.2 Other Settings
In the Others section, you can adjust the “Compression Settings”, “Extract Options”, and “More Settings”.
2.1.3 Support Center
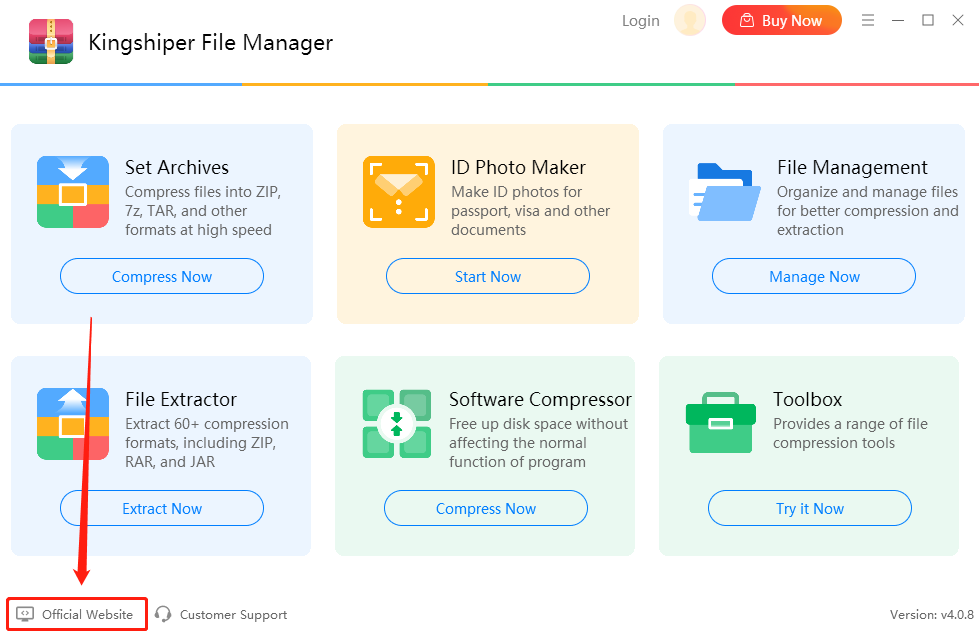
2.1.3.1 Official Website
If you encounter any operation-related queries when using Kingshiper File Manager, simply click on the 'Official Website' button. The official website provides comprehensive user guide and how to tutorials.
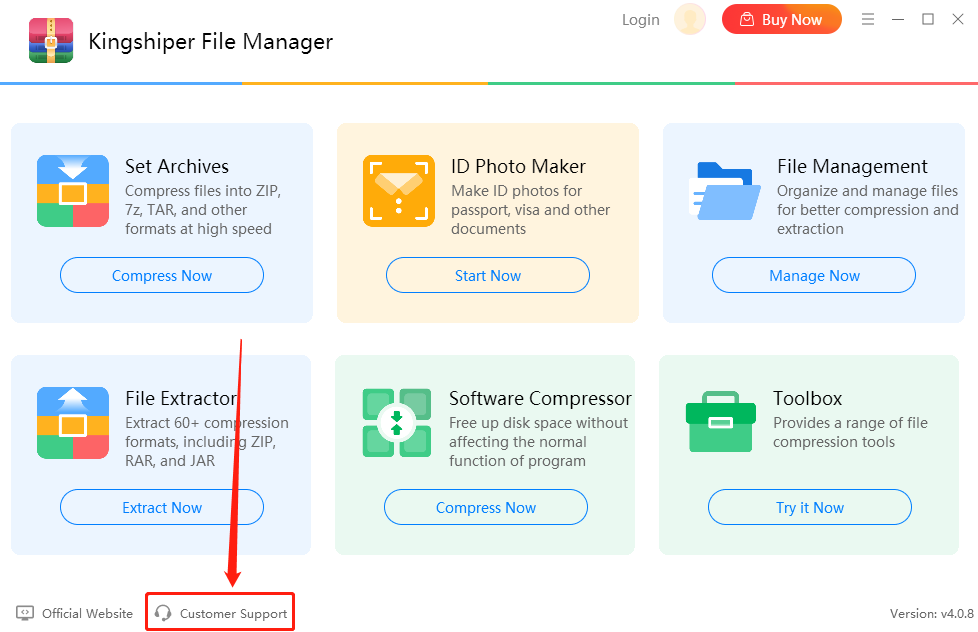
2.1.3.2 Customer Support
If our tutorials can’t solve your problems, please click on the “Customer Support” to submit a ticket to the Kingshiper support team.
2.2 Key Features
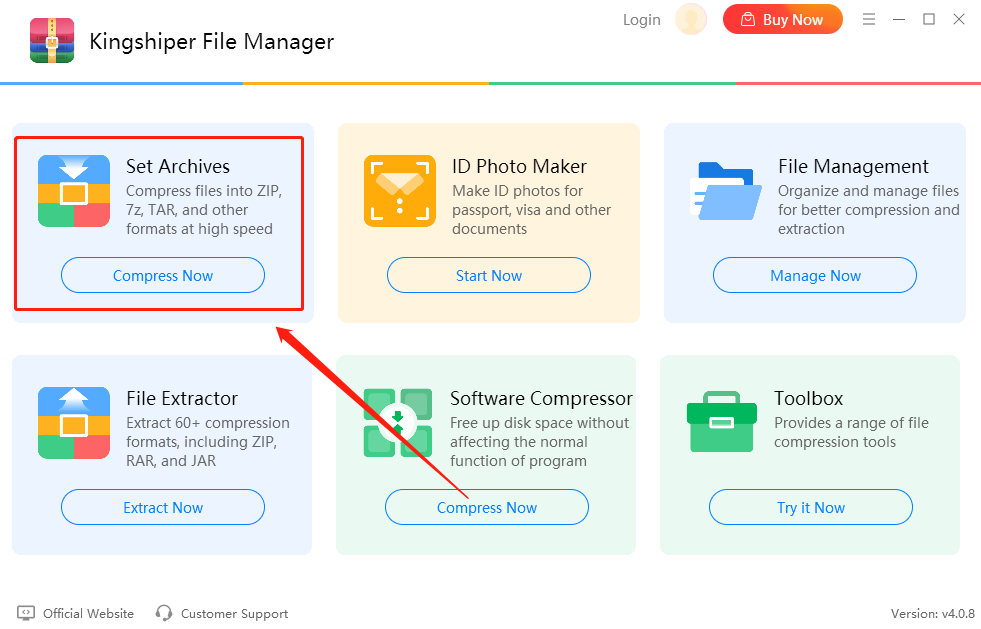
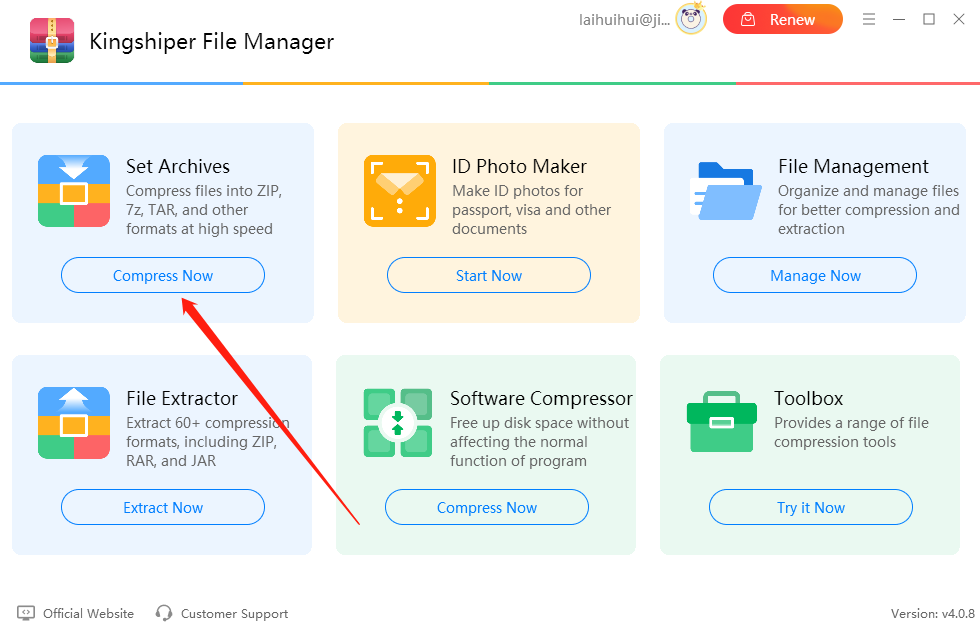
2.2.1 Set Archives
With this feature, you can easily compress files into ZIP, 7Z, TAR, and other formats at high speed. Moreover, you can quickly select the files you wish to compress with our straightforward interface.
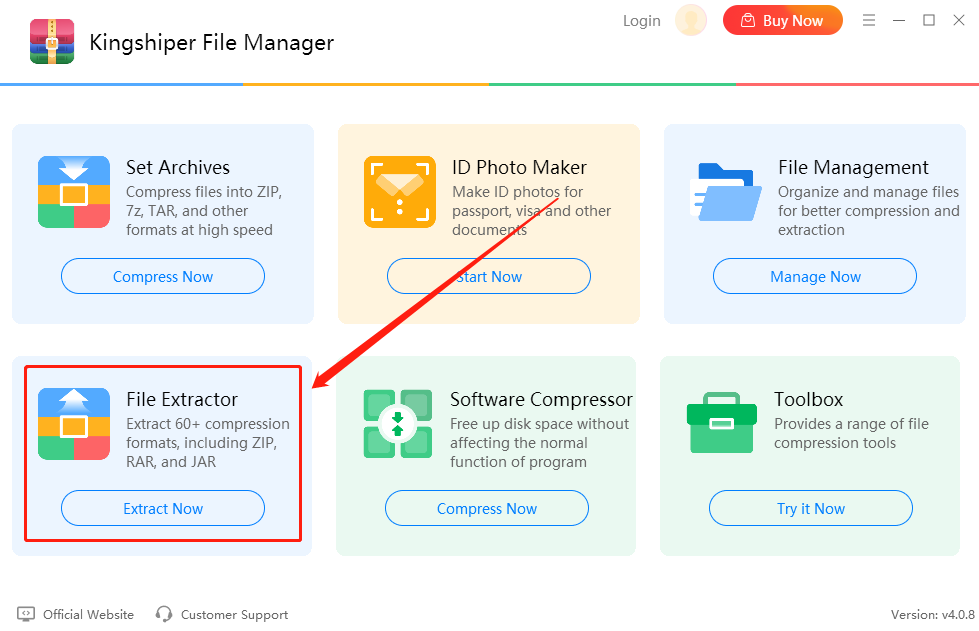
2.2.2 File Extractor
In this section, you can quickly extract files from compressed formats with just a few clicks. It allows you to access your necessary documents without the hassle of complicated extraction processes.
2.2.3 ID Photo Maker
The ID Photo Maker simplifies the process of creating professional-quality ID photos for various applications such as passports, visas, and driver's licenses. With this user-friendly software, you can easily design and produce images that meet specific regulatory requirements.

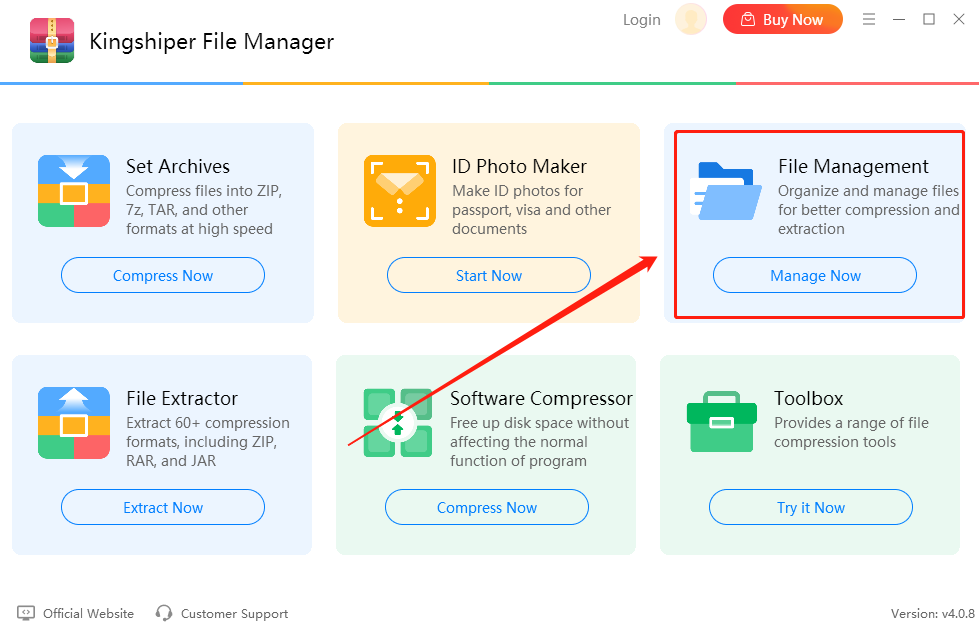
2.2.4 File Management
The File Management feature serves as a “File Explorer” on your computer. It gives you powerful tools to handle all your files, such as Set Archives, File Extractor, Delete File, Image Compressor, Video Compressor, and Software Compressor. You can categorize them into folders, rename them for better clarity, and search for specific files quickly. This helps you keep everything organized and saves you time every day as you work on different tasks.
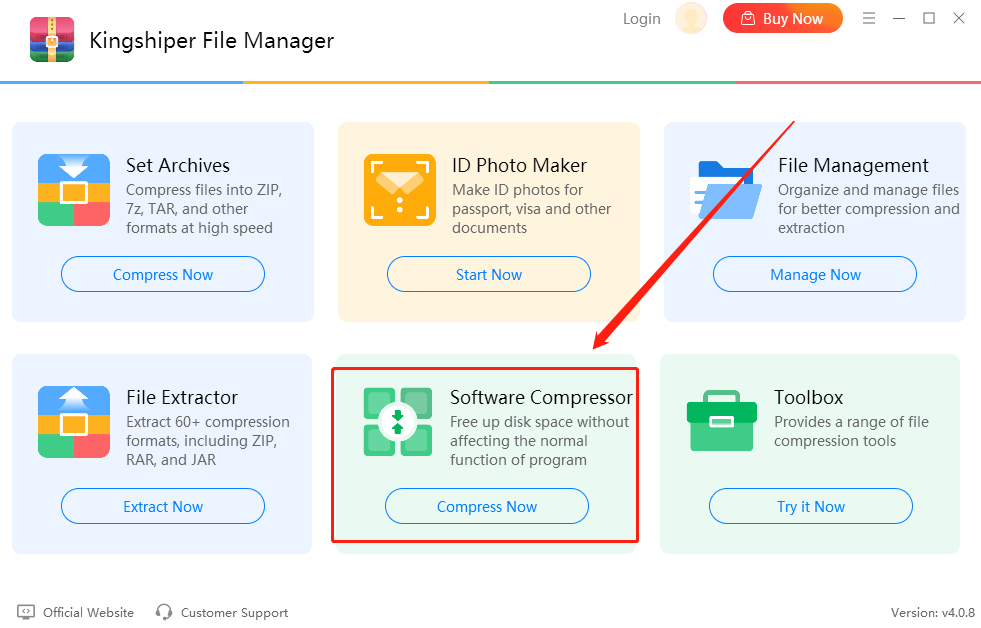
2.2.5 Software Compressor
In this section, you can manage your files more efficiently. It allows you to compress large files and folders into smaller sizes, making them easier to store and share. With just a few clicks, you can reduce the space they occupy on your device.
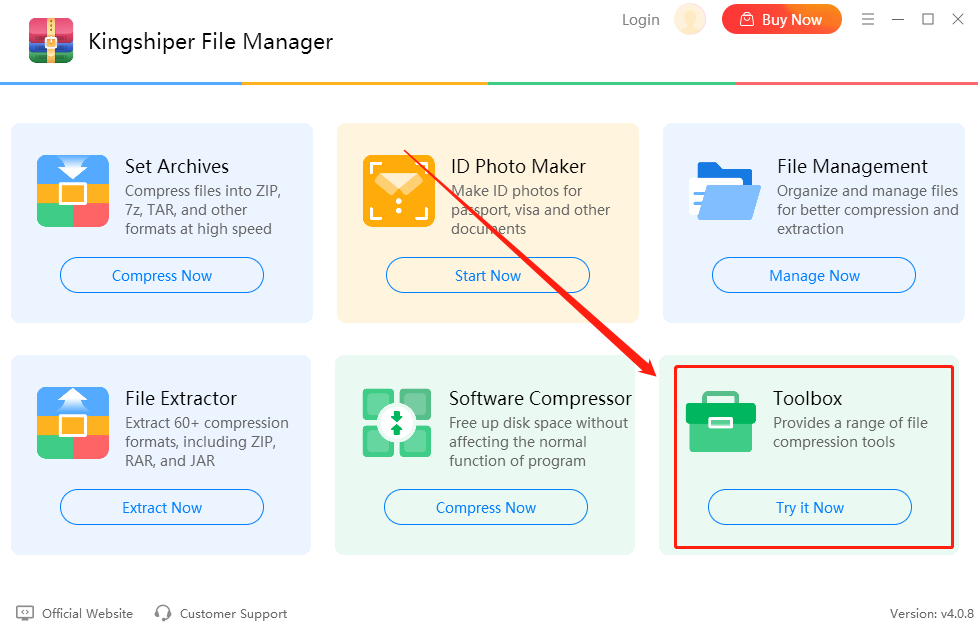
2.2.6 Toolbox
The Toolbox feature offers a collection of useful tools to improve your file management experience. You can find extra utilities that fit your needs. Whether you want to convert ebook files, reduce file size, clean duplicate files, or edit audio and video files, the Toolbox can make your work easier and more efficient.
3 How to Set Archives with Kingshiper File Manager
Step 1. Launch Kingshiper File Manager on your computer. Choose “Set Archives” and click the “Compress Now” button.
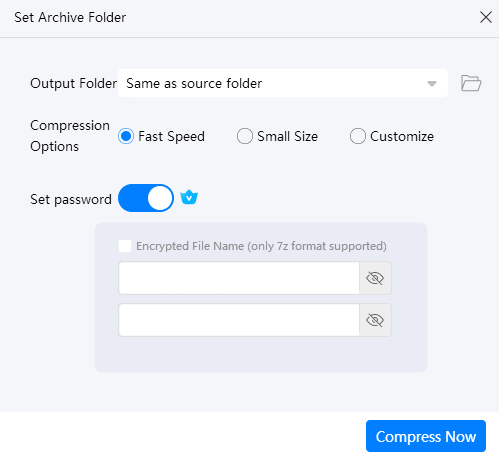
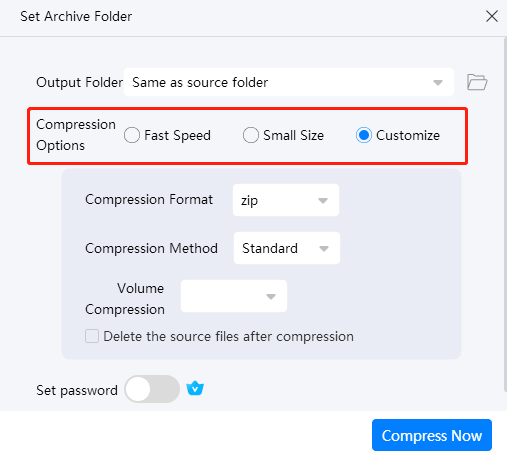
Step 2. Select the files you want to compress and click “Open” on the pop-up window. Then, you can select from three compression options. The "Custom" option allows you to choose the compression format, method, and whether to split into volumes. Moreover, You can choose to delete the source files after compression(Note: This option is off by default. Be careful when using it with important files).
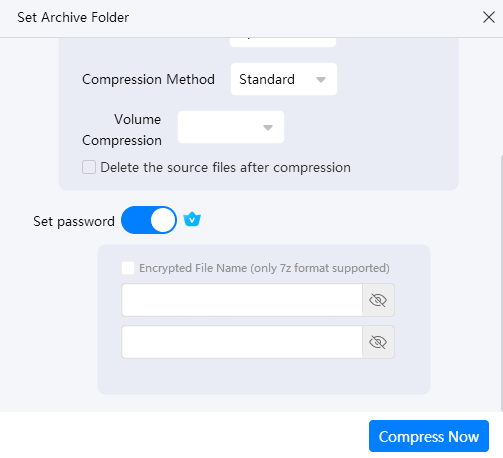
Step 3. You can add a password to the archive files. This protects your data. The password feature only works with the 7z format. Click "Compress Now" when you finish.
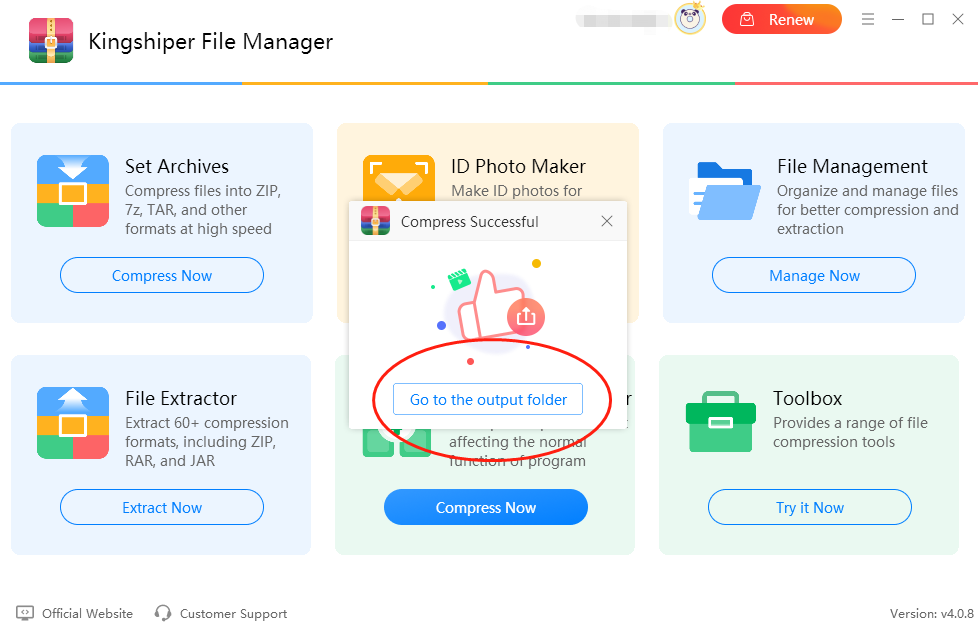
Step 4. After compression, press “Go to the output folder” to view your files.
4 Support and Help
If you have any feedback or suggestions on Kingshiper File Manager, please do not hesitate to let us know. We are also enthusiastic about replying to all your questions about using it.
Submit Tickets: https://www.kingshiper.com/contact
Email: [email protected]


 All
All


 Hot Products


