Got it

Kingshiper HEIC to JPG Converter

Kingshiper HEIC to JPG Converter User Guide

1  Get Started

It is simple to download, install, purchase, and activate the software. Follow the below steps.

1.1  Download & Install

Step 1. Download it on Your PC

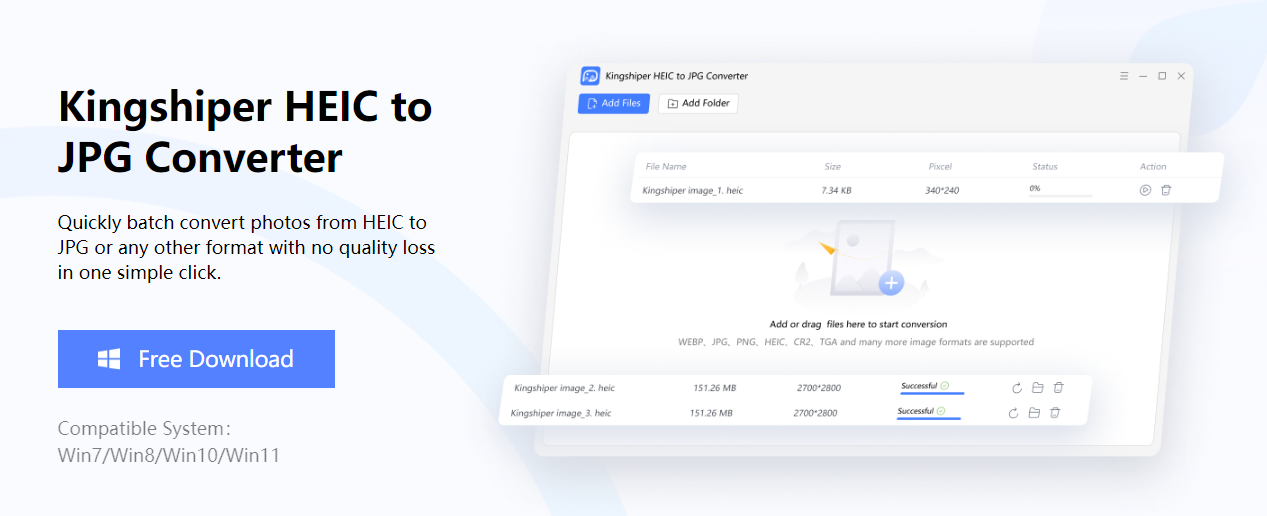
If you don't have Kingshiper HEIC to JPG Converter yet, click the button below to download it. Or visit here to download it.

Download.png

Step 2. Install Kingshiper HEIC to JPG Converter

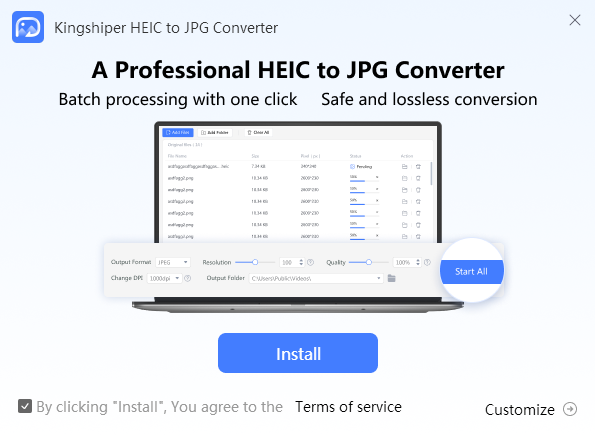
From the pop-up window,  you can click the “Install” button to install our product as the default or you could choose the “Customize” option. After that,  you can click the "Install" to go ahead.

image.png

Step 3. Launch Kingshiper HEIC to JPG Converter

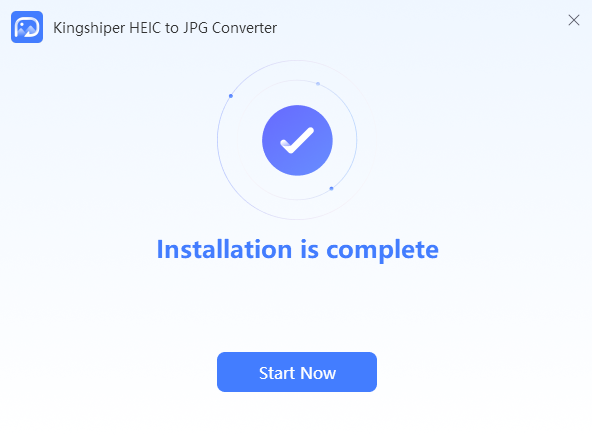
It will take seconds to install Kingshiper HEIC to JPG Converter successfully. A window like the one below will prompt you that you can click the “Start Now” button to open Kingshiper HEIC to JPG Converter at once.

image.png

1.2  Login with Kingshiper Account(Register) & Update & Uninstall

1.2.1  Login Kingshiper HEIC to JPG Converter with Kingshiper Account/Old License

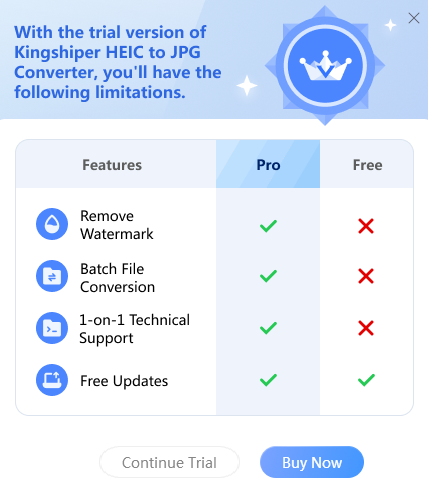
With the premium version of Kingshiper HEIC to JPG Converter,  you'll have the following permissions.

image.png

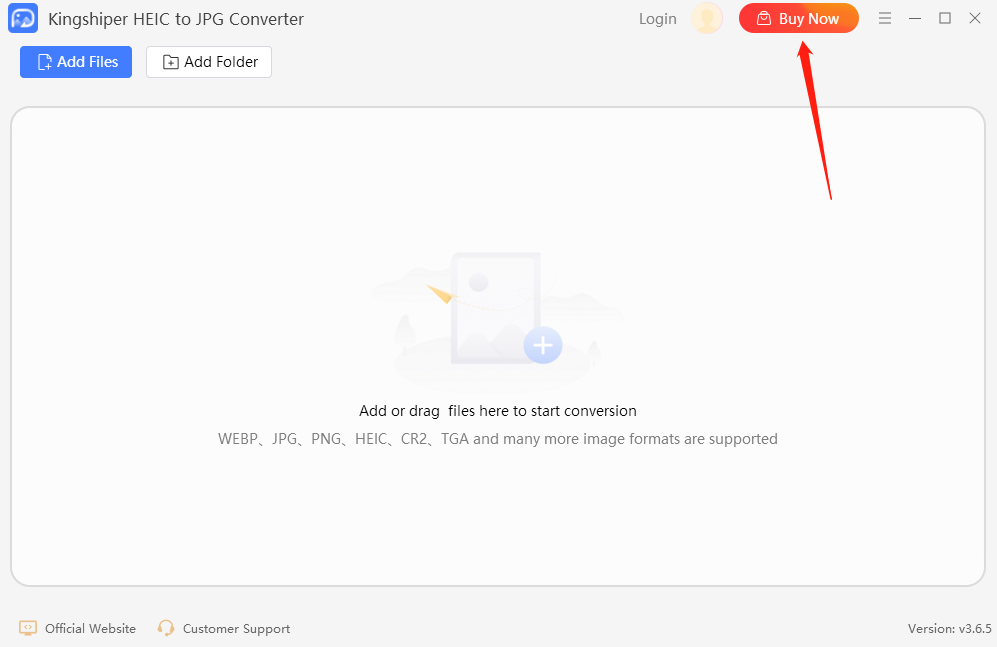
If you want to enjoy the full features without any limitations,  please simply click the “Buy now” option in the upper-right corner to purchase Kingshiper HEIC to JPG Converter from the official store.

image.png

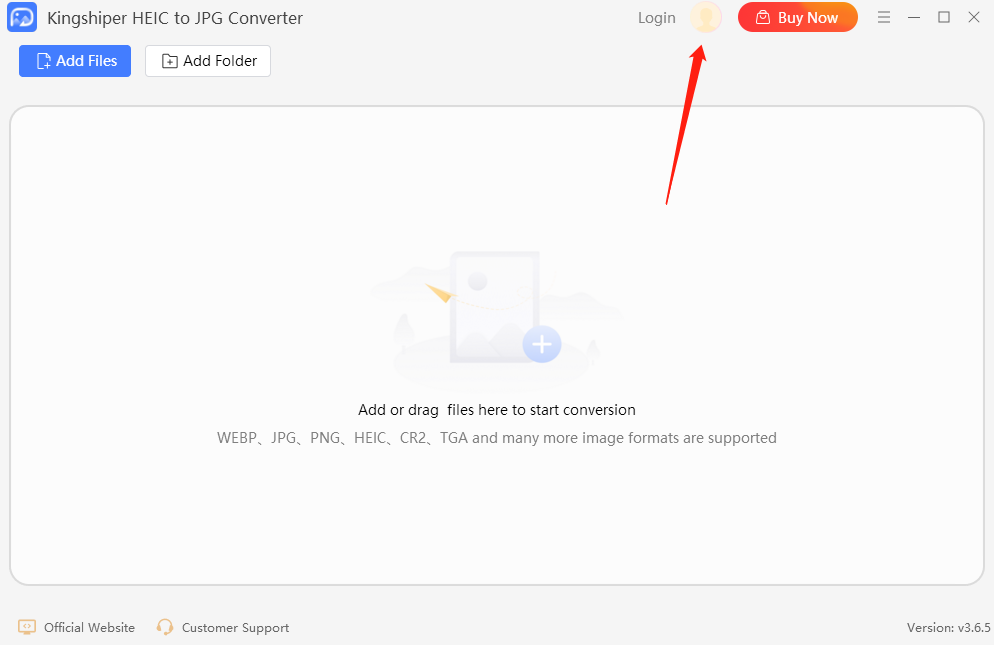
If you have already purchased Kingshiper HEIC to JPG Converter,  please log in with the Kingshiper Account by clicking the Login button.

image.png

1.2.2  What is Kingshiper Account? 

Kingshiper Account refers to the account you created from one of the Kingshiper products. It helps you manage your order details and log in to Kingshiper products that support Kingshiper Account.

1.2.3  How to log in to Kingshiper HEIC to JPG Converter?

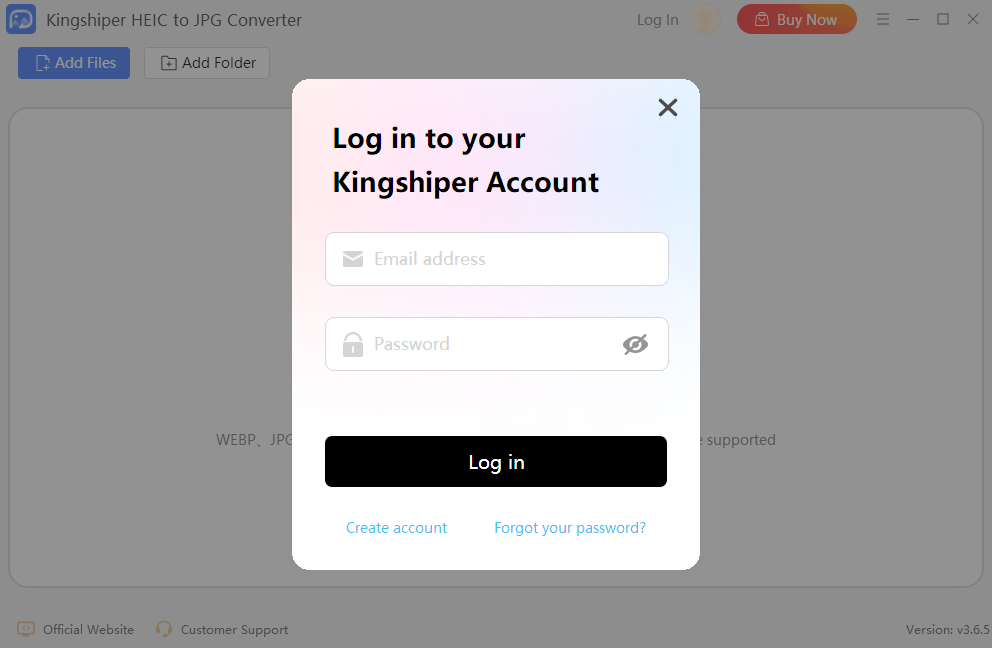
Launch Kingshiper HEIC to JPG Converter after installation, and click the Login button in the upper right corner to get a new window as below.

image.png

1.2.4  How to sign up for a new Kingshiper Account

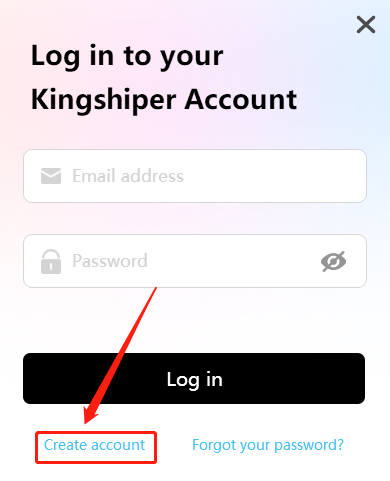
If you don't have a Kingshiper Account,  then you need to click the Create account here option on the initial interface and create a new account.

You'll get a new interface to enter your email address and set a password,  and then click the “Create Account” button to create the account.

1.2.5  What can you do with Kingshiper Account?

You can click on the “Member Center” button to open the Kingshiper official website and click on the Person icon,  then choose “Account Center”. You can edit your profile, change your password, and check your order on this page.


My order: You can find the Order,  Profile,  and Security information here.


Profile: You can edit your personal information from this tab.


Security: You can change your password here.

1.2.6  Update

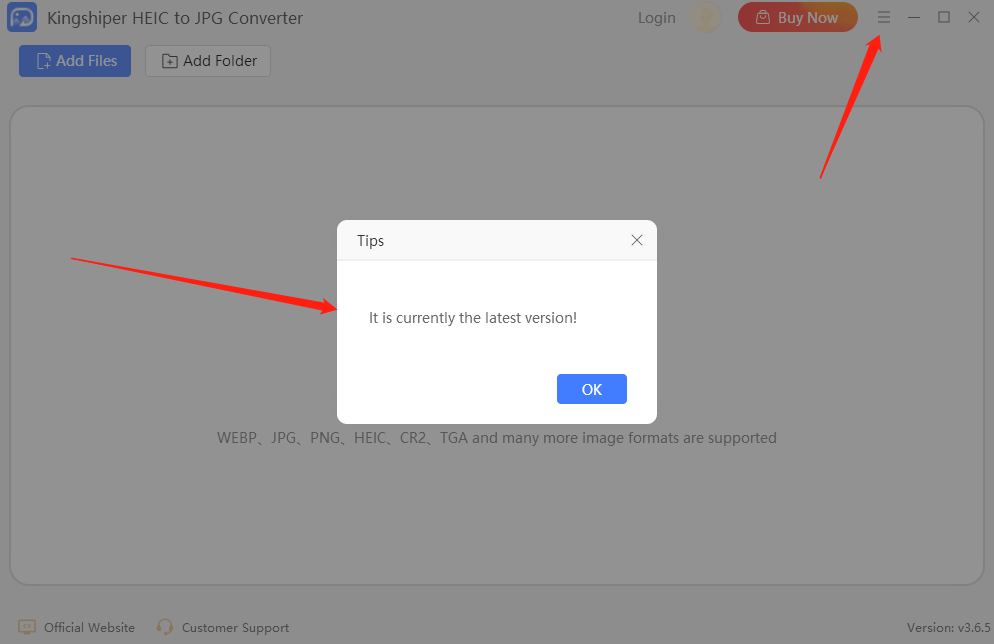
If you want to check if your Kingshiper HEIC to JPG Converter is the latest version,  you can follow the steps below:


Go to the “Menu” icon,  and click the “Check for Updates”. It will pop up a Live Update window.

image.png

1.2.7  Uninstall

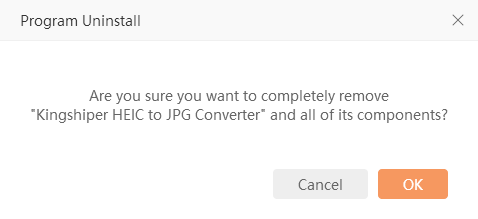
If you think Kingshiper HEIC to JPG Converter hasn't met your expectations or you don't want to use it now,  you can uninstall it as below:


Go to “Control Panel” > “Programs” > “Programs and Features” > “Uninstall” and then right-click the icon of Kingshiper HEIC to JPG Converter and select Uninstall. Click “OK” when asked "Are you sure you want to completely remove Kingshiper HEIC to JPG Converter and all of its components?"

image.png

1.3  Brief Introduction

Thank you for your interest in Kingshiper HEIC to JPG Converter. Kingshiper HEIC to JPG Converter is a user-friendly tool that is designed to convert HEIC photos to JPEG or JPG formats without losing any quality. Moreover, it supports batch conversion, making it convenient for you to process multiple files at once. With this tool, you can easily convert HEIC photos in 3 simple steps.

image.png

1.3.1  Supported File Formats

Supported Import Formats: aai, art, arw, bpg, bmp, cals, crw, cr2, cur, dcx, dds, dib, dng, dpx, dpi, exr, emf, fax, fits, gif, hdr, hrz, hdr, heic, ico, jpg, jpeg, jng, j2c, j2k, miff, mng, mpc, mrw, mtv, nef, orf, otb, png (png8, png24, png32, png48, png64), pam, pab, pcx, pcd, pcds, pef, pes, pfa, pfb, pgm, pict, pix, pnm, ppm, psb, psd, ptif, pwp, rla, sct, sgi, sun, svg, tim, tif, tiff, tga, vicar, viff, webp, wbmp, wmf, wpg, xbm, xcf, xpm, avif, cr3, hif, jfif, livp


Supported Output Formats: jpg, jpeg, png (png8, png24, png32, png48, png64), gif, bmp, tiff, tif, aai, art, brf, cin, dcx, dds, exr, fits, flif, hdr, jng, jp2, j2c, j2k, mat, miff, mng, mpc, mtv, otb, pam, pbm, pcx, pgm, pict, pnm, ppm, psb, psd, ptif, sgi, sun, tga, vicar, viff, wbmp, webp, xbm, xpm, ico, pdf, svg, flif

2  How to Use Kingshiper HEIC to JPG Converter

2.1  Interfaces & Buttons

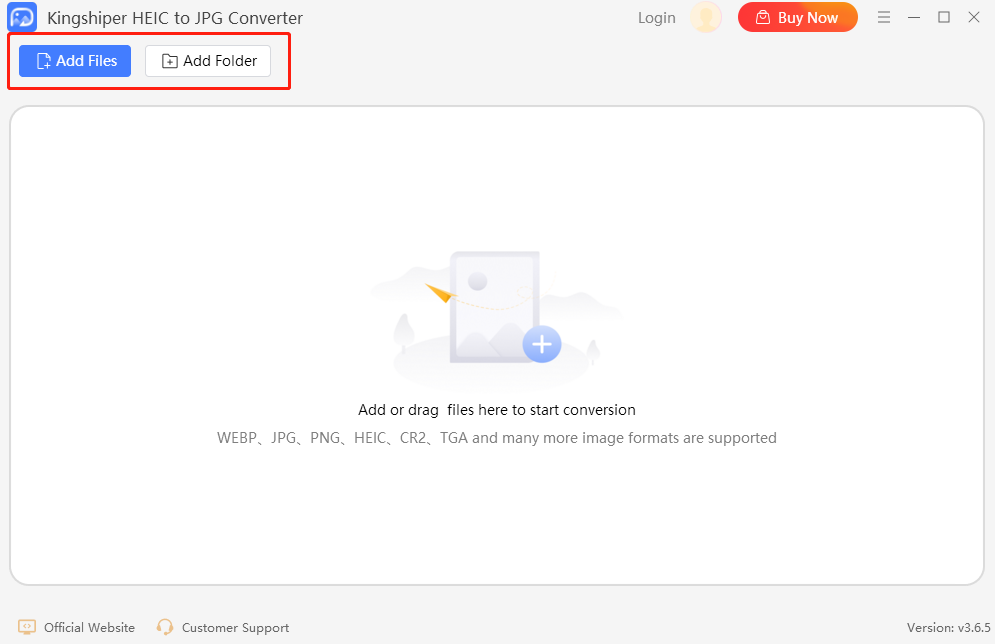
Please launch Kingshiper HEIC to JPG Converter on your computer; the main interface will display. Some basic functions are as below.

2.1.1  Add Files/Folders

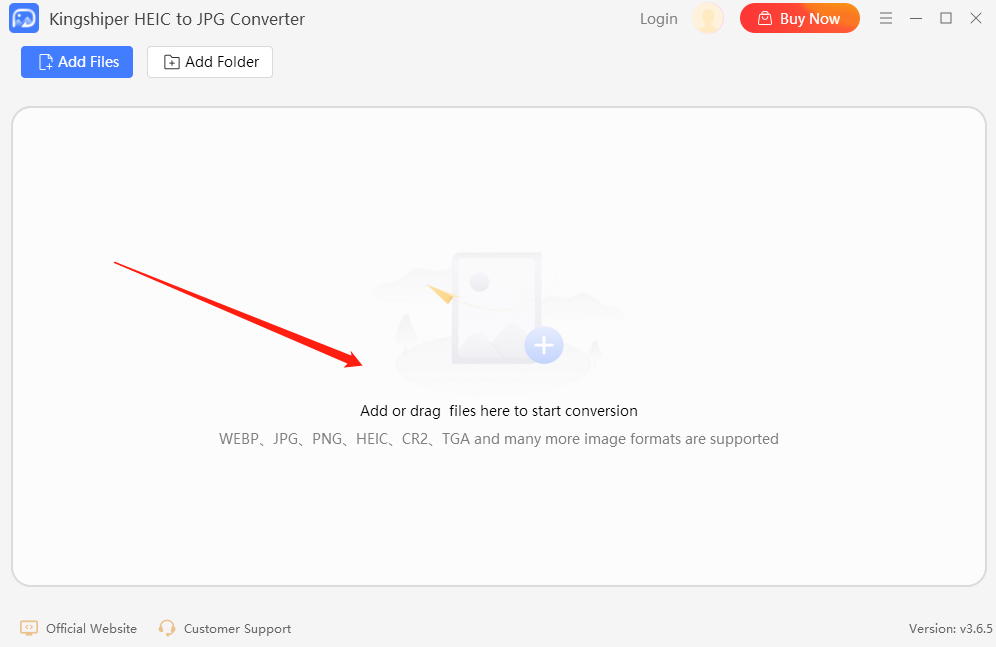
The methods to add file materials include: Add Files, Add Folder, Click the "+" button to add a file and drag a file into the interface. It is convenient for you to drag a file directly through your desktop.

image.png

2.1.2  Preferences

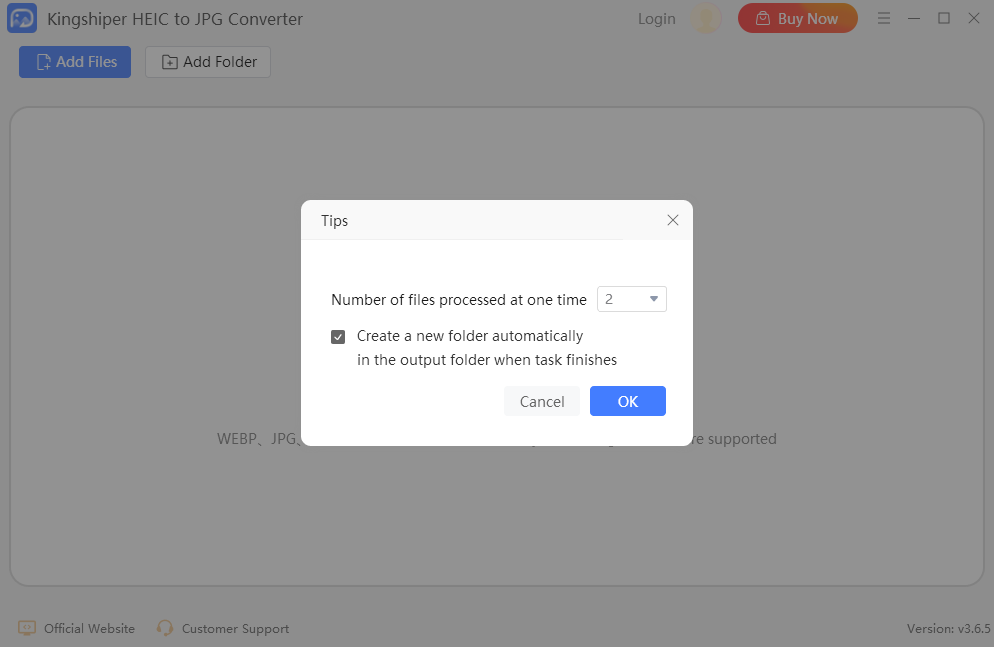
Find the Menu option at the top-right corner, and click on “Preferences”. Here,  you can choose the number of files to process at the same time and tick “Create a new folder to save the output files when exporting” according to your needs.

image.png

2.1.3  Output Settings

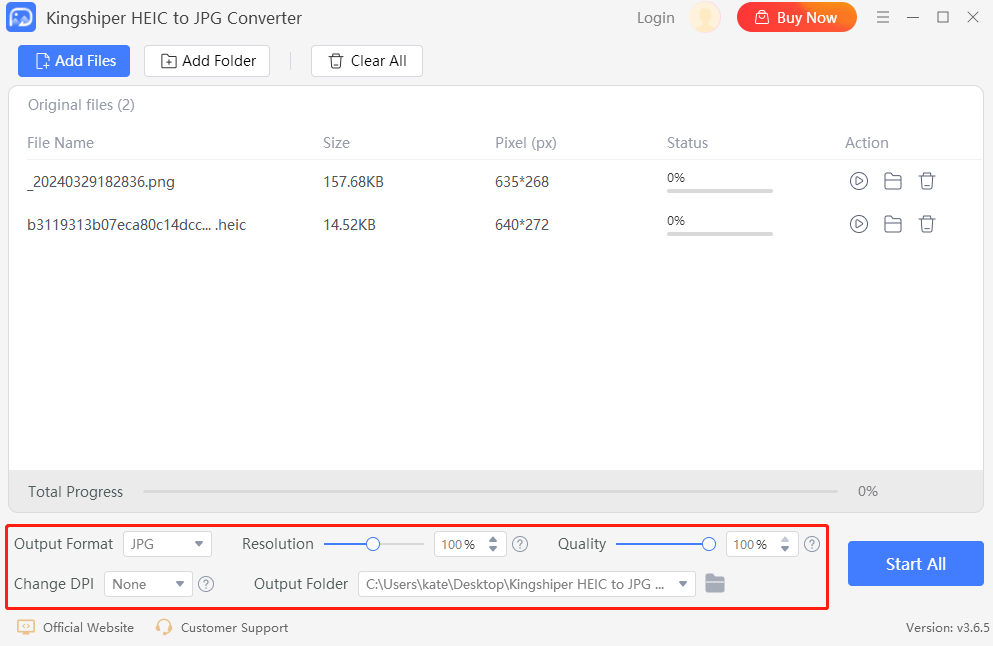
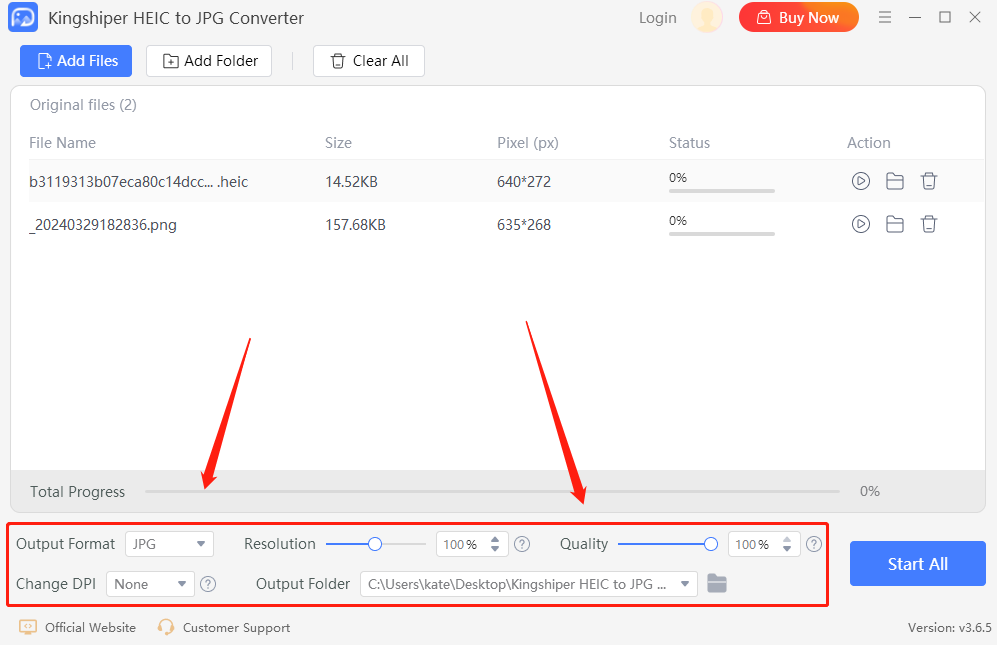
After uploading the file, you can adjust the output settings at the bottom of the interface, such as output format, resolution, quality, and DPI options.

image.png

2.1.4  Support Center

2.1.4.1  Official Website

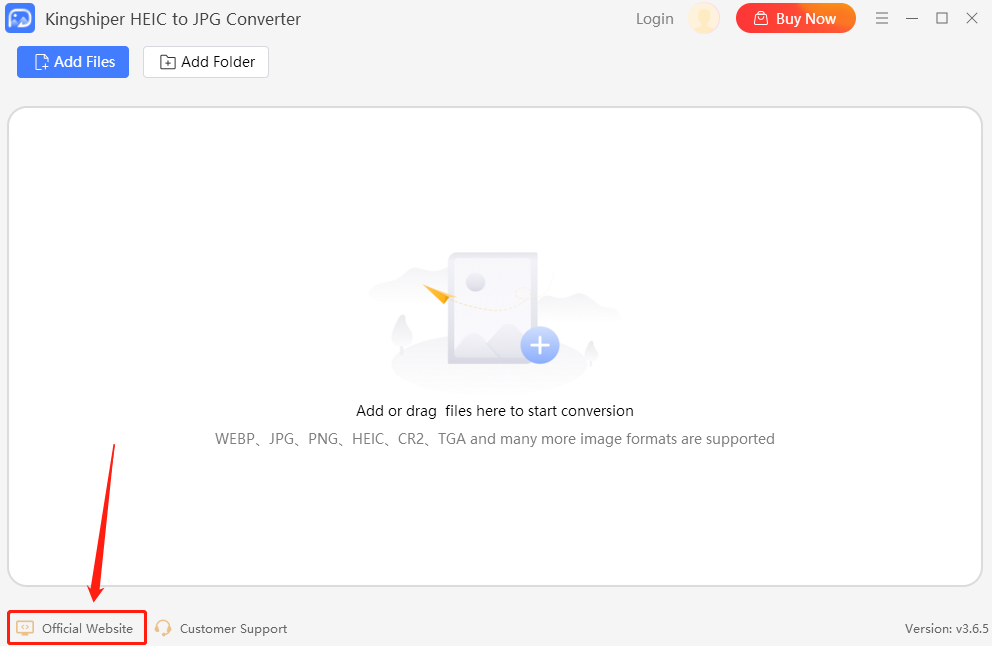
If you encounter any operation-related queries when using Kingshiper HEIC to JPG Converter,  simply click on the 'Official Website' button. The official website provides a comprehensive user guide and how-to tutorials.

image.png

2.1.4.2  Customer Support

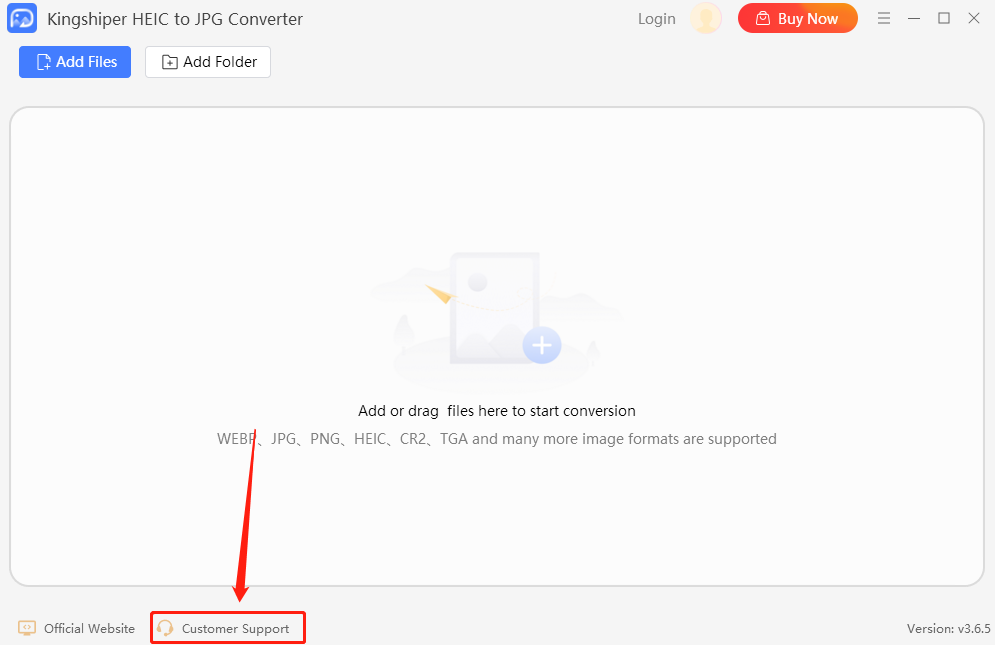
If our tutorials can’t solve your problems,  please click on “Customer Support” to submit a ticket to the Kingshiper support team.

image.png

2.2 Easy Steps to Convert HEIC to JPG

Step 1. Launch Kingshiper HEIC to JPG Converter on your computer. Drag the HEIC files into the software.

image.png

Step 2. Choose the desired output format at the bottom of the interface. Also, you can adjust the resolution, quality, and DPI settings.

image.png

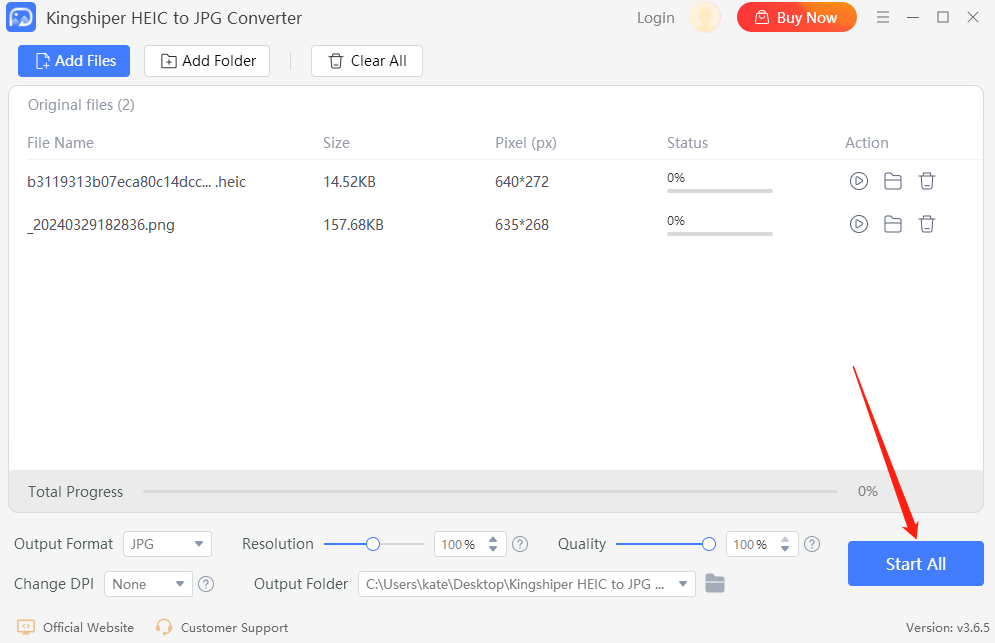
Step 3. Press “Start All” to begin the conversion.

image.png

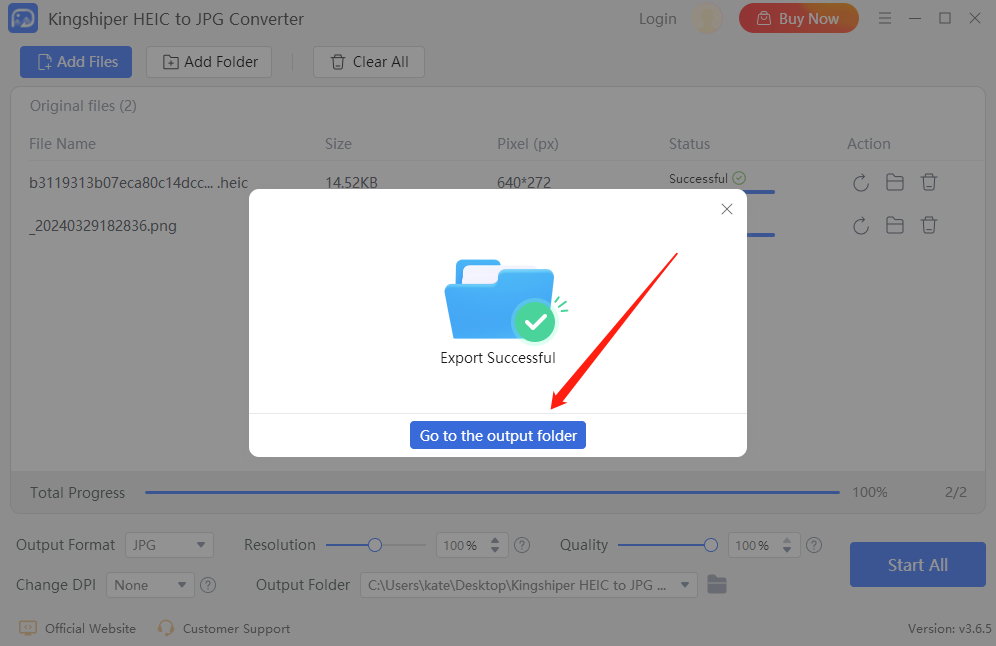
Step 4. Once it has been finished, press “Go to the output folder” to check it fast.

image.png

3  Support and Help

If you have any feedback or suggestions on Kingshiper HEIC to JPG Converter,  please do not hesitate to let us know. We are also enthusiastic about replying to all your questions about using it.

Submit Tickets: https://www.kingshiper.com/contact

Email: [email protected]