Got it

(Guide) Use Mac to Format a Disk to NTFS & Reformat

Can Mac format NTFS? By default, no. As a Windows-used file system, NTFS is not fully supported by Apple's devices due to OS incompatibility. So, you will find that data storage devices that use the NTFS format have limitations when used on Mac.

format ntfs on mac

But it does not mean that you can do nothing with the limitations. Ways to unlock full NTFS support on Mac is quite easy, especially the formatting functionality. After setting, you can format a disk to NTFS on Mac in seconds. And, of course, if you want to reformat an NTFS drive to other file systems like Windows-and-mac supported exFAT, it could not be easier using the Disk Utility.

Can You Use Terminal to Format a Disk to NTFS on Mac? Sorry, It Fails.

Quite a few articles give an intruction to format a disk to NTFS using Mac Terminal. Unfortunately, this method does not work.

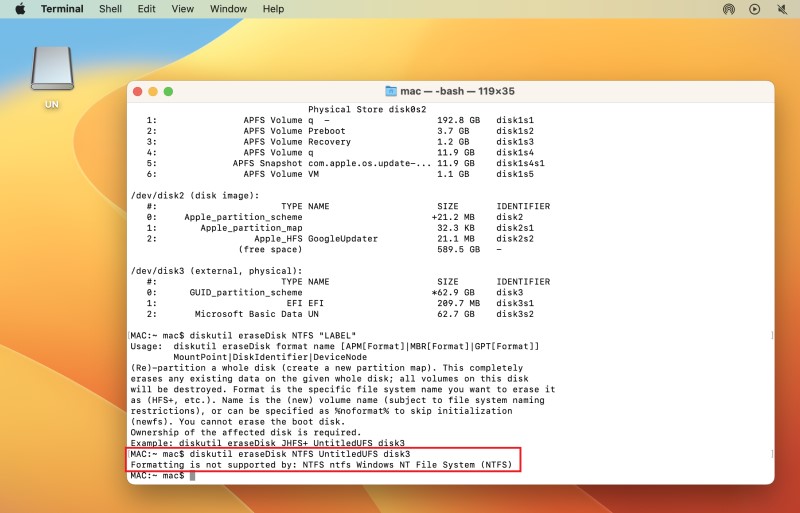
I tried the commands ('diskutil eraseDisk NTFS UntitledUFS disk3') on macOS 13 and got "Formatting is not supported by: NTFS ntfs Windows NT File System (NTFS)." The result is shown in the picture below.

format to ntfs mac

You can see, after inputting the 'diskutil list', the current external drive is formatted by ExFAT. This file system type is displayed as "Microsoft Basic Data UN" (UN is the name of the drive).

After using the 'eraseDisk' command, which is for formatting, the Mac returns guidance and an example of using it. However, even using a correct command, the disk fails to turn into NTFS.

Terminal is undoubtedly a powerful tool to execute command-line operations and interact with the macOS system. But when it comes to NTFS, Terminal cannot activate functions that were not originally available.

Format Disk to NTFS on Mac Using Tuxera (Paid Method)

Tuxera NTFS for Mac makes using NTFS drives conveniently on Mac devices. You can use it to format a drive to NTFS with this tool.

Guide to use it.

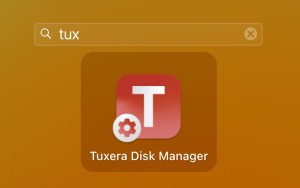
Step 1. Install Tuxera Disk Manager and open it.

Step 2. Connect your drive to the Macbook.

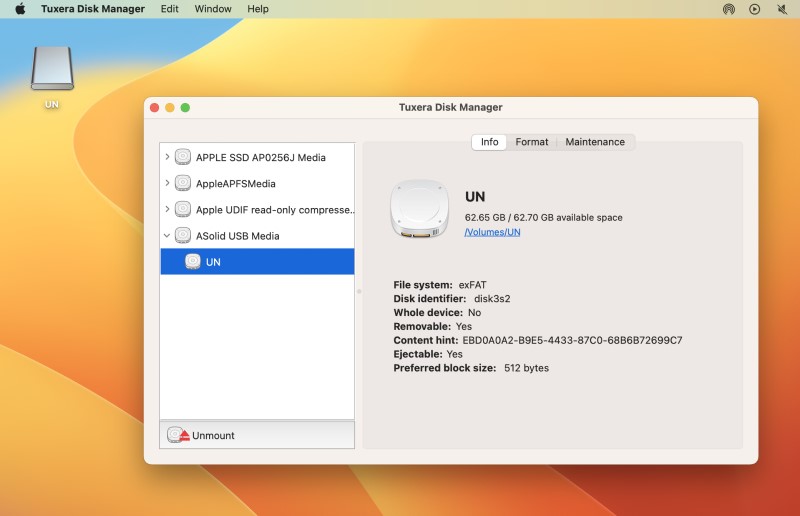
Step 3. Find the drive you want to format to NTFS in the left sidebar.

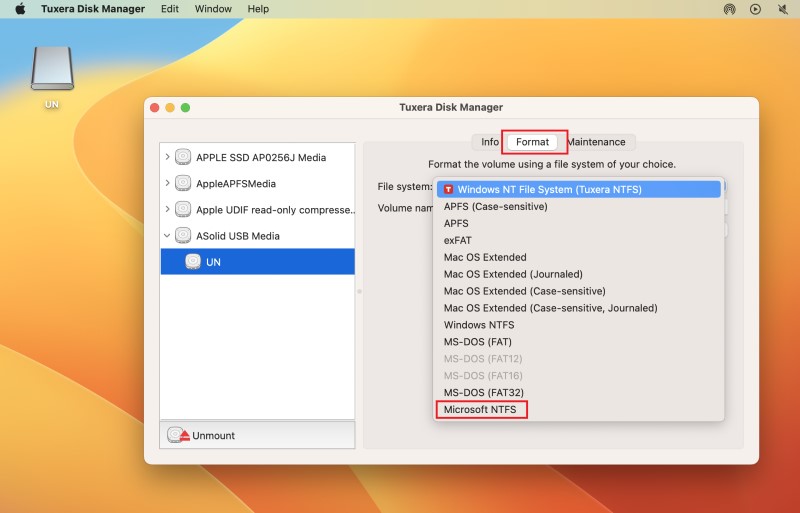
Step 4. Click “Format” > “File system ” > “Format” > “Confirm.”

format external drive to ntfs on mac

This method costs you $15 to get a license.

Format Disk to NTFS Freely

If you’re looking for a free and easiest way to format a drive to NTFS, here’s one.

Step 1. Connect your drive to a Windows PC.

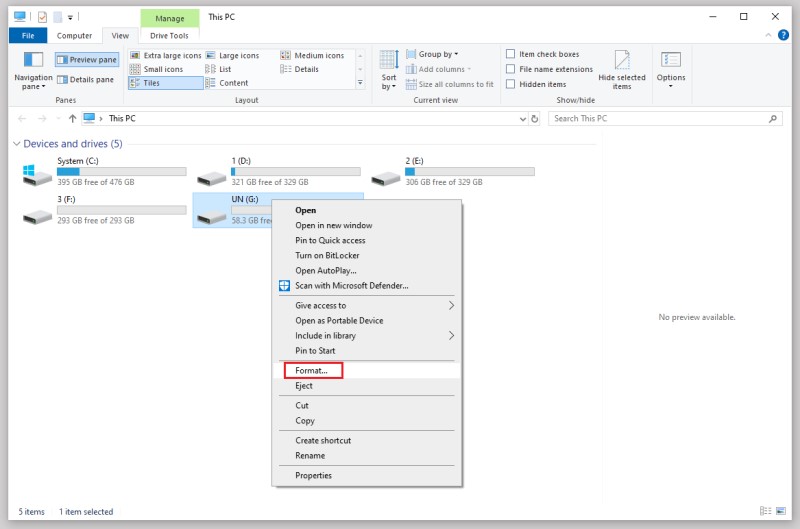
Step 2. Go to “This PC” and right-click the drive.

Step 3. Select “Format.”

format ntfs on mac

Step 4. Drop down “File System” and choose NTFS.

format disk ntfs mac

Step 5. Click “Confirm”

Furthermore, you can use this drive on your Mac now. For the writing support, you're able to activate the access by using Terminal.

Please check the practical guide and commands in this blog: How to Mount NTFS on a Mac.

Reformat a Drive to Other File Systems on Mac

Disk Utility has a built-in erase feature to reformat all kinds of drives, whether a hard drive, SSDs, USB, or memory cards.

It supports multiple file systems:

  • APFS - Encrypted; Case-sensitive; Case-sensitive, Encrypted.
  • Mac OS Extended - Journaled; Journaled, Encrypted; Case-sensitive, Journaled; Case-sensitive, Journaled, Encrypted
  • MS-DOS (FAT)
  • ExFAT

These officially supported file systems allow you to format a drive freely between those file systems.

One thing that should be mentioned is that an NTFS drive is able to reformat on Mac. No additional third-party tools are required.

Step 1. Insert the NTFS-formatted drive into your Mac.

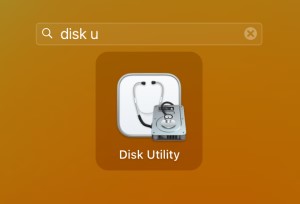
Step 2. Click Disk Utility and the the drive.

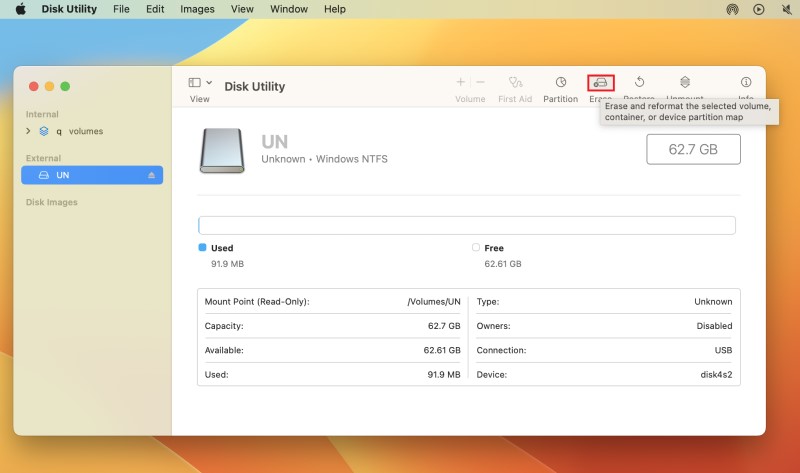
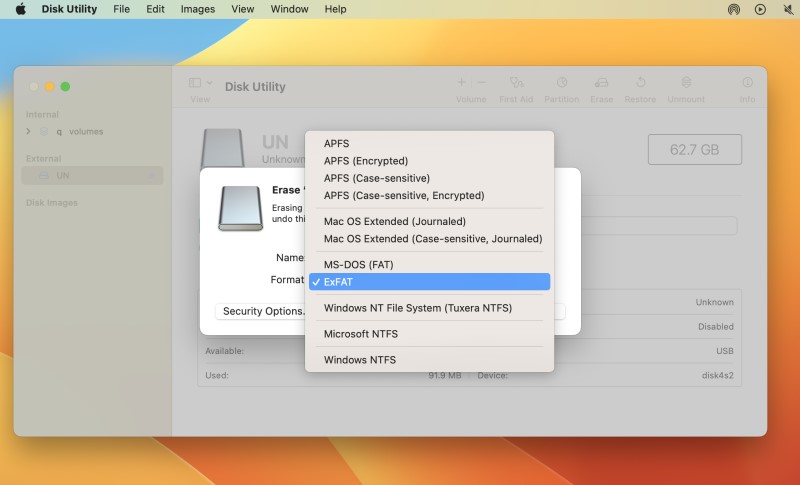
Step 3. Click “Erase” and then choose a file system from the drop-down menu.

ntfs format mac

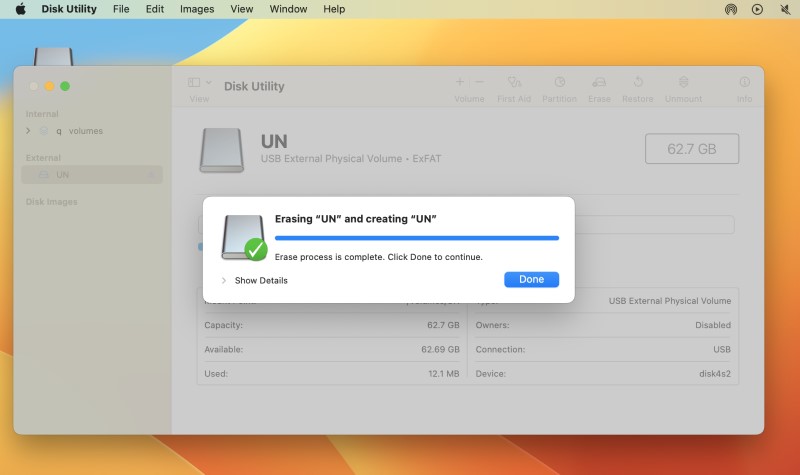
Step 4. Process it with “Erase.”

format ntfs on mac

Whatever the file format you want to turn into, you can use the Erase operation as long as it is supported in the drop-down menu.

Apple-supported File Systems

Type Subtype Benefits Supported macOS
APFS (Apple File System) APFS (Encrypted)
APFS (Case-sensitive)
APFS (Case-sensitive, Encrypted)
● Designed for SSDs and flash storage
● Space sharing and allocated to any volumes
● Snapshots
● Fast directory sizing
macOS 10.13 and later
Mac OS Extended (namely HFS+) Mac OS Extended (Journaled)
Mac OS Extended (Journaled, Encrypted)
Mac OS Extended (Case-sensitive, Journaled)
Mac OS Extended (Case-sensitive, Journaled, Encrypted)
● Works well with older macOS versions
● Journaling
macOS 10.12 or earlier
MS-DOS (FAT) ● Windows-compatible support 32 GB or less Old versions of OS X and recent versions of macOS
exFAT ● Windows-compatible support over 32 GB
Old versions of OS X and recent versions of macOS
NTFS ● Windows-compatible support read access only on Mac by default Mac OS X 10.3 and later

Meaning of Encrypted, Case-sensitive, and Journaled

Apple provides additional features for its file systems and puts type names at the end. Features of each type are as follows.

Encrypted: uses encryption to protect the data stored on the volume, including files, directories, and metadata.

Case-sensitive: distinguish file names based on case; e.g. "file.txt" and "File.txt" are treated as separate files.

Journaled: protect the integrity of the file system; it helps faster data recovery if there is a system crash or failure.

Latest Articles