Got it

Mount NTFS on Mac: How to Enable Read and Write Access?

Mounting is the process of making file systems accessible to the device operating system when connecting a storage device to PCs/laptops. It makes stored data readable and writable by device users.

This process is critical when there is an incompatibility between the external storage device and the machine to work on, for instance, an NTFS drive and a Mac.

What does mount mean in NTFS on Mac?

NTFS, as a file system, has seamless integration in Windows-based computers. But to use NTFS hard drives or SSDs on Mac, you will find that the storage device can only be read.

Mounting NTFS on Mac enables a MacOS device to recognize NTFS-formatted files and, further, enable write support.

The question is, how to mount NTFS on Mac? You can try the methods below.

mount ntfs mac

Method 1:Use Terminal on Mac to Mount NTFS (Enable Write Access)

Terminal is an application on Mac. It’s used for entering text-based commands and scripts to perform certain tasks.

To mount NTFS via Mac Terminal, you need a mount point and disk identifier so that the drive is accessible and controllable by MacOS; in other words, to activate read-write access.

Learn More:
Mount point: where the MacOS places your external hard drive; help you to find the hard drive in the device system. (e.g. /Volumes)
Disk identifier: the operating system uses it to refer to a specific disk or partition. (e.g. /dev/disk2s1; disk2 is the disk number;s1 is the partition number.)

How to mount NTFS via Mac Terminal? Read this guide.

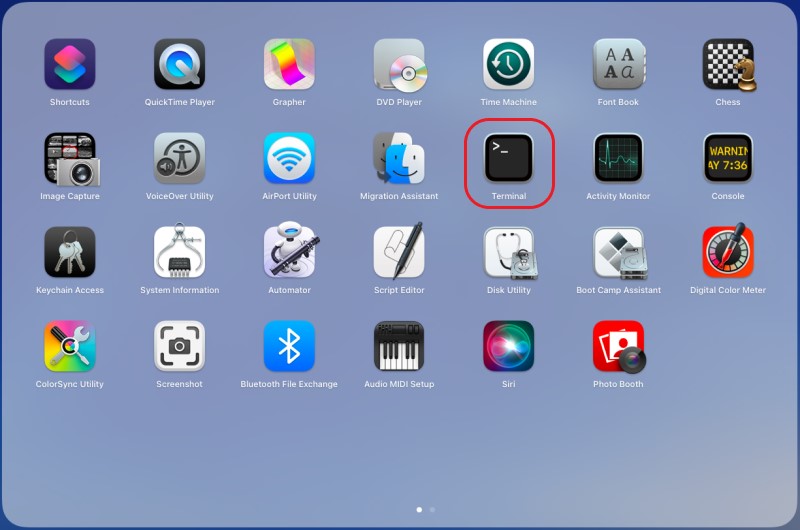
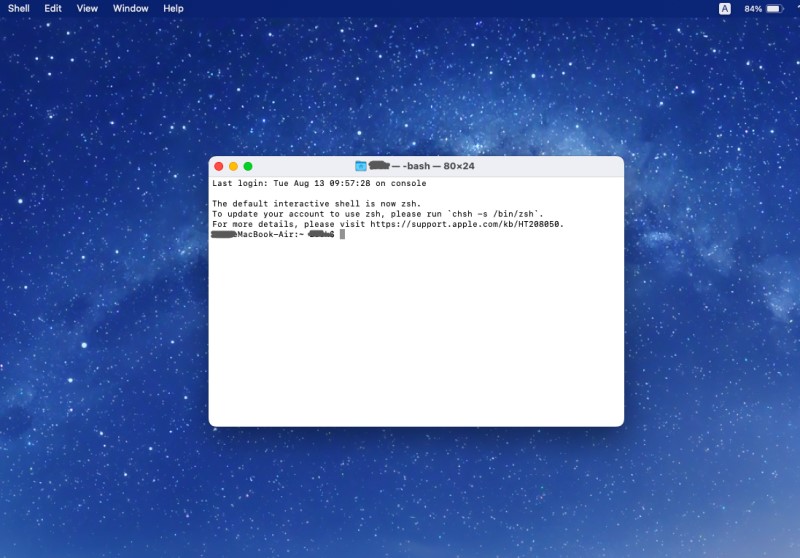
Step 1.Connect the NTFS drive to your Mac and open Terminal.

After connecting the drive, click Finder - Applications/Utilities and then find Terminal.

Step 2.Check the connected NTFS drive status with ‘diskutil list’ command.

This step helps verify whether the drive is recognized by macOS and its feasibility of mounting.  Otherwise, failure may occur.

Use ‘diskutil list’ command to get all connected disks and partitions. Find your NTFS disk in the list.

how to mount ntfs on mac

In this example, /dev/disk2 is identified as the NTFS drive.

Type ‘diskutil info /dev/disk2’ to view detail info.

mount ntfs drive on mac

Now you can see whether the drive is mounted (Mounted: Yes) and where it is mounted (Mount Point: /Volumes/NTFS Drive).

Tips: When inputting command text, Apple may require your password to execute the command. A key icon will appear. Just click on it and enter your admin password directly, then tap "enter/return." Now, you can continue typing the command line behind the gray square.

Step 3.Unmount the NTFS drive if necessary.

Unmounting an NTFS drive is necessary if you want to change configurations or use third-party tools for write support activation.

You can use this command to unmount NTFS drives: ‘sudo diskutil unmount /dev/disk2s1’

Replace ‘/dev/disk2s1’ with your NTFS drive (get the device identifier info from step 2)

Note: If you're using macOS 10.13 and later, a third-party tool is a must to enable writing access for NTFS on Mac. Because the built-in support for NTFS is read-only, and there is no native write support.

Older macOS version is technically possible to enable write-support by using system-hidden features.

Step 4.Create a mount point using ‘sudo mkdir /Volumes/NTFS’.

The mount point will indicate where the filesystem is attached in Mac.

‘sudo’ stands for ‘superuser do.’ It helps to perform tasks that require administrative rights.

‘mkdir’ means ‘make directory’. It’s used to create new directories (folders) in the file system.

As for ‘/Volumes/NTFS’, you can choose a different directory to replace it.

Step 5.Remount the NTFS Drive as read-write support.

Enter this command:

‘sudo mount -t ntfs -o rw,auto,nobrowse /dev/disk2s1 /Volumes/ntfs

mac mount ntfs read write

Make sure that you have added ‘nobrowse’, otherwise it's still read-only.

If you use a third-party tool like NTFS-3g, try this command to mount the drive with write support: ‘sudo /usr/local/sbin/ntfs-3g /dev/disk2s1 /Volumes/NTFS’

Step 6.Verify the mount and see if there is ‘rw.’

You can use ‘mount | grep ntfs’ to check whether the NTFS drive has been mounted with write support.

The ‘mount’ command shows all mounted filesystems and their mount points.

And 'grep ntfs' is used to filter the output so as to show entries related to NTFS.

‘rw’ indicates that the NTFS drive is mounted with read-write support. Check if the output has this.

If you see ‘ro,’ it indicates read-only access.

Step 7.Access the mounted NTFS on Mac and write it.

Now, open the drive with ‘open /Volumes/ntfs’. You can write NTFS on Mac immediately.

mac mount ntfs read write

Method 2: Use NTFS for Mac Software to Mount NTFS Drive

Using NTFS for Mac Software to mount NTFS needs less developer knowledge than the previous method. It’s easier in operations.

All you need is to find a reliable NTFS for Mac tool. Now, let’s start.

1. Install NTFS for Mac on your Apple device.

Kingshiper NTFS for Mac is free to use.

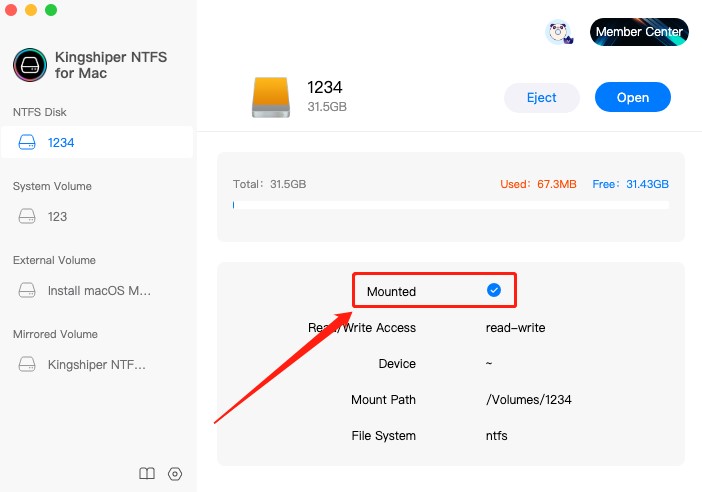
2.Insert NTFS drive and open Kingshiper NTFS.

The straightforward interface allows you to check basic info like space and access.

mac mount ntfs read write

3.Automatically mount NTFS on Mac once connected.

4.Write the NTFS drive directly in the dashboard.

Kingshiper NTFS for Mac helps write the NTFS-formatted drive conveniently, such as copy, paste, delete, etc.

Kingshiper NTFS for Mac

Official

Download

Common Issues when Mounting NTFS on Mac and Solutions

Error Message: com.apple.DiskManagement.disenter error
How to fix: this is caused by the security update. You can reinstall the macOS from Apple’s official website.

Error Message: mount: only root can do that
How to fix: add ‘sudo’ before the command; it will execute the task as a superuser.

Error Message: mount: wrong fs type, bad option, bad superblock on /dev/sdXN, missing codepage or helper program, or other error
How to fix: If the file system is damaged, you can run ‘ntfsfix’ to help.

Is It Safe to Use the Terminal Command to Enable NTFS Write Support?

It’s safe to mount the NTFS drive and enable write support on the Mac Terminal.

However, data corruption is possible to occur if the commands are not used correctly.

Can macOS Format a Drive as NTFS?

No. Mac does not offer an NTFS format option in its Disk Utility. You can only format a drive as APFS, HFS+, FAT32, and ExFAT.

Latest Articles