1 Get Started
It is simple to download, install, purchase, and activate the software. Follow the below steps.
1.1 Download & Install
Step 1. Download it on Your PC
If you don't have Kingshiper Auto Clicker yet, click the button below to download it. Or visit here to download it.

Step 2. Install Kingshiper Auto Clicker
From the pop-up window, you can click the “Install” button to install our product as the default or you could choose the “Customize” option. After that, you can click the Install to go ahead.

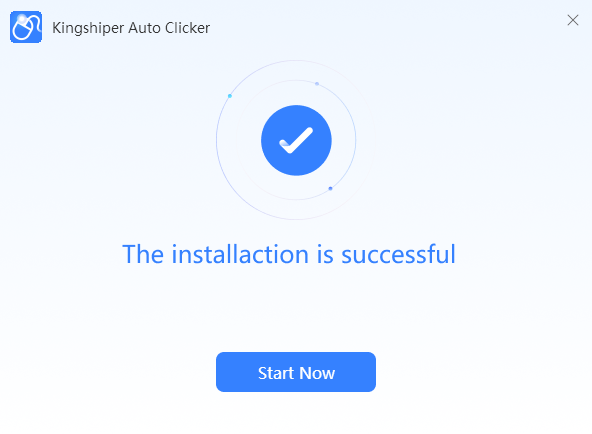
Step 3. Launch Kingshiper Auto Clicker
It will take seconds to install Kingshiper Auto Clicker successfully. A window like the below will prompt you that you can click the “Start Now” button to open Kingshiper Auto Clicker at once.
1.2 Login with Kingshiper Account(Register) & Update & Uninstall
1.2.1 Login Kingshiper Auto Clicker with Kingshiper Account/Old License
With the premium version of Kingshiper Auto Clicker, you'll have the following permissions.

If you want to enjoy the full features without any limitations, please simply click the “Buy now” option in the upper-right corner to purchase Kingshiper Auto Clicker from the official store.

If you have already purchased Kingshiper Auto Clicker, please log in with the Kingshiper Account by clicking the Login button.

1.2.2 What is Kingshiper Account?
Kingshiper Account refers to the account you created from one of the Kingshiper products. It helps you manage your order details and log in to Kingshiper products that support Kingshiper Account.
1.2.3 How to log in to Kingshiper Auto Clicker?
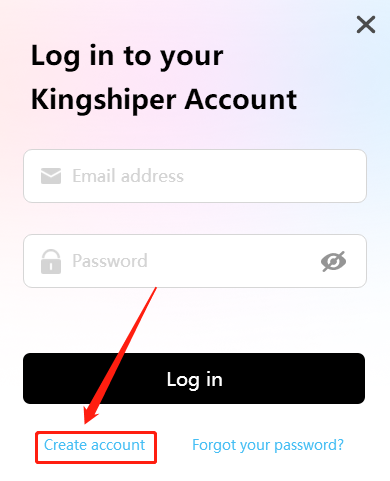
Launch Kingshiper Auto Clicker after installation, and click the Login button in the upper right corner to get a new window as below.

1.2.4 How to sign up for a new Kingshiper Account.
If you don't have a Kingshiper Account, then you need to click the Create account here option on the initial interface and create a new account.
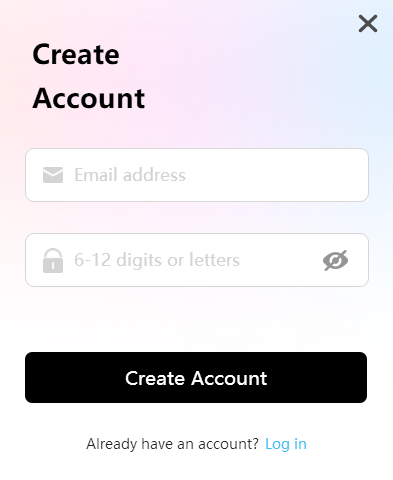
You'll get a new interface to enter your email address and set a password, and then click the “Create Account” button to create the account.
1.2.5 What can you do with Kingshiper Account?
You can click on the “Member Center” button to open the Kingshiper official website and click on the Person icon, then choose “Account Center”. You can edit your profile, change your password, and check your order on this page.
My order: You can find the Order, Profile, and Security information here.
Profile: You can edit your personal information from this tab.
Security: You can change your password here.
1.2.6 Update
If you want to check if your Kingshiper Auto Clicker is the latest version, you can follow the steps below:
Go to the “Menu” icon, and click the “Check for Updates”. It will pop up a Live Update window.

1.2.7 Uninstall
If you think Kingshiper Auto Clicker hasn't met your expectations or you don't want to use it now, you can uninstall it as below:
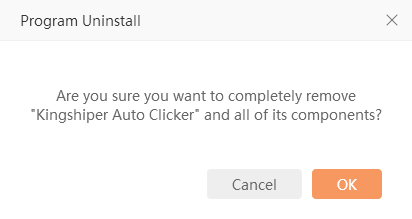
Go to “Control Panel” > “Programs” > “Programs and Features” > “Uninstall” and then right-click the icon of Kingshiper Auto Clicker and select Uninstall. Click “OK” when asked "Are you sure you want to completely remove Kingshiper Auto Clicker and all of its components?"
1.3 Brief Introduction
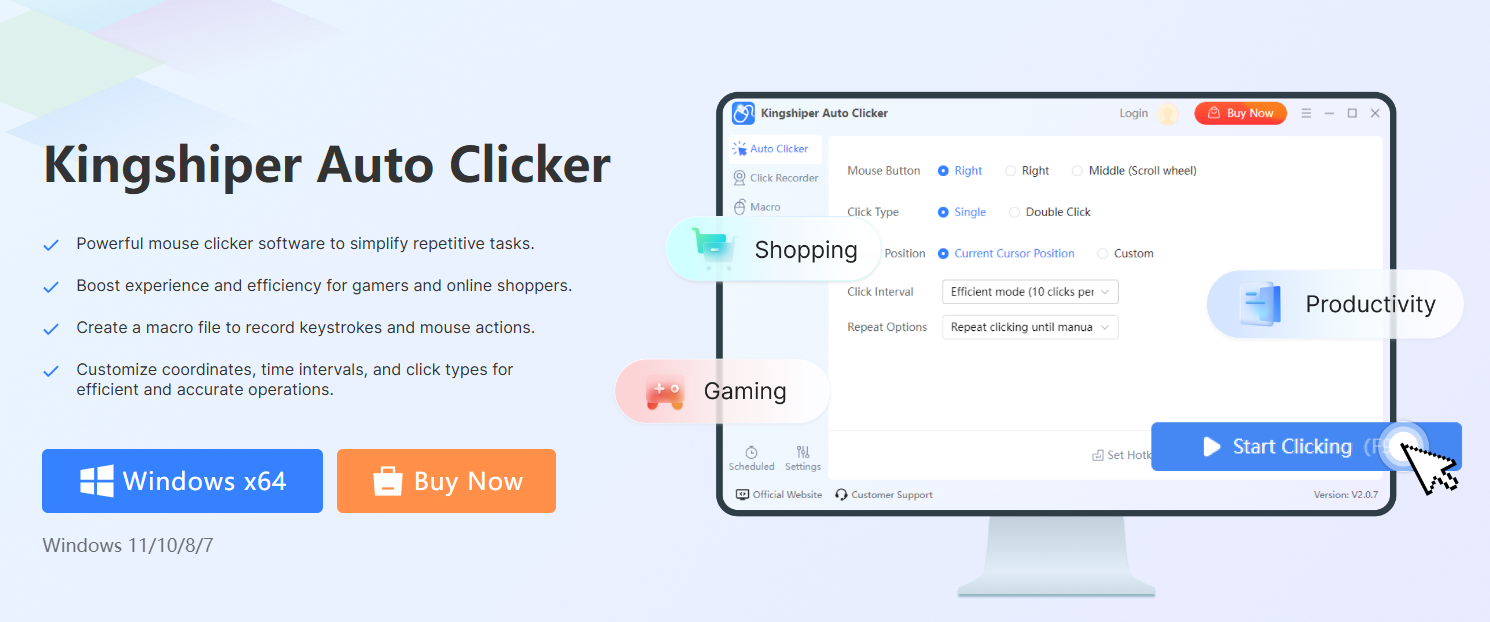
Thank you for your interest in Kingshiper Auto Clicker. Kingshiper Auto Clicker is a user-friendly mouse-clicking software that allows users to automate clicking actions and record macros in one single click on Windows PC. Whether dealing with tedious clicks in games or inputting large amounts of data in daily tasks, Kingshiper Auto Clicker can handle it all with ease. You simply need to set the click frequency and location, and you can even record complex sequences of actions to automate repetitive tasks automatically.
2 How to Use Kingshiper Auto Clicker
2.1 Key Features
Please launch Kingshiper Auto Clicker on your computer; the main interface will display. Some basic functions are as below.
2.1.1 Auto Clicker
Kingshiper Auto Clicker supports various clicking methods, including left-click, right-click, and middle-click (scroll wheel), as well as custom click settings. It allows users to automate repetitive clicking tasks, enhancing productivity and reducing manual effort. Moreover, it offers configurable clicking intervals and the ability to target specific screen locations, enabling precise and customized automation.

2.1.2 Auto Keyboard
Keyboard auto-clicking allows you to automate repetitive tasks by presetting keys and interval durations. Once configured, the software automatically performs keyboard actions at your defined speed and frequency, saving time and effort for tasks like gaming, data entry, or testing.

2.1.3 Recorder
This enables you to record mouse movements, clicks, and other actions during rapid clicking processes. Through Recorder, you can record the mouse and keyboard actions that can be replayed or edited, and thus enhancing accuracy and efficiency in repetitive tasks.

2.1.4 Macro
This feature can help you streamline complex processes by setting up a series of actions on the left side of the interface. Once all the operational steps are preconfigured, you can execute the entire sequence with a single command. This capability enables the software to automate multi-step tasks, saving time and effort by seamlessly executing intricate operations.

2.1.5 Quick Scripts
The Quick Scripts feature offers a convenient way to record and execute repetitive keyboard or mouse actions. By presetting action workflows, it enables you to complete complex tasks effortlessly.

2.1.6 Tutorials
The Tutorials provide detailed feature descriptions and operation instructions, including FAQs and practical use case examples. Whether you're a new user or an experienced one looking to explore advanced features, the guide helps you quickly get started and master the software's functionalities, offering strong support for everyday use.

2.2 Settings
2.2.1 Auto Clicker
In this section, you can configure the Click Duration, the time interval between each click action, and the range for random jitter of the click coordinates.

2.2.2 Record Actions
In this section, you can select the mouse and keyboard actions you want to record, including Keyboard, Mouse click, Scroll wheel movements, Delay time between actions, and Mouse movement.

2.2.3 Macro/Recorded File
Here, you can set the number of repetitions for the recorded files, as well as the delay time after each run, and the running speed.

2.2.4 Hotkeys
In this section, you have the option to customize the hotkeys for mouse click start/stop, record start/stop, and run start/stop. This feature is primarily designed to be used with the floating boat, which can significantly enhance work efficiency. Additionally, you can set custom hotkeys as long as there are no conflicts with existing hotkeys.

2.2.5 More
In this part, you can choose whether to display the floating ball, as well as the file saving path, etc. It can be adjusted according to your needs. After making the adjustments, remember to click "OK" to confirm.

2.3 Support Center
2.3.1 Official Website
If you encounter any operation-related queries when using Kingshiper Auto Clicker, simply click on the 'Official Website' button. The official website provides a comprehensive user guide and how-to tutorials.

2.3.2 Customer Support
If our tutorials can’t solve your problems, please click on “Customer Support” to submit a ticket to the Kingshiper support team.

3 Easy Steps to Use Kingshiper Auto Clicker
3.1 How to Use Auto Clicker
Step 1. Launch Kingshiper Auto Clicker and click on the “Auto Clicker” on the right side.

Step 2. Set the Mouse Button, including the Left, Right, or Middle button(Scroll wheel).

Step 3. Determine the click position. You can select a specific location for the mouse click or enter coordinates.

Step 4. Set the interval time between clicks. Kingshiper Auto Clicker provides two modes, each with a different number of clicks, and you can customize the interval as desired.

Step 5. Set the Repeat Options. You can configure it to repeat based on time or number of clicks, or continuously click until manually stopped.

3.2 How to Use Click Recorder
Step 1. Launch Kingshiper Auto Clicker and click on the “Recorder” on the left side.

Step 2. Press F10 or click “Start Recording” to capture mouse movements and click actions.

Step 3. Once you've finished recording, click the “Edit” button to make adjustments.

Step 4. A pop-up window will appear where you can edit and customize the recorded actions.

Step 5. If you want to use it next time, simply select the recorded file and click to run it.

3.3 How to Run Macro File
Step 1. Launch Kingshiper Auto Clicker on your computer, and click on the “Macro” button.

Step 2. Click “Create Macro” or press F10 to open the “Edit Macro” window. Here, you can select the corresponding mouse and keyboard actions.

Step 3. When you’ve finished, click “Save Macro” on the top right corner to save the changes.

Step 4. If you want to run the macro file, just click “Run” or press F11 to start the actions.

4 Support and Help
If you have any feedback or suggestions on Kingshiper Auto Clicker, please do not hesitate to let us know. We are also enthusiastic about replying to all your questions about using it.
Submit Tickets: https://www.kingshiper.com/contact
Email: [email protected]


 All
All


 Hot Products


