Top 3 Methods to Remove Noise from a Recorded Audio in 2024
- Support
- Dynamic News
- Kate
627
- 2024-06-03 18:25:47
Having an external noise in a recorded audio is really a big headache, that’s too annoying that when we finally recorded an audio but found some unwanted noise in it. Therefore, we will provide three of the most effective methods to remove background noise from audio for you to choose from in this article. Hopefully, this will save your otherwise unusable audio files.
Part 1. How to Remove Noise with Kingshiper Audio Editor
Kingshiper Audio Editor is one of the best audio processing tools on the market, which manages to merge functionality with simplicity, making it both accessible and capable at the same time. The software meets almost all your demands for audio processing, providing both basic functions and featured effects, such as noise reduction, change tempo fade in and out, etc. Apart from this, it also supports MP3, OGG, FLAC, M4A, WAV, and other audio file formats, and helps you export in the highest quality.
Step 1: After installing Kingshiper Audio Editor, open it with a double click of the mouse, drag and drop the audio into the software.
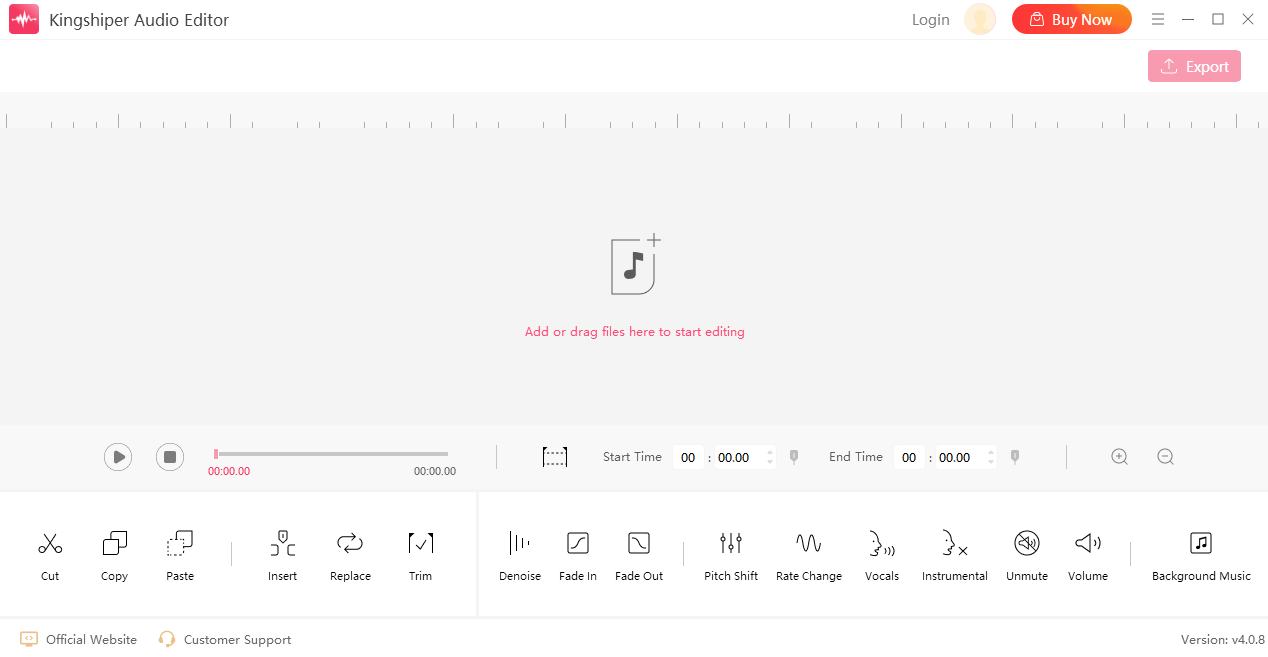
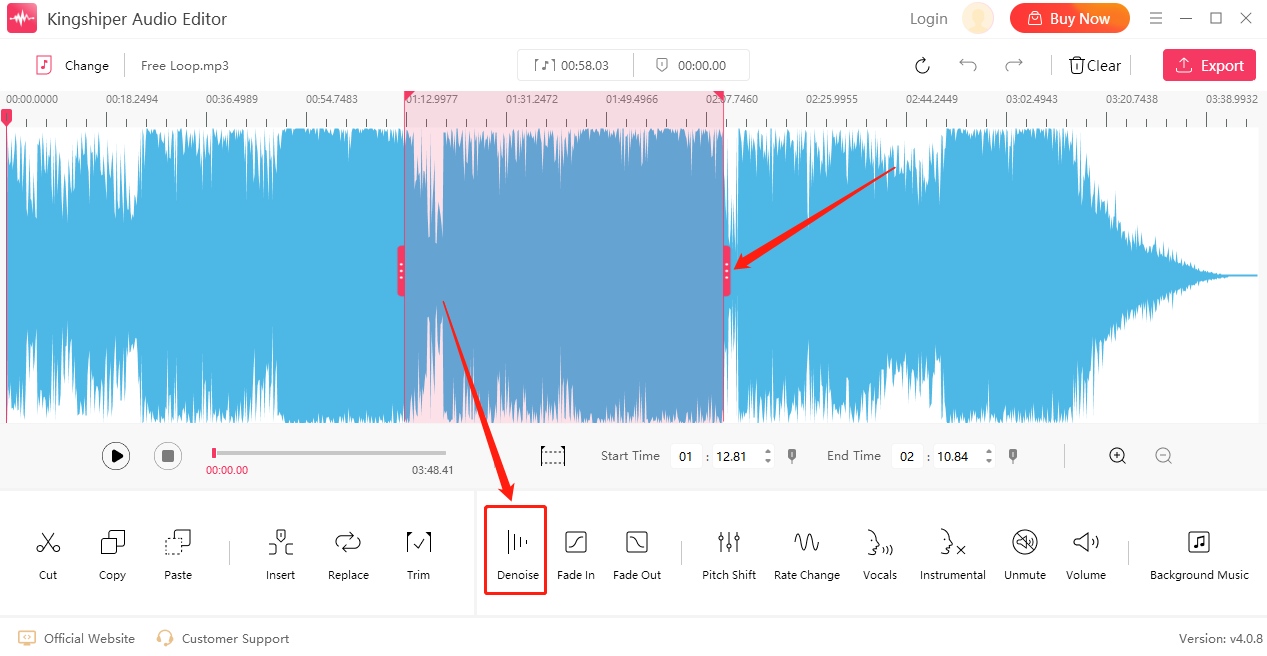
Step 2: Then, select a clip with noise and click "Denoise".
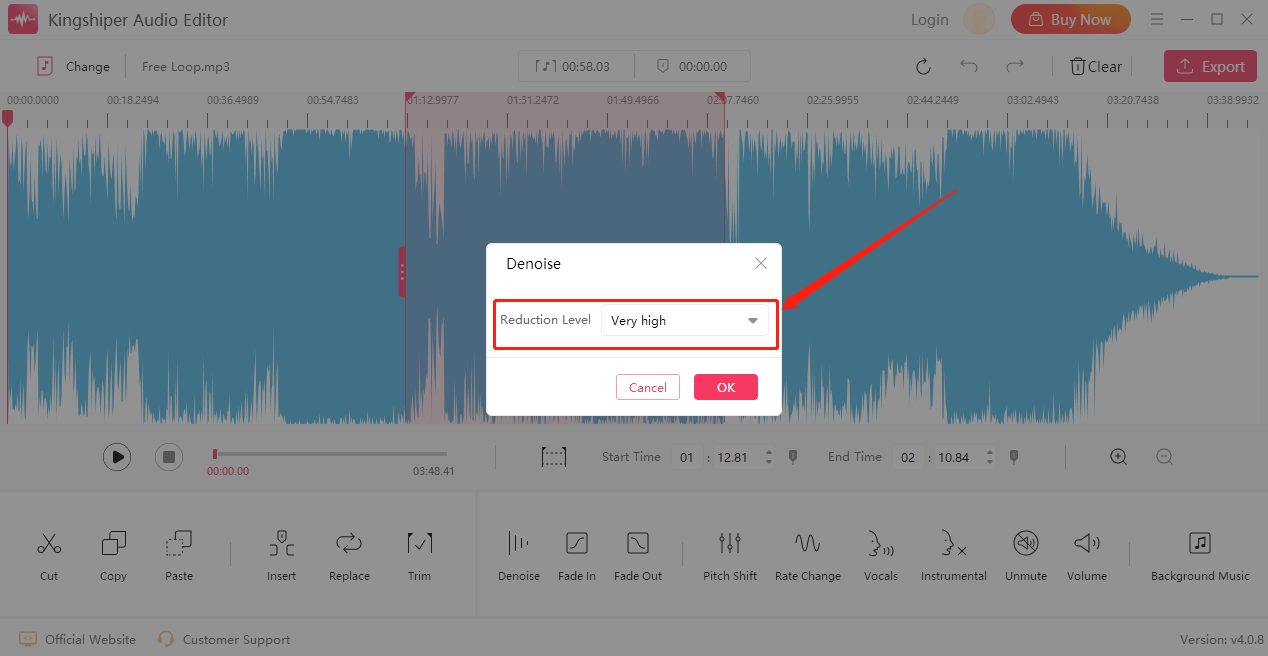
Step 3: Choose the appropriate level under "Reduction Level" in the pop-up window. Then, click "OK".
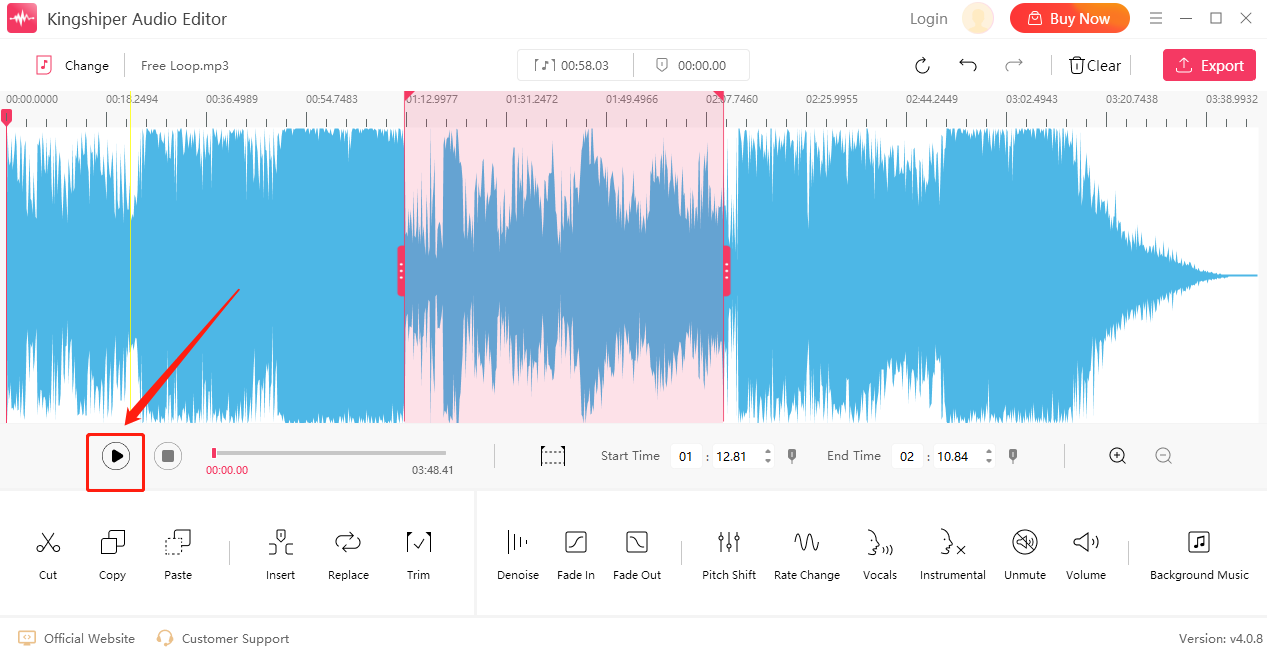
Step 4: When the noise reduction is complete, click on the "Play" button to preview the effect.
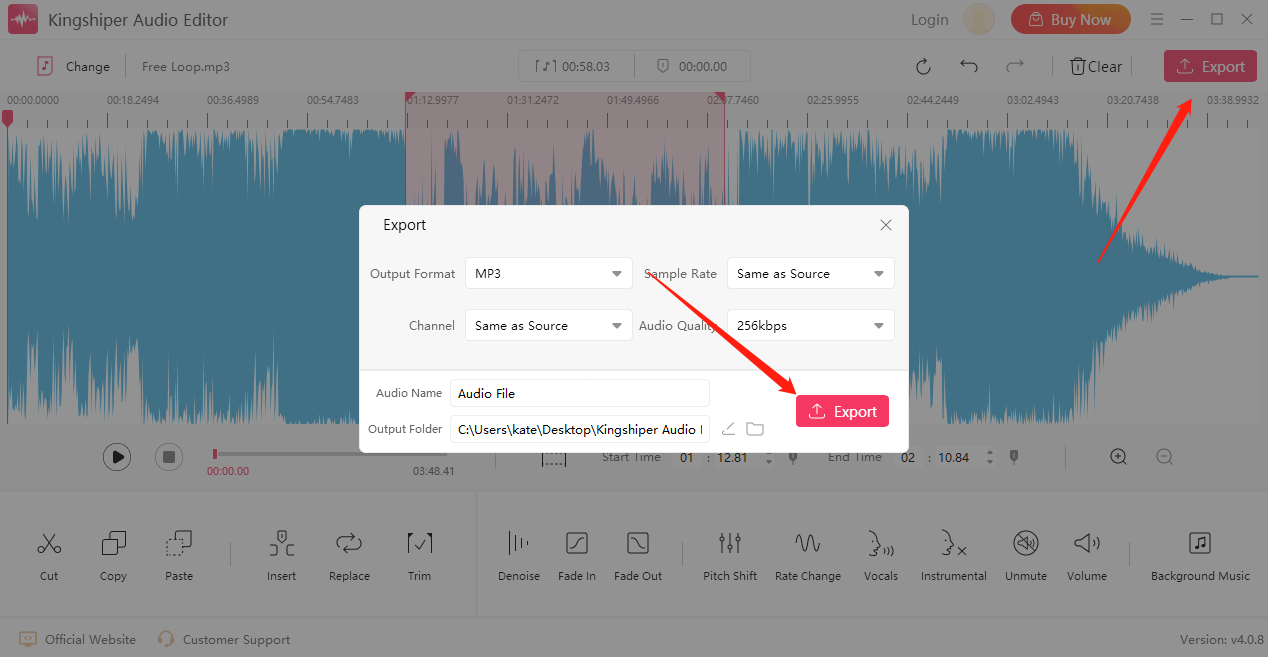
Step 7: Then, Click "Export" at the top right corner. And set the output settings in the export window. When you have finished, click "Export".
Part 2. How to Removal Noise with a Web Application
Aspose Audio RemoveBackgroundNoise is a free application to remove background noise from audio files. There’s no requirement for a separate file to be downloaded onto your device and it works from all platforms including Windows, Mac, Android, and iOS.
Step 1: Click inside the file drop area to upload an audio file or drag and drop an audio file.
Step 2: Your Audio file will be uploaded and will be processed.
Step 3: Click ”DOWNLOAD NOW” to save your changed audio files on your computer.

Note that files will be deleted from ASPOSE servers after 24 hours and download links will stop working after this time period.
Part 3. How to Remove Noise on Mac with iMovie
On a Mac, you can combine audio files with iMovie, a video editor made by Apple with some advanced editing features. Here are five steps to remove background noise in iMovie.
Step 1. Launch iMovie on your Mac.
Step 2. Click the "+ New Project" icon, and then import your audio file.
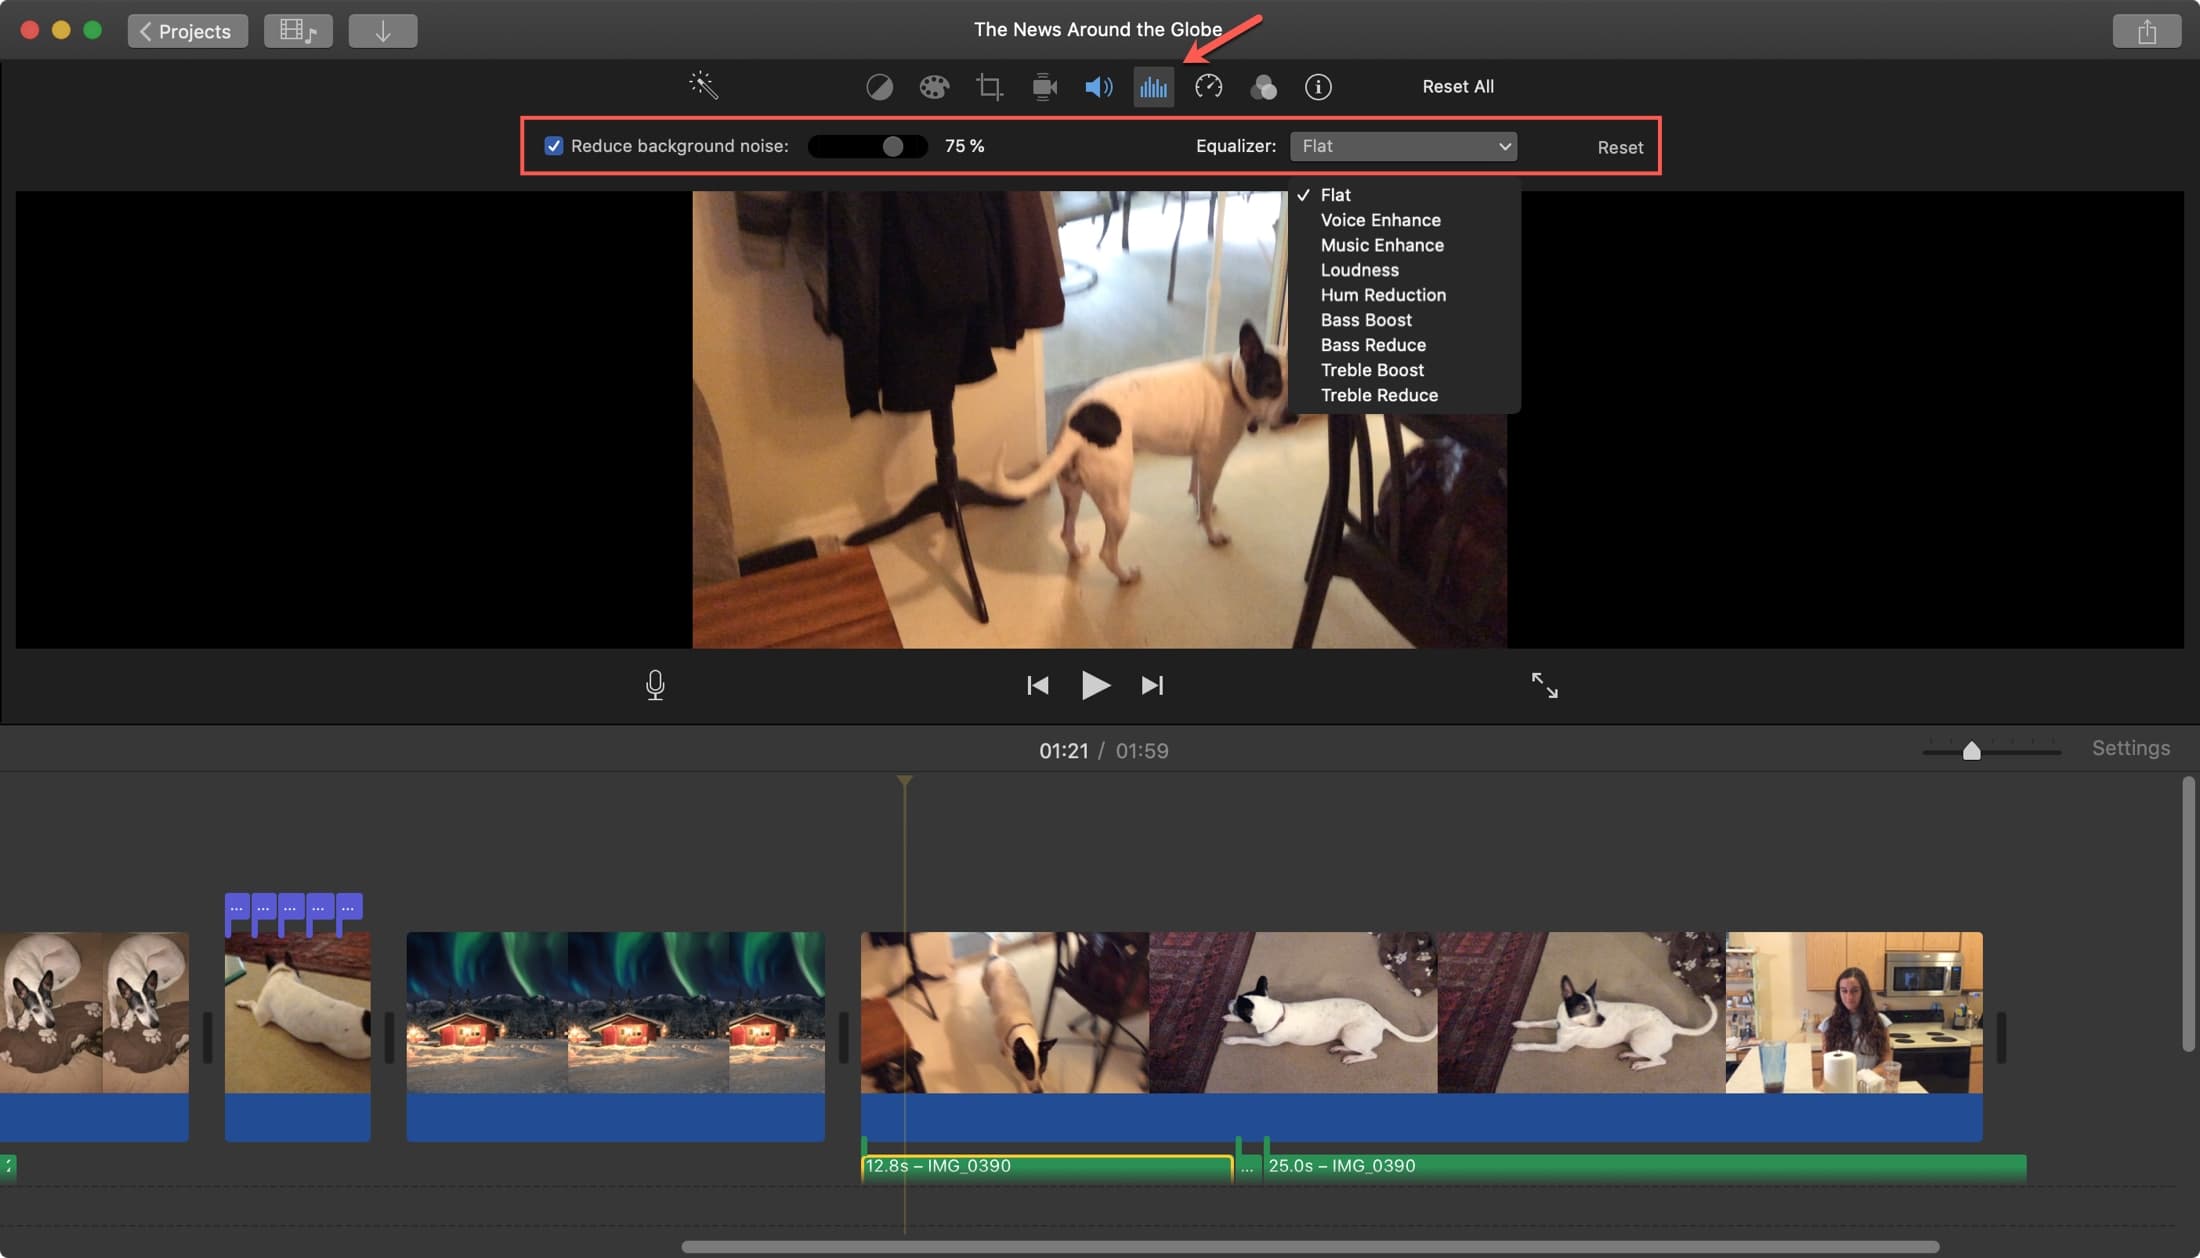
Step 3. From the middle effect menu bar, choose "Settings" and then will pop-up a window.
Step 4. Click “Denoise” from the Audio section.
Step 5. When it has been finished, click “Export” to download it on your computer.
In conclusion
We have listed three ways here. With the provided solutions, you can remove unwanted noise in any format and export them in various formats. We will pick up KingShiper Audio Editor as we think it is the easiest way to reduce noise reduction with this tool. Let me know what will be your choice.


