


How to Remove Silence at the Beginning or End of an Audio[Windows]
- Support
- Dynamic News
- Kate
 731
731- 2024-06-03 19:19:31


Audio editing may seem complex, but basic tasks like removing silence from the beginning or end of a track can be accomplished quite easily with the right tools. Silence in an audio file can sometimes be unnecessary or distracting, and removing it can provide a smoother listening experience. In this guide, we'll show you how to effectively remove silence from your audio files on a Windows computer using different audio editing software. Let’s see what they are!
Part 1. How to Remove Silence with Kingshiper Audio Editor
As one of the best free audio editing software, Kingshiper Audio Editor stands out with its versatility and power, catering to both beginners and experienced users. With a user-friendly interface and a plethora of audio editing features, Kingshiper Audio Editor is an excellent choice for anyone seeking to enhance their audio files. Its functionalities include editing, cutting, copying, pasting, and applying various effects to audio tracks. Apart from this, it can help users directly remove silence from an audio file with only one click.
Download Kingshiper Audio Editor and follow the steps below:

Step 1. Launch Kingshiper Audio Editor, and add or drag an audio file into the software.

Step 2. Select the silent part and click “Unmute”.

Step 3. You can find the audio length has been reduced, click “Play” to listen to the effect.

Step 4. Click “Export” to save the audio file on your PC.

Part 2. How to Remove Silence with GoldWave
GoldWave is a feature-rich and professional audio editing software designed for Windows users. With its wide range of editing tools and advanced features, GoldWave provides a comprehensive platform for audio processing and manipulation. When it comes to removing silence, GoldWave offers precise control over audio segments, allowing users to easily select and cut out silence sections with accuracy. Its intuitive interface and waveform visualization make it simple to identify silent portions, making the editing process a breeze even for newcomers.
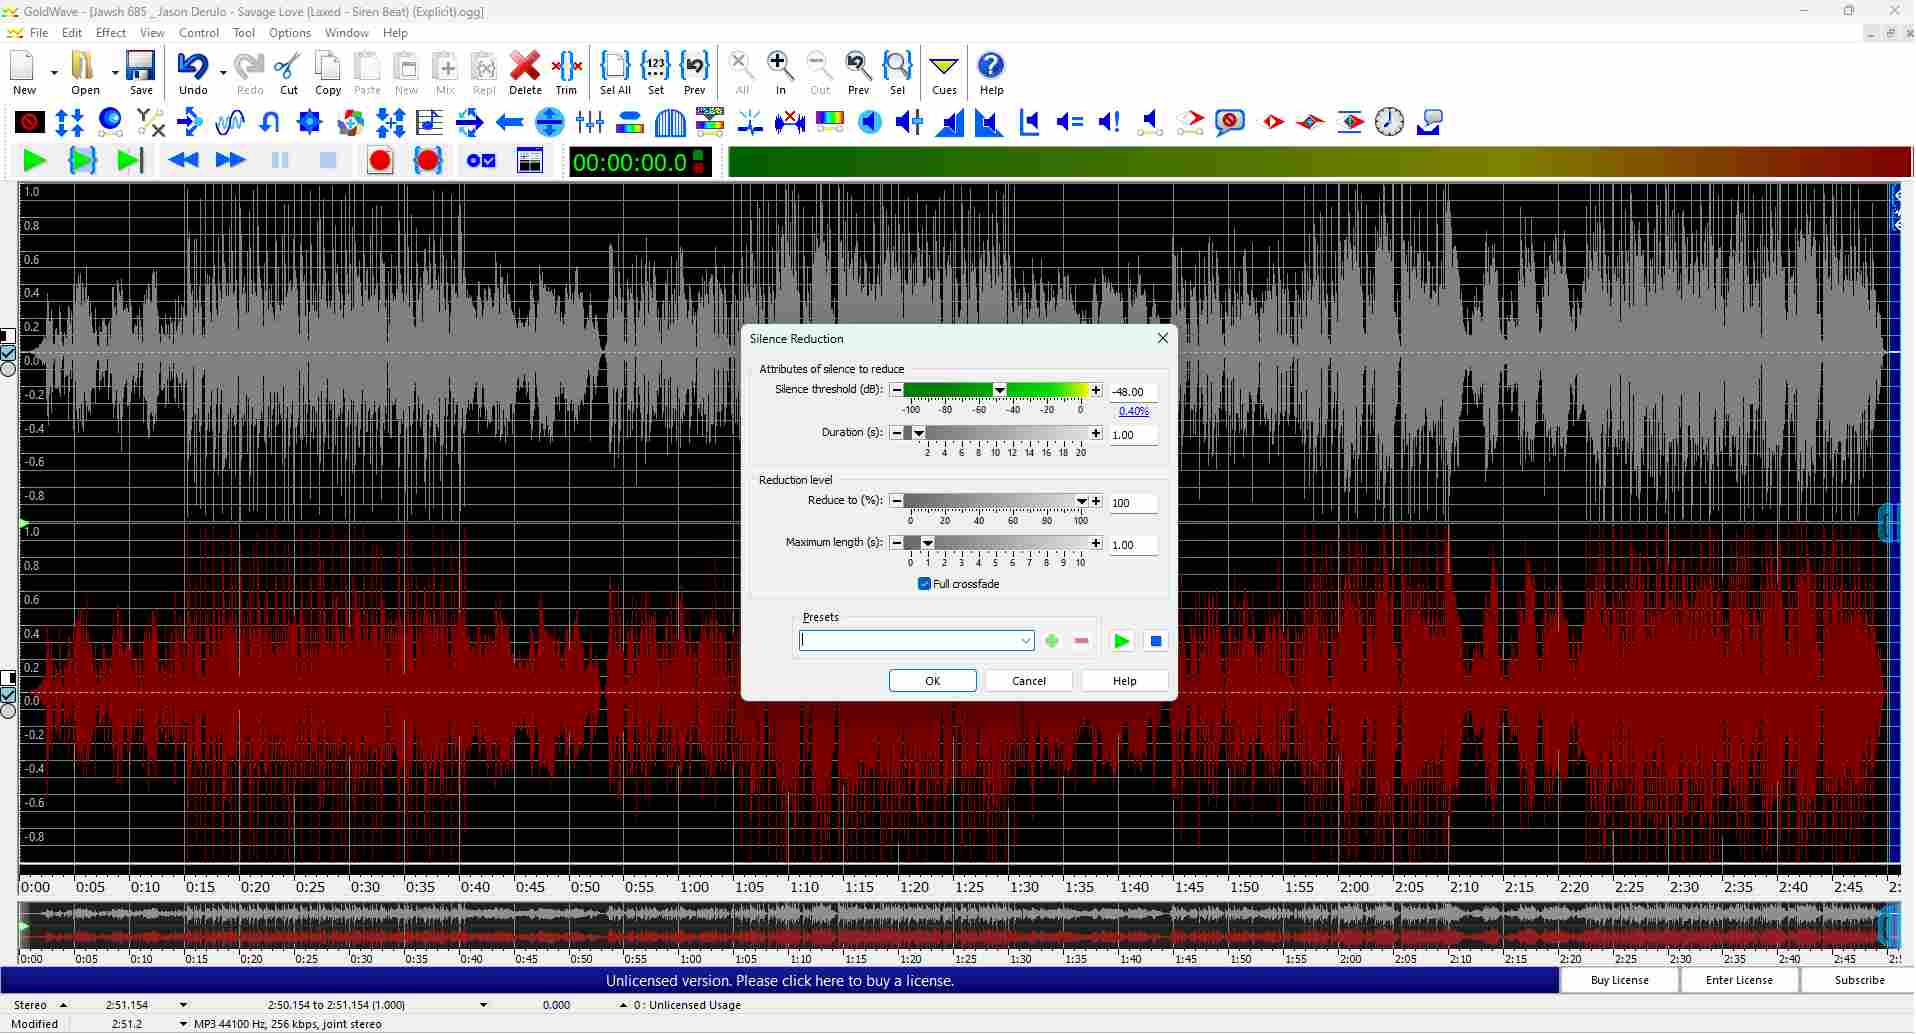
Step 1. Select the part and click “Effect” > “Filter” > “Silence Reduction”.
Step 2. Drag the slider according to your needs. When you’ve finished, click “OK”.
Step 3. Press “Play” to preview the effect.
Step 4. Click “File” > “Save as” to save the audio on your PC.
Part 3. How to Remove Silence Online
For those who prefer not to install any third-party software, AudioMass can satisfy your need, which is an online audio editing tool that provides a simple and efficient way to edit audio files directly from your web browser. It offers various features, including the ability to remove silence from audio recordings.
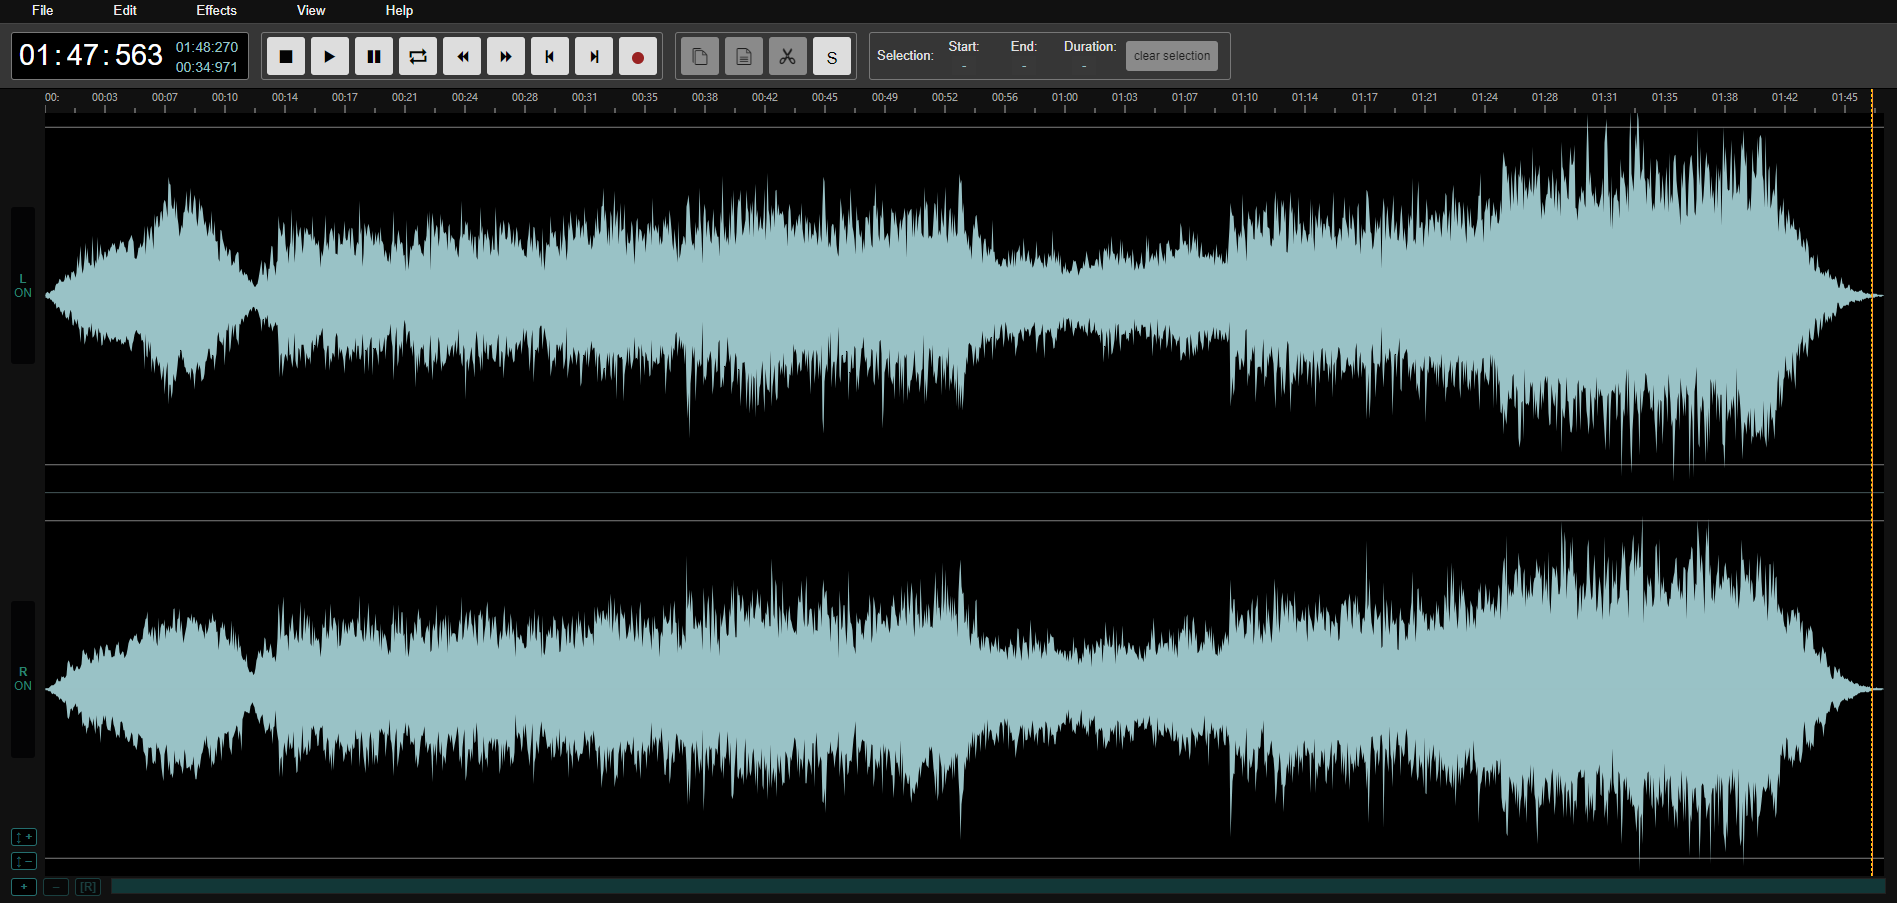
Step 1. Drag and drop an audio file in the software window.
Step 2. Select one clip and choose Effects > Remove Silence.
Step 3. Press the Play button to preview the effect.
Step 4. Click “File” > “Save Draft Locally” to save the audio file on your PC.
The Bottom Line
By now you should know how to remove audio silence with different tools. With the help of various audio editing software, removing silence at the beginning or end of an audio file on Windows is a straightforward process. Try all these methods and see which one works better for you. We always recommend using the Kingshiper NTFS for Mac to read and write disks on Mac. Try it and download it now.
You May Be Also Like
1. How to Easily Remove Silence from an Audio Recording in 5 Steps, 2024
2. 4 Useful Methods to Add Silence into an Audio File
3. [2024 Free] Multiple Methods to Combine Two or More Audio into One


