Can Mac Read & Write NTFS? 2023 New Guide
- Support
- Dynamic News
- Kate
889
- 2023-11-09 11:15:55
Nowadays, Mac users have encountered compatibility issues when dealing with NTFS drives, which are commonly used by Windows systems. While macOS has long been able to read NTFS drives, the inability to write to these drives has been a persistent challenge. However, with technological advancements, new solutions have emerged to tackle this problem. In this article, we will share some useful methods to help you read and write NTFS drives. Let’s see how we can do that.
Part 1. Can Mac Read & Write NTFS?
NTFS, the file system predominantly used by Windows, was not natively supported for write operations on macOS due to proprietary restrictions. This meant that Mac users could only view files stored on NTFS drives without being able to modify or create new files directly on those drives.
However, thanks to third-party software solutions, Mac users now have access to reliable NTFS drivers that enable full read and write access, empowering them to interact seamlessly with NTFS-formatted drives and fostering a more efficient and collaborative computing experience.
Part 2. How to Read & Write NTFS on Mac - Top 3 Methods
While macOS lacks native NTFS write support, there are several effective methods to enable write access to NTFS drives on your Mac. Here are the top three methods:
Method 1. Use Kingshiper NTFS for Mac - Easiest
The best and easiest way to ensure that Macs are able to write to NTFS without losing data would be to use a service from a third party to make this possible. With software such as Kingshiper NTFS for Mac, NTFS not writing issues can easily be fixed through simple user interfaces and quick solutions for everyone.
Using Kingshiper NTFS for Mac, you can write to NTFS drives on your Mac very easily; it is a beginner-friendly program that allows you to write NTFS files with a few clicks of your mouse. If you would like to configure NTFS write support on your Mac, you can download Kingshiper NTFS for Mac and install it.
Just follow the steps below to get started:
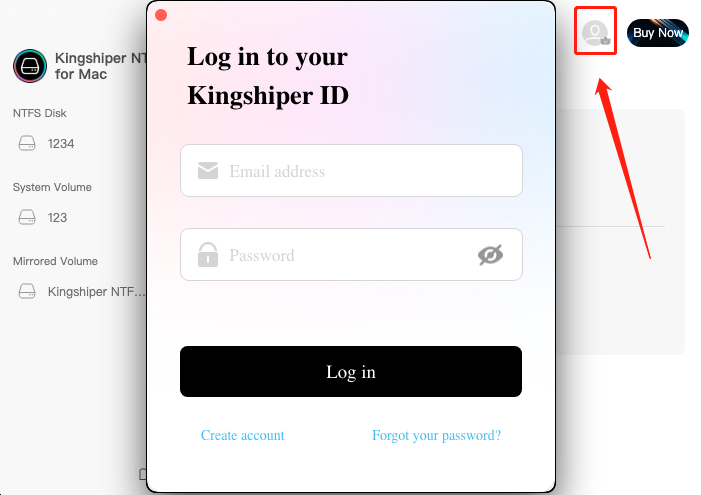
Step 1. Launch and activate Kingshiper NTFS for Mac.

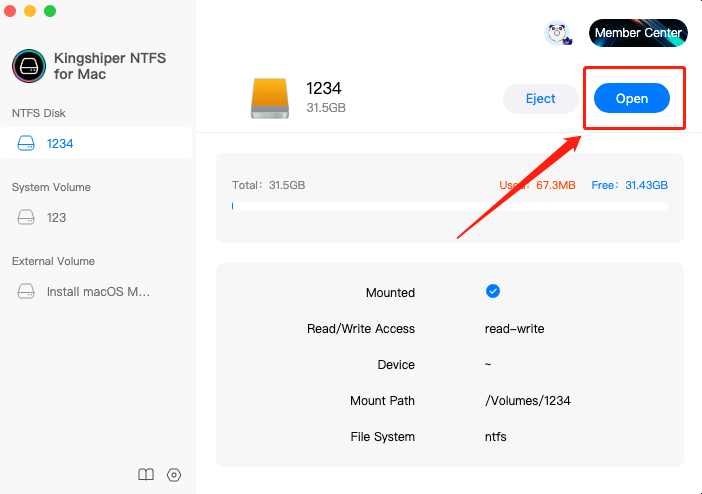
Step 2. Connect an NTFS drive to Mac, Kingshiper NTFS for Mac will automatically detect the device.

Step 3. Click "Open" and then you can check, read, write, and modify saved data on the NTFS device.

Method 2. Use Disk Utility and Terminal Commands
Mac has a built-in utility called Terminal, which allows you to execute commands directly to the operating system. There's a command that can enable NTFS to write support, but this method is more complex and is typically recommended for advanced users. It involves using Disk Utility to identify the drive's device identifier and then entering a series of commands in the Terminal.
Step 1. Launch Terminal on your Mac through Launchpad from the Dock. Now connect your NTFS disk to the Mac and run the following command in Terminal: sudo nano /etc/fstab
Step 2. It will open the list of all NTFS files currently your Mac is recognizing. Now scroll down and run the following command: LABEL=NAME none NTFS rw, auto, browse (Replace "NAME" with your NTFS disk name)
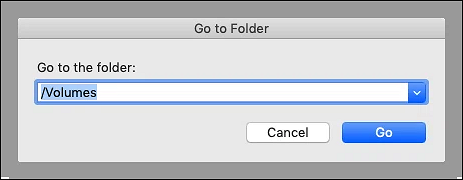
Step 3. First, press the "Ctrl + O" key to save and then "Ctrl + X" to exit. Afterward, disconnect and reconnect the NTFS disk and choose "Go" from the top menu. Here, in the dropdown menu, select "Go to Folder."
Step 4. In the "Go to Folder" tab, type "/Volumes/NAME" by replacing the "NAME" with your NTFS disk name and press Enter to access the disk. Now you can read and write on an NTFS disk.

Method 3. Use NTFS on Mac by Formatting
If you're using an external drive primarily to transfer files between Windows and macOS devices, you might want to consider formatting it to the ExFAT file system. ExFAT is compatible with both Windows and macOS out of the box, allowing both operating systems to read from and write to the drive.
Step 1. Back up your data on the NTF disk.
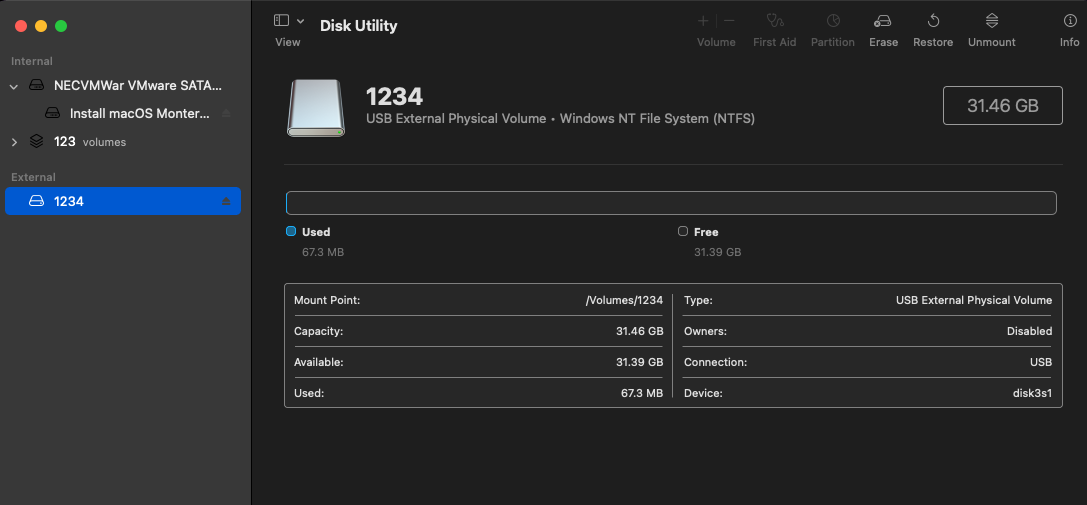
Step 2. Launch Disk Utility by going to "Applications" > "Utilities" > "Disk Utility".
Step 3. In the Disk Utility window, locate the NTFS disk you want to format and select it from the list of available drives and volumes.
Step 4. Click "Erase" at the top of the Disk Utility window. A new window will appear, allowing you to choose the format for the disk.
Step 5. From the "Format" dropdown menu, select "ExFAT". you can choose a suitable name for the disk in the "Name" field.
Step 6. Select the appropriate partition scheme. For most cases, "GUID Partition Map" is the recommended option.
Step 7. Double-check all the settings and click on the "Erase" button. Now, you can access and use the disk as a regular external storage device.

The Bottom Line
While macOS can read NTFS drives by default, enabling write support is not natively available. So after reading this post, you must get three methods to write NTFS on your Mac. If you would like to quickly solve the problem, you can download Kingshiper NTFS for Mac and start using your NTFS disk on your Mac today.
You May Also Like
1. How to Eject the NTFS Disks Safely in 2023


