When users download Kingshiper NTFS For Mac, some of them are not aware of how to install it once it has been downloaded. It is a fact that Kingshiper NTFS For MAC Download and Installation is very simple. This can be achieved by only following a few simple steps. To help you understand how to use Kingshiper NTFS For MAC, here is a detailed demonstration of the steps needed to download and install Kingshiper NTFS For MAC, so that you can get started as soon as possible.
1. Download
Go to https://www.kingshiper.com/ntfs-for-mac or press the Download button to get a free try.
2. Install
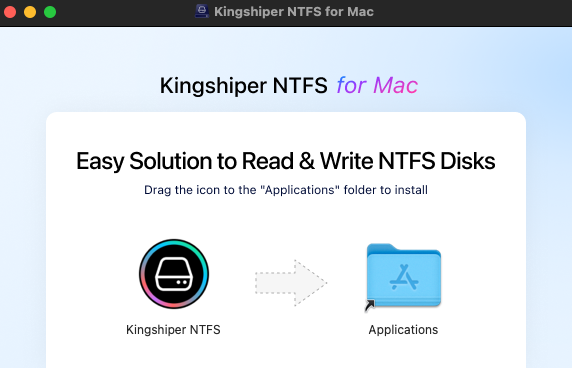
Right-click the .dmg file in the pop-up window and select "Open". Then, drag the icon to the "Applications" folder to install.

3. Read & Write NTFS drives
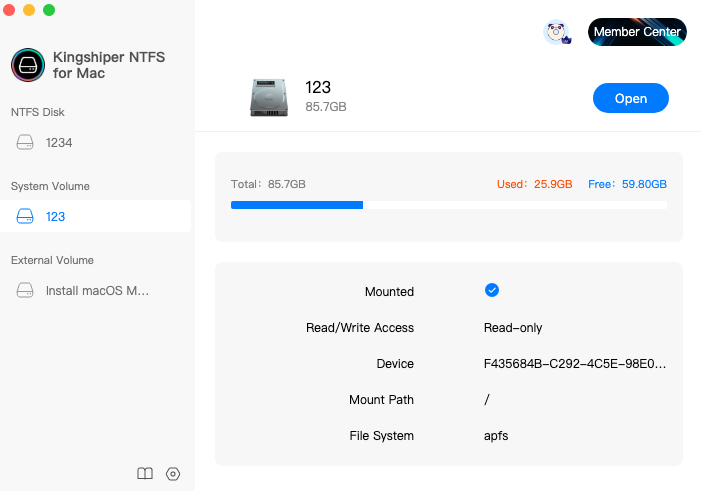
After Kingshiper NTFS for Mac has been successfully installed. Launch it and connect your NTFS drive to your Mac. Click “Open” to get the write access. Now, you can edit, modify, and even delete your files on Mac.

You May Be Also Interested In
1. How to Use Kingshiper NTFS for Mac for free
2. How to Enter Recovery Mode in Kingshiper NTFS for Mac


