How to Change Read-Only File Systems on Mac? 100% Free
- Support
- Dynamic News
- Kate
682
- 2023-11-11 15:54:13
Mac users often encounter situations where external drives or partitions are designated as "Read-Only," limiting their ability to modify or create content on those drives. While this can be a protective measure to prevent accidental data loss, there are times when you need to change these drives to read-and-write mode. In this guide, we will walk you through the process of changing read-only file systems on your Mac without any cost, using built-in utilities and commands.
Part 1. What are Read-Only File Systems?
Read-only file systems are volumes or partitions on your Mac's storage media that only allow you to view the contents but prevent you from making any changes, such as adding or deleting files. This can occur due to various reasons, including file system issues or the drive being formatted in a way that restricts write access. Here are some common factors that lead to drives becoming read-only on Mac.
System Files: MacOS protects critical system files by making them read-only. This prevents accidental changes that could disrupt the operating system's functionality or stability.
User Permissions: When files are created or edited, macOS assigns permissions that control who can access, modify, or delete them. If the permissions are set to restrict write access, the file becomes read-only for certain users.
File Corruption: In some cases, file corruption or errors in the file system structure can lead to files becoming read-only. macOS might set files as read-only to prevent further damage to the corrupted data.
NTFS Drives: When using NTFS-formatted external drives (common in Windows systems), macOS may mount them as read-only by default. This is due to NTFS being a proprietary format that macOS can read but not write to without additional software.
Part 2. Change Read-Only File Systems on Mac - 3 Ways
In this part, you will learn 3 useful and easy ways to resolve the read-only drive issue on Mac using the corresponding method and tutorial guide.
Way 1. Use Kingshiper NTFS for Mac to Change Read-Only File Systems
When your drive is formatted with the NTFS file system, Mac may recognize the drive as read-only to safeguard stored data. Furthermore, if your drive contains crucial files, formatting the drive becomes an impractical option.
To effectively address this challenge, you can activate NTFS support on your Mac, granting it access to the USB drive. To achieve this, Kingshiper NTFS for Mac shows as the ideal solution.
Supported Systems: macOS 12 (Monterey)、macOS 11 (Big Sur)、macOS 10.15 (Catalina)、macOS 10.14 (Mojave)、macOS 10.13 (High Sierra)、macOS 10.12 (Sierra)、OS X EI Capitan 10.11.
Step 1. Launch Kingshiper NTFS for Mac and connect your NTFS drive to your Mac.
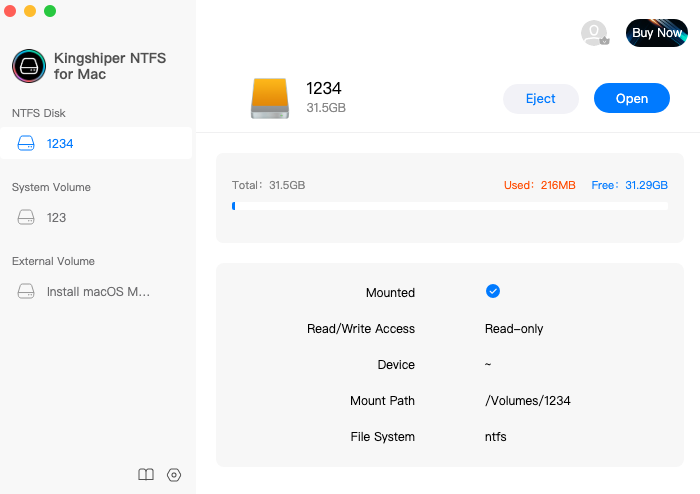
Step 2. Click the Personal icon to log in to your account first.
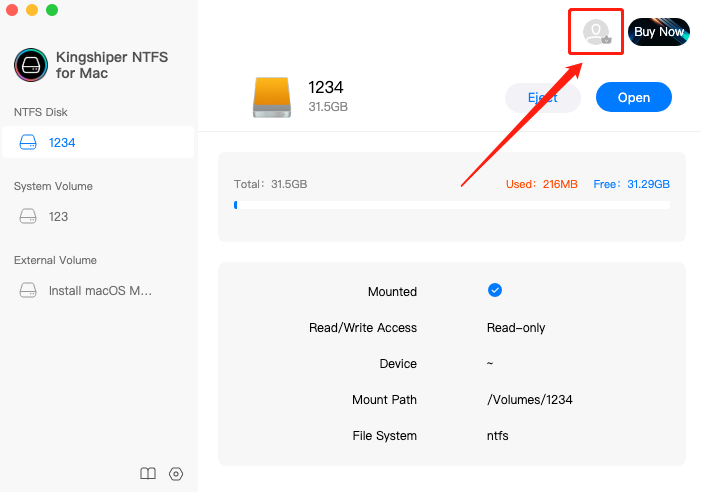
If you already have a Kingshiper ID, just enter your email and password here. If you don’t have an account, click "Create account" to create a Kingshiper ID.

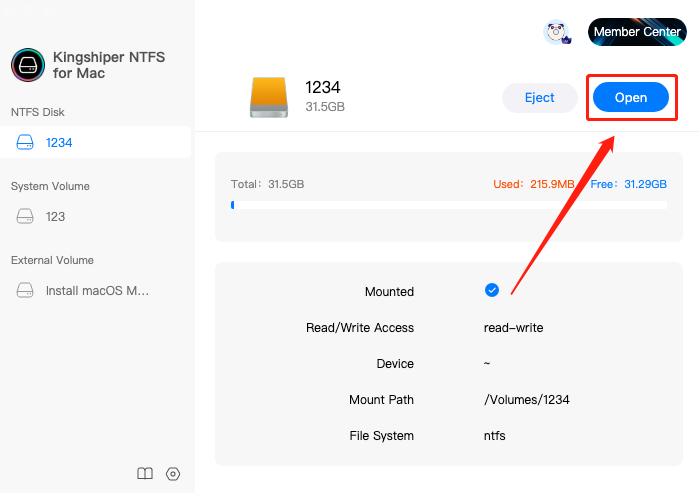
Step 3. Click "Open" to get the write access to edit, modify, and even delete your files.
Way 2. Use Terminal to Change Read-Only File Systems
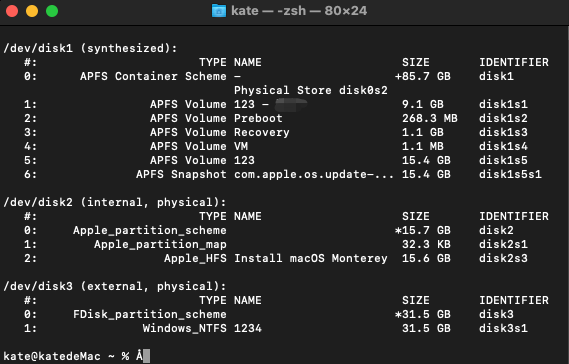
If you don’t want to download any third-party software, the Mac Terminal provides a direct route to change read-only files, enabling you to modify and manage data that was previously off-limits. Here is how to do it:
Step 1. Go to "Applications" > "Utilities" and launch "Terminal."
Step 2. Type "diskutil list" and press "Enter" to list the connected drives. Locate the identifier of the read-only drive (e.g., /dev/disk2s1).
Step 3. Enter “sudo mount -uw /Volumes/DRIVENAME” and press "Enter," replacing DRIVENAME with your drive's name.
Step 4. Open the drive in Finder and attempt to modify or create a file to confirm it's writable.
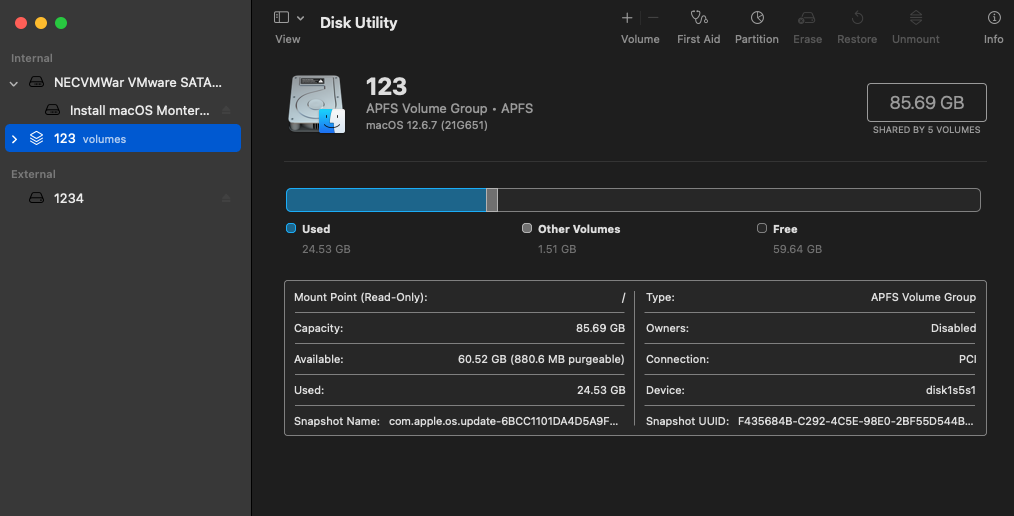
Way 3. Use Disk Utility to Change Read-Only File Systems
If your Mac indicates formatting problems with your external hard drive, you can address these issues using Disk Utility's First Aid option. Follow these steps to resolve the problem:
Step 1. Go to "Launchpad" > "Others" > "Disk Utility".
Step 2. In the left panel, choose the drive with the read-only file system.
Step 3. Click "First Aid" and then click Run, it will check for errors and repair permissions on the drive.
The Bottom Line
Resolving file read-only errors on Mac is entirely achievable. If the root cause lies within permission settings, you can effortlessly modify them via the built-in solutions. However, in cases where NTFS format incompatibility is at play, we recommend using Kingshiper NTFS for Mac, which not only can help users solve the read-only problems but also supports users to have better partition management for other volumes. If you want to learn the latest news, please pay attention to www.kingshiper.com.
You May Also Like
1. [2023 Updates]FAT32 VS NTFS VS exFAT, Which is the Best File System
2. Can Mac Read & Write NTFS? 2023 New Guide
3. [2023 Update] What is NTFS and Why is it useful


