


How Can I Choose the Correct Size of My Passport Photo
- Support
- Software Tutorials
- Kate
 559
559- 2024-09-28 11:28:52


Choosing the correct size for your passport photo is vital for your application process. An incorrect size can lead to delays or even rejections. Different countries have specific standards regarding photo dimensions and characteristics for passports, visas, and driver's licenses. This article will guide you through the correct sizes for passport, visa, and ID photos across various countries, as well as tips for creating your own ID photos with Kingshiper File Manager.
Part I. What Is the Correct Size of A Passport Picture?
When preparing to apply for a passport or visa, it’s essential to have the correct photo specifications. Below is a detailed list of passport, visa, and ID photo dimensions for various countries.
A) United States, India
Size: 2 x 2 inches (51 x 51 mm)
Pixels: 600 x 600 pixels (at 300 DPI)
B) United Kingdom, Europe, Australia, Singapore, Nigeria, Russia
Size: 35 x 45 mm
Pixels: 826 x 1062 pixels (at 600 DPI); 413 x 531 pixels (at 300 DPI)
C) Canada
Passport and Visa: 35 x 45 mm (similar to Europe)
Size: 50mm x 70 mm (for other applications)
D) China
Online Application: 354 x 472 - 420 x 560 pixels
Offline Application: 33 x 48 mm
E) Malaysia
Size: 35 x 50 mm
Pixels: 827 x 1181 pixels (at 600 DPI)
F) UAE, Saudi Arabia, Oman, Kuwait, Bahrain
Size: 40 x 60 mm
Notes: Many of these countries require a blue or grey background.
Part II. How to Correctly Create an ID Photo Size on Your Own?
Kingshiper File Manager is an all-in-one tool that is designed to help you efficiently manage and organize a wide range of files. With ID Photo Maker, you can simply and quickly create professional and high-quality ID photos in a few steps.
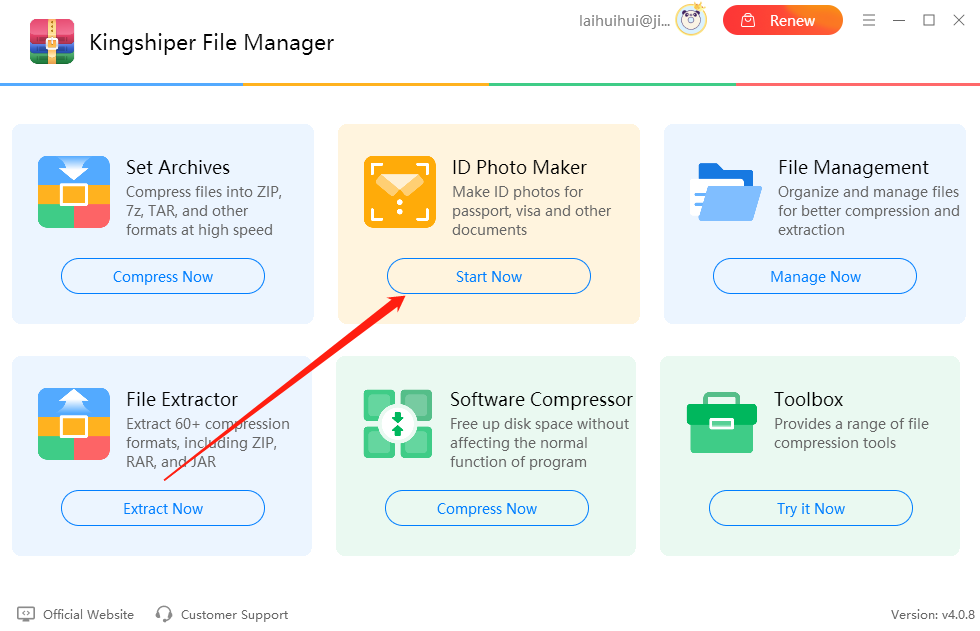
Step 1: Launch Kingshiper File Manager on your computer and click on the "Start Now" button.
Step 2: Click on the software interface or drag the photo you wish to resize into it.
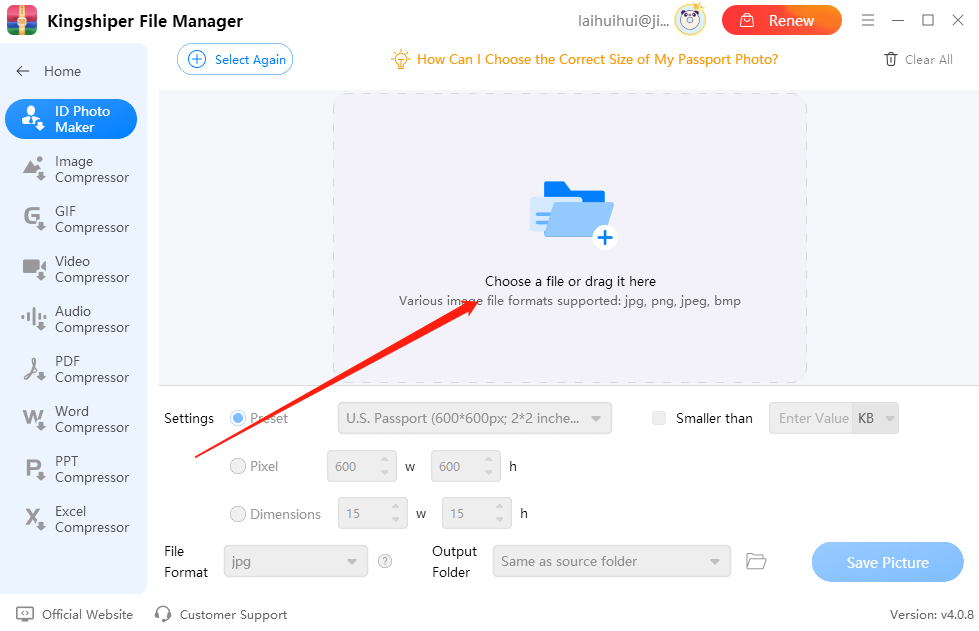
Step 3: Click on the "Preset" option. Here, you can choose the photo template size you desire.

Step 4: If you can't find the photo size you want in the Preset, you can select either "Pixel" or "Dimensions" and enter the desired photo size you want to create.

Step 5: Finally, you can set the output format of the photo in the "File Format" and click on "Output Folder" to choose the file's save location. Then, click on "Save Picture" to export the image.

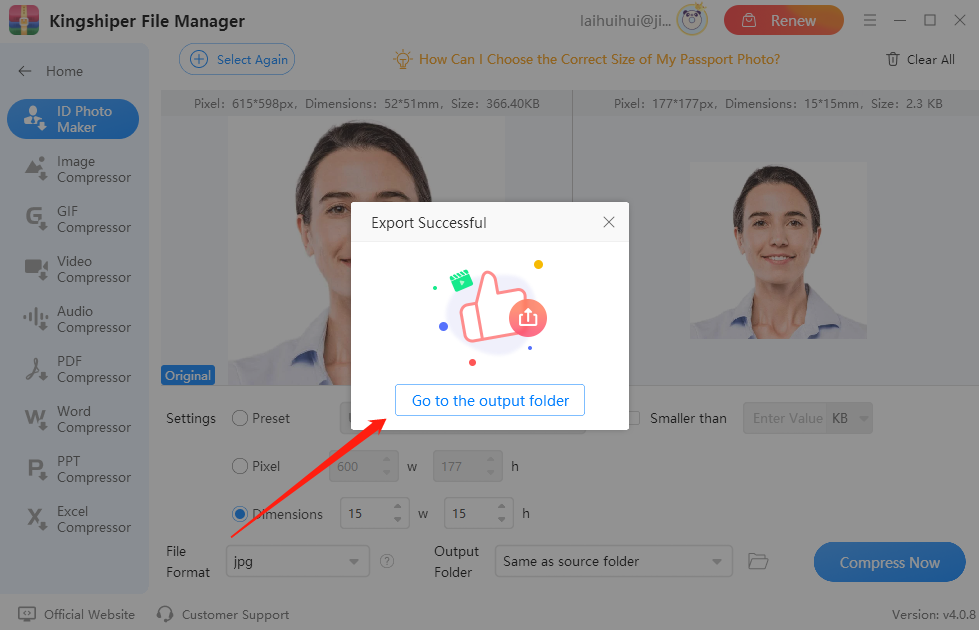
Step 6: When you've finished, press "Go to the output folder" to check the file.
Part III. Passport Photo-Taking Tips
Lighting is essential for taking good passport photos with a regular digital camera. Here are some important tips to keep in mind when capturing these photos.
1. Ensure the background is plain and compliant with country requirements.
2. Choose a bright room with a white wall as your background. You can also hang a large white sheet.
3. Avoid using flash, as it creates shadows. Instead, use ceiling lights to ensure even lighting on your face.
4. Stand one meter away from the wall, otherwise, there may be a shadow on the wall.
5. Use a tripod and adjust the camera to eye level for sharp focus.
6. Leave space between the top of your head and the edge of the photo.
Conclusion
Choosing the correct size for your passport photo is important for the application process. Each country has its own requirements, so it's crucial to be aware of them before you proceed. By following the guidelines in this article, you can ensure that your photos meet the necessary specifications. If you want to create your passport, visa, or ID photos online, Kingshiper File Manager is a great option that provides a user-friendly interface for photo editing and resizing. For more tips, please pay attention to Kingshiper Software.
You May Also Like
1. How to Use Kingshiper Auto Clicker in 4 Simple Steps
2. How to Mirror Phone Screen with Kingshiper Screen Mirroring


