


How to Convert a Picture to Passport Size
- Support
- Software Tutorials
- Kate
 25
25- 2025-04-15 16:32:36


Choosing the correct size for your passport photo is crucial to avoid delays or rejections in your application process. Each country has its own specific dimensions and requirements for passports, visas, and ID photos. If you're looking to resize your photo to meet the passport size specifications, this guide will walk you through the process using KingshiperZip.
Part 1. Some Passport Photo Sizes Across Different Countries
When applying for a passport or visa, it is important to use the correct photo size. Here are the standard passport photo dimensions and requirements for several countries:
A) United States, India
Size: 2 x 2 inches (51 x 51 mm)
Pixels: 600 x 600 pixels (300 DPI)
B) United Kingdom, Europe, Australia, Singapore, Nigeria, Russia
Size: 35 x 45 mm
Pixels: 826 x 1062 pixels (600 DPI), 413 x 531 pixels (300 DPI)
C) Canada
Size: 35 x 45 mm (for passport and visa applications)
Size: 50 x 70 mm (for other uses)
D) China
Online Application: 354 x 472 - 420 x 560 pixels
E) Offline
Application: 33 x 48 mm
F) Malaysia
Size: 35 x 50 mm
Pixels: 827 x 1181 pixels (600 DPI)
G) UAE, Saudi Arabia, Oman, Kuwait, Bahrain
Size: 40 x 60 mm
For more passport photo size requirements, you can refer to the specific guidelines provided by your country’s government or relevant authority.
Part 2. How to Convert a Picture to Passport Size with KingshiperZip
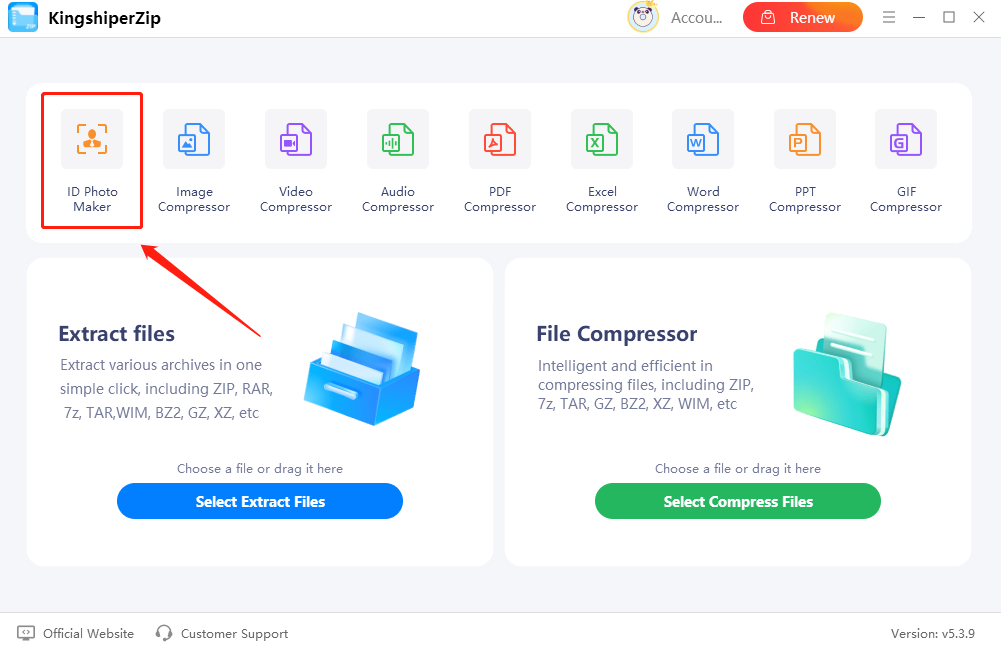
Step 1. Download and install KingshiperZip from the Kingshiper official website. Then, launch the program and choose “ID Photo Maker”.
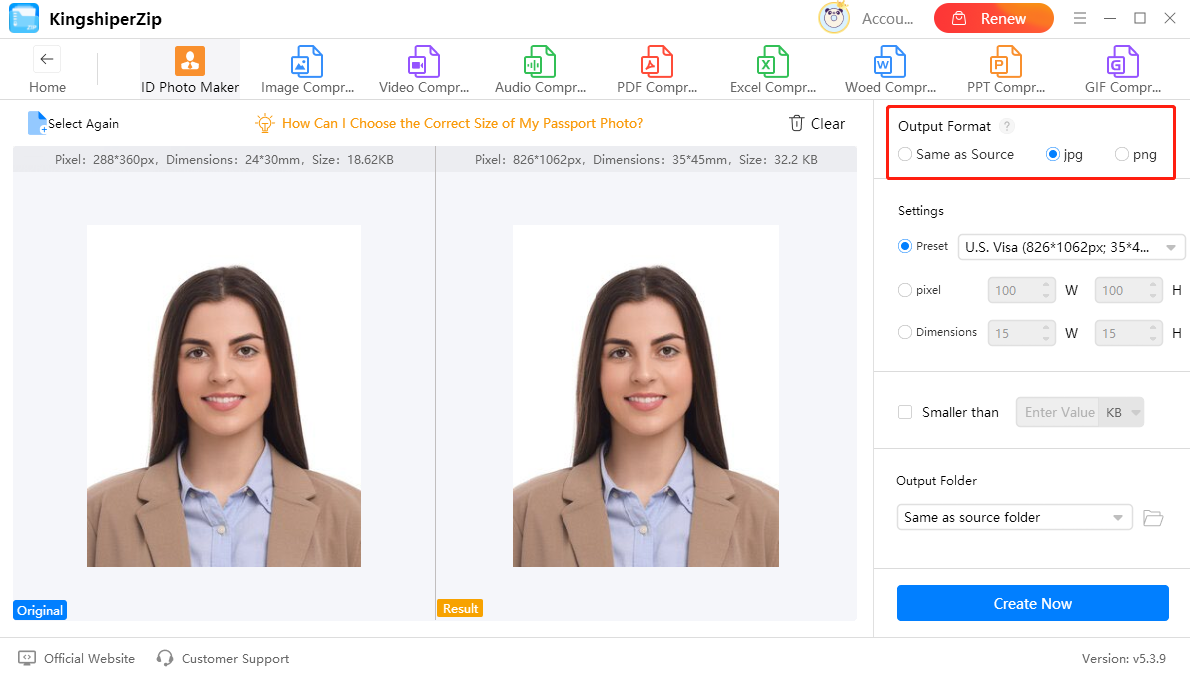
Step 2. Drag and drop the picture you need to resize and select the output format on the right side.
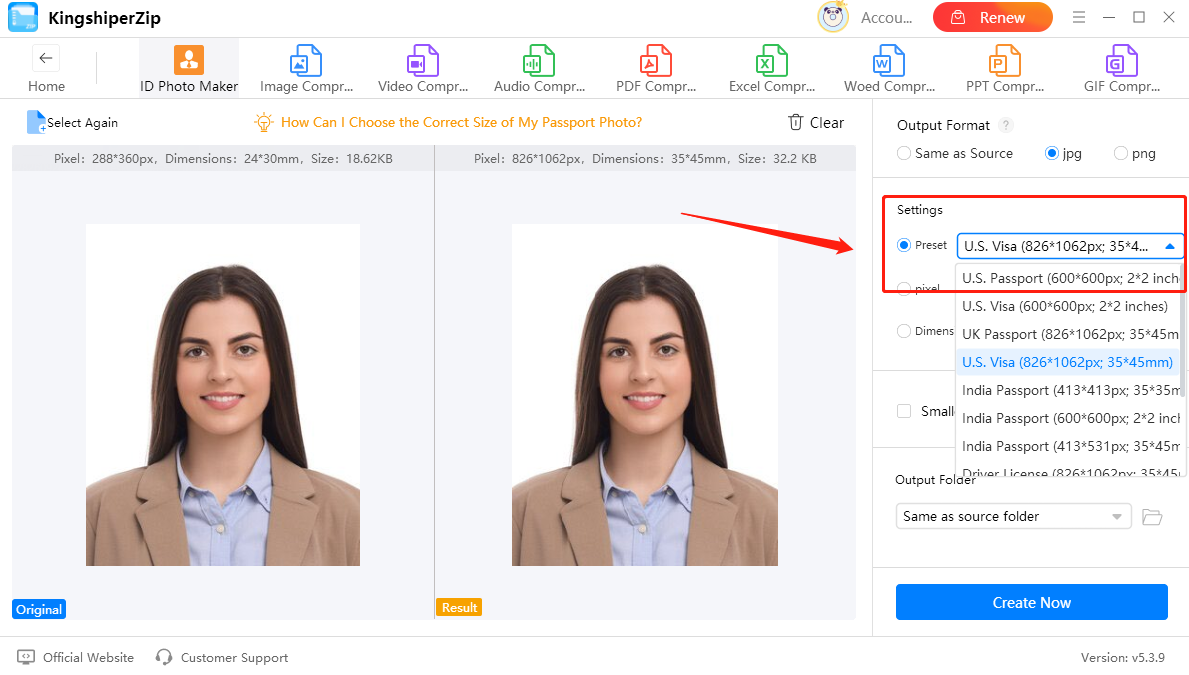
Step 3. Go to “Settings” > “Preset”, and you can choose from the templates available in the software.
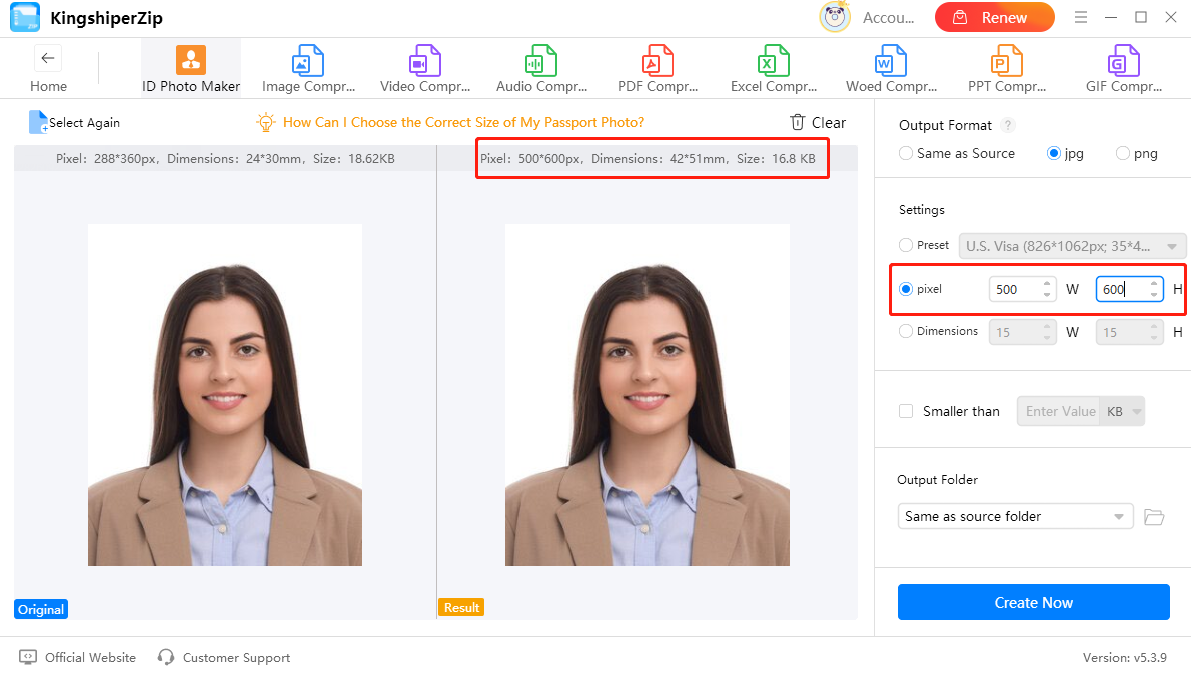
Step 4. If you can't find the desired template in the common options above, it’s recommended to manually select the “Pixel” and “Dimensions” for your application.
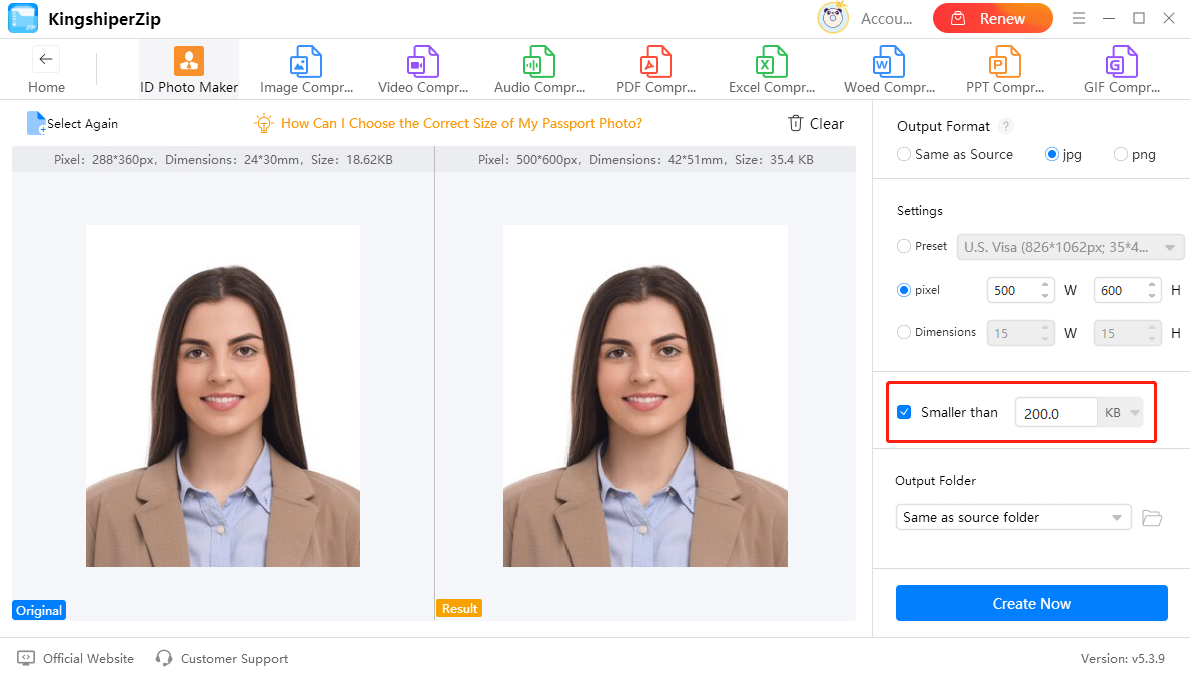
For example, enter “500x600” as the desired pixel size. You’ll clearly see the changes in the ID photo details in the software preview.
Step 5. After adjusting the pixel size or dimensions, you can set the file size limit by entering the value on the “Smaller than” box.
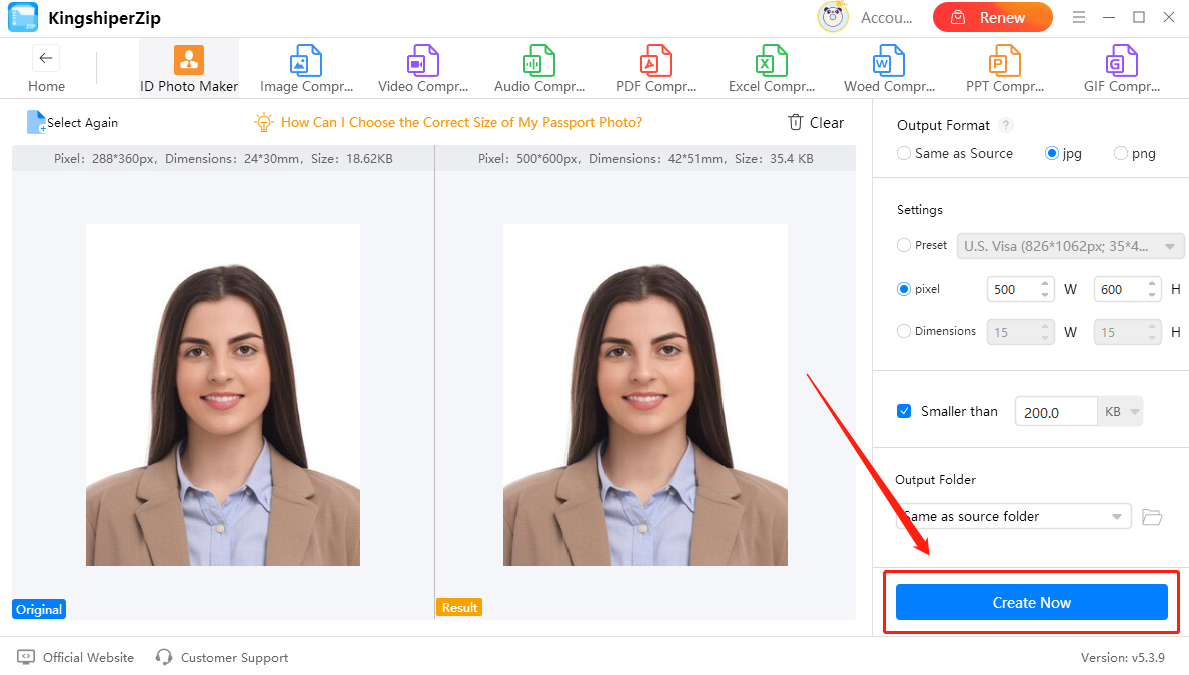
Step 6. Once you've configured your settings, click "Create Now" to begin the image compression process. And then you can press “Go to the output folder” to view your resized photo.
Above are all the steps to convert a picture to the correct passport size using KingshiperZip. This tool offers a straightforward solution to resize your photo quickly and accurately, ensuring it meets the necessary dimensions for passport applications. For more tips on creating a passport picture, please pay attention to Kingshiper Software.
You May Also Like:
How to Compress AUP3 File in 3 Simple Steps
How to Adjust Video Compression Settings
How to Compress JPG/PNG to a Specific Size with Best Quality


