


How to Adjust Video Compression Settings
- Support
- Software Tutorials
- Kate
 25
25- 2025-04-15 16:31:52


Video compression is crucial for reducing file sizes while maintaining quality, making videos easier to store, share, and stream. The key factor in compression is bitrate, which directly affects both video quality and its file size. Therefore, we will introduce the basic information about the video compression bitrate and show you the easiest way to reduce your video size with no quality loss. Let’s get started.
What is Video Compression Bitrate?
The video compression bitrate refers to the number of bits processed per second when compressing a video. A higher bitrate results in better video quality but also increases file size. Conversely, a lower bitrate reduces file size but may lead to a loss in video quality.
How to Choose the Right Video Compression Bitrate?
Optimize for Video Usage: If you're uploading to social media or streaming online, use a lower bitrate to ensure smooth playback and fast loading speeds.
Match Video Resolution: Higher resolutions require higher bitrates to maintain quality. A 4K video, for example, needs a significantly higher bitrate than a 1080p video.
Adapt to Video Content: Different types of videos require different bitrates. For example, fast-paced action videos need higher bitrates than simple screen recordings or presentations.
Tip: Increasing bitrate beyond a certain point won’t meaningfully improve quality but will result in unnecessarily large files. The key is to find the lowest bitrate that maintains clear and sharp video quality while keeping file sizes manageable.
How to Compress Video without Losing Any Quality?
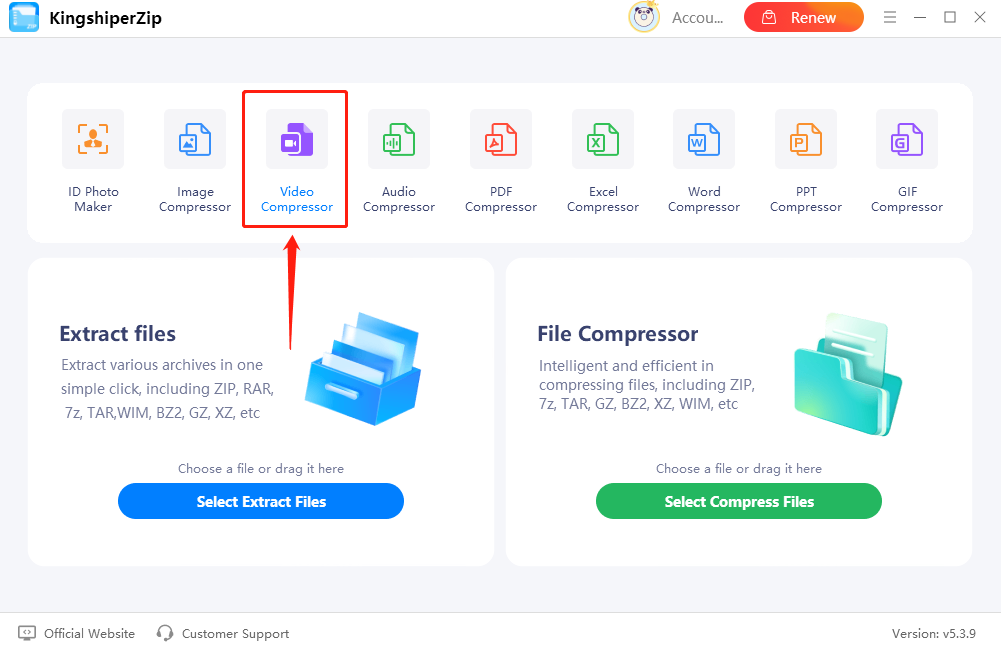
Step 1. Launch KingshiperZip on your computer and select the “Video Compressor” option from the main menu.
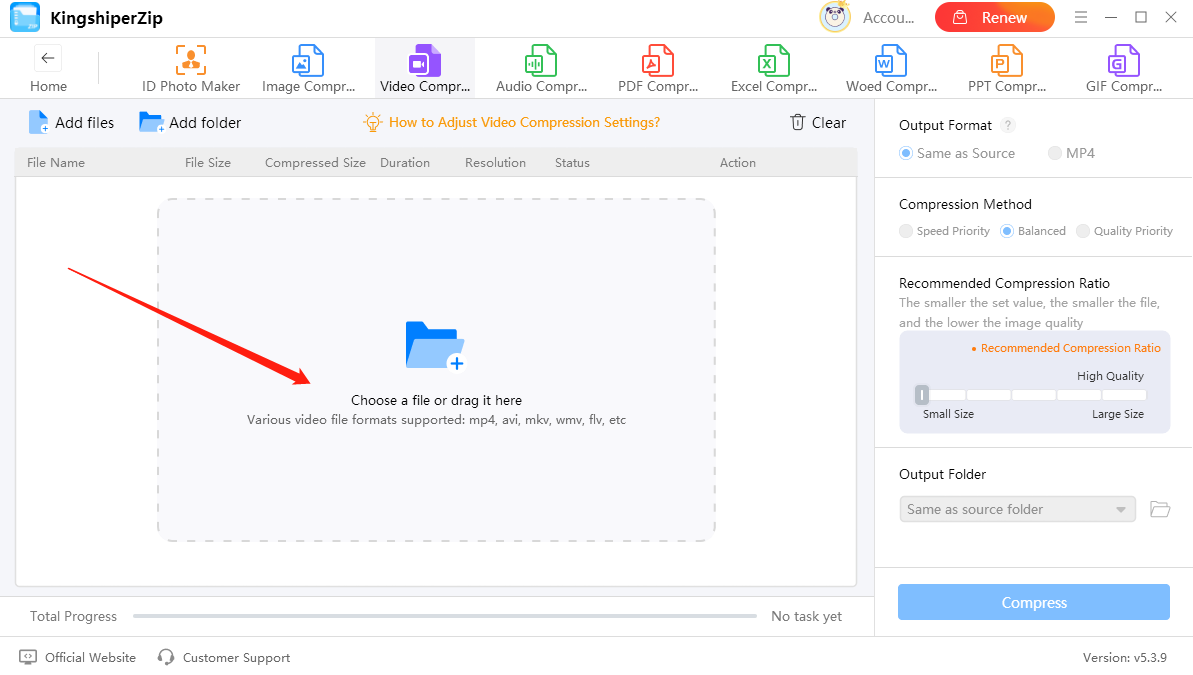
Step 2. Drag and drop the video files you need to reduce the file size into the program.
Step 3. Choose the output format according to your needs.
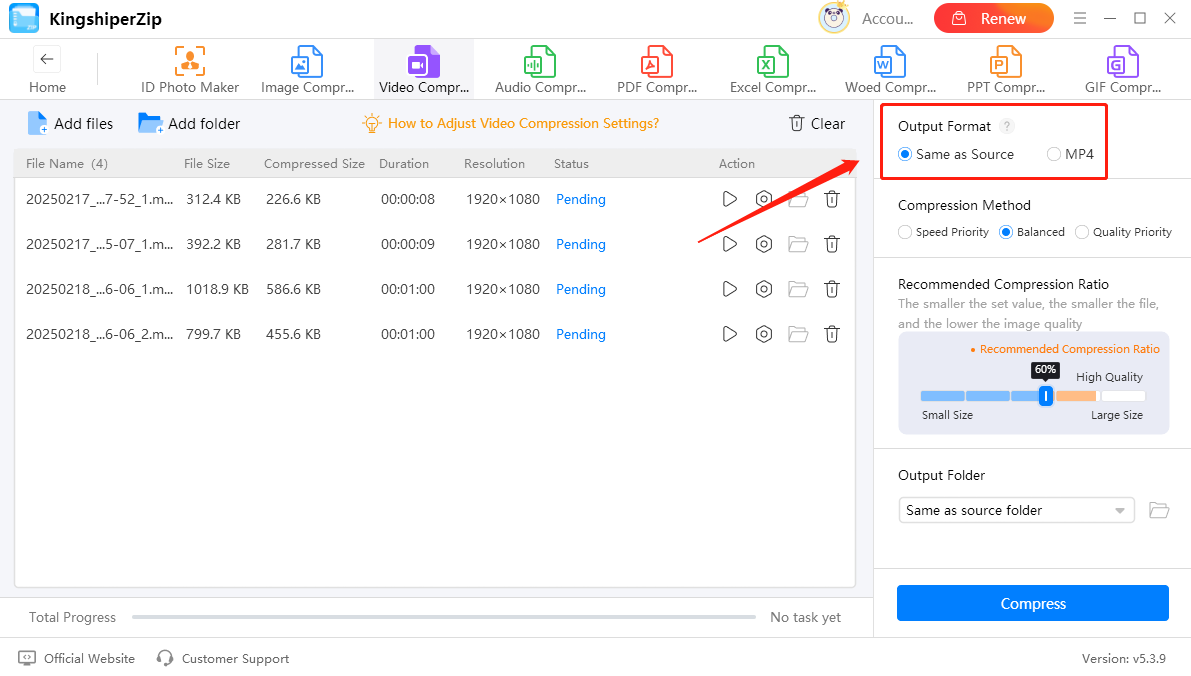
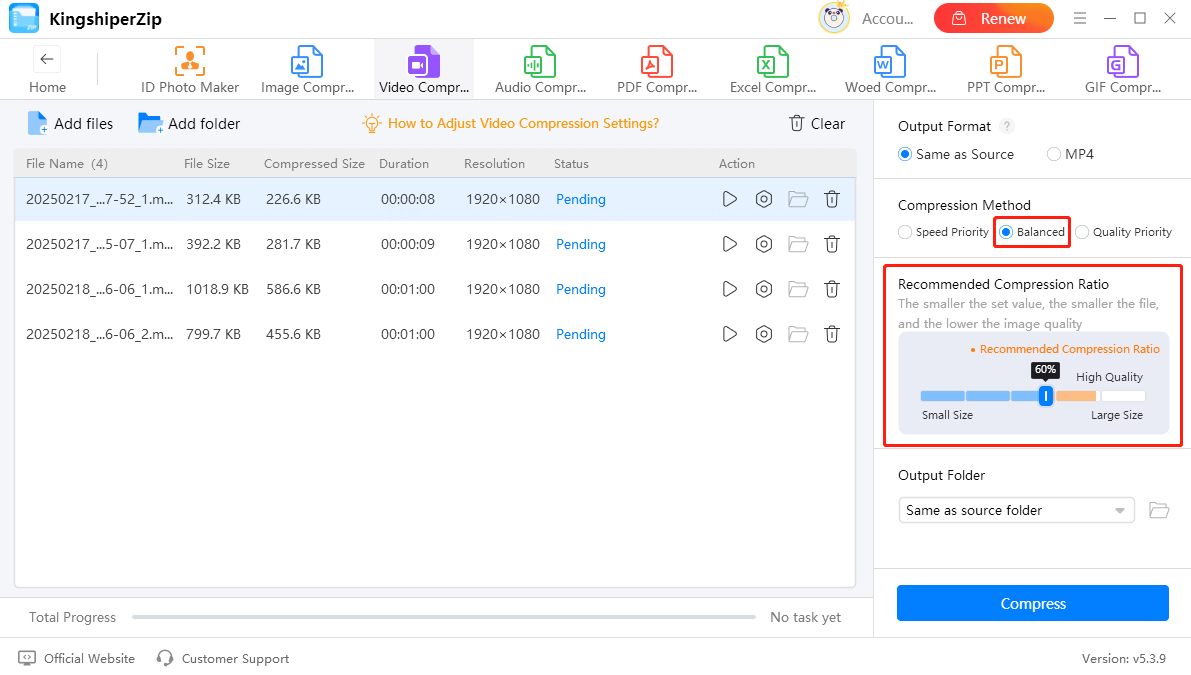
Step 4. Select one of the compression modes, such as Speed Priority, Balanced, and Quality Priority.
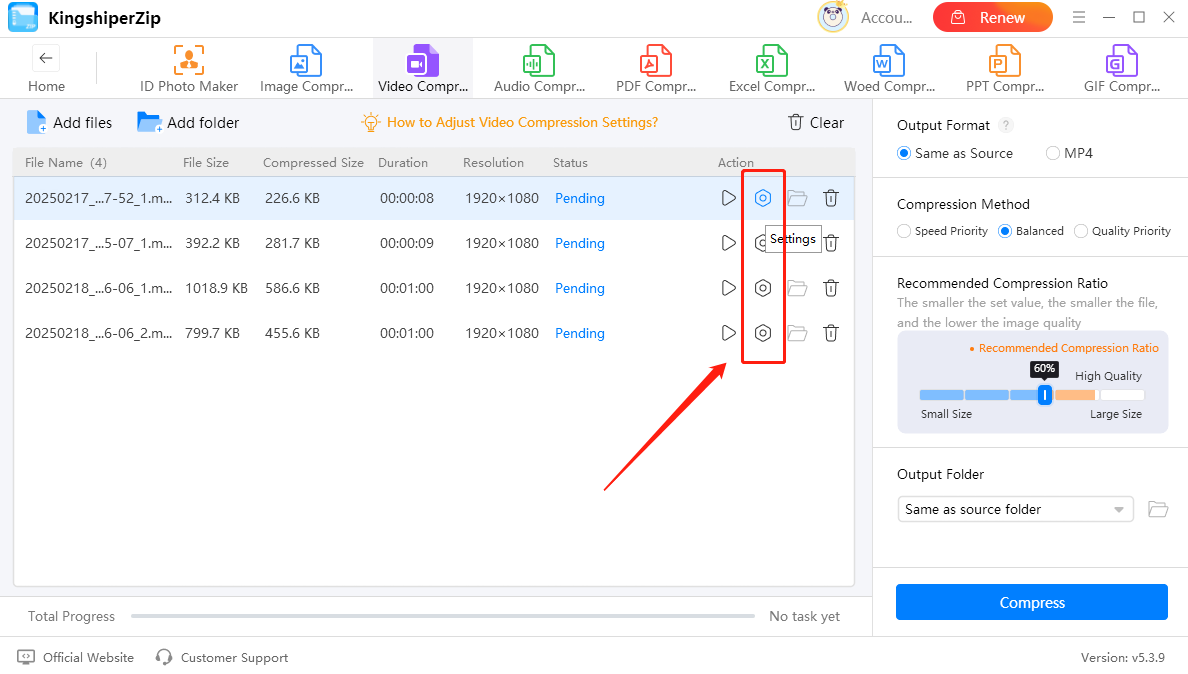
Note: Each video file in the list has a settings icon that lets you adjust compression settings individually. Using the recommended compression ratio ensures the best balance between file size and quality.
Step 5. To help you get better compression results. We recommend using the Balanced mode and adopting the recommended compression ratio, which automatically selects the optimal compression bitrate for your video.
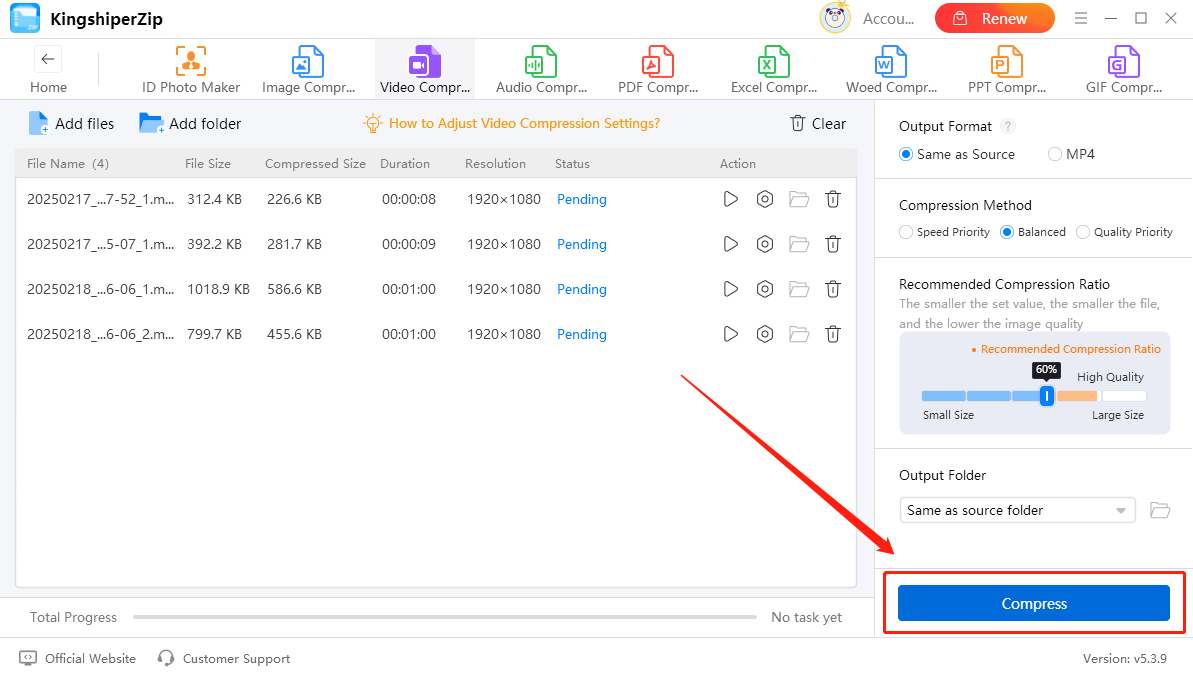
Step 6. When you’ve finished, click on the “Compress” button. After the process is complete, you can click on "Go to the output folder" to check your compressed video files.
Adjusting video compression settings ensures smaller file sizes, better streaming performance, and optimized storage usage without losing quality. By using KingshiperZip, you can simplify the compression process and achieve high-quality results. For more tutorials on reducing file size, please pay attention to Kingshiper Software.
You May Also Like:
How to Adjust the Compression Level for Best PDF Quality


