


How to Compress JPG/PNG to a Specific Size with Best Quality
- Support
- Software Tutorials
- Kate
 23
23- 2025-04-15 16:32:22


When using KingshiperZip to compress an image to a "specific size," if the image cannot be compressed to the desired size, you can resolve this by reducing the image resolution. Generally, the more pixels an image has, the larger its dimensions and file size. Therefore, reducing the image resolution will help decrease the file size. You can achieve this using “Compress by ratio” and "Fixed Pixels" features, as explained below. Choose one of the methods based on your needs.
Method 1: Use “Compress by ratio” to Resize Image to a Specific Size
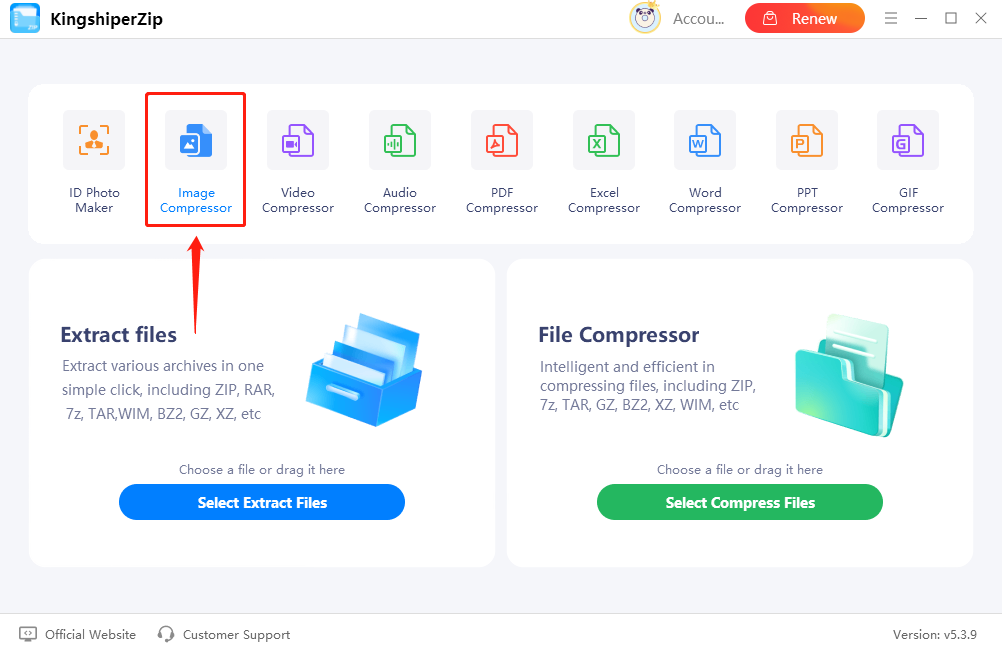
Step 1. Launch KingshiperZip and select the “Image Compressor” on the home interface.
Step 2. Drag and drop your images into the interface or click on the “Add Folder” to import the files in batch. Choose the output format on the right side.

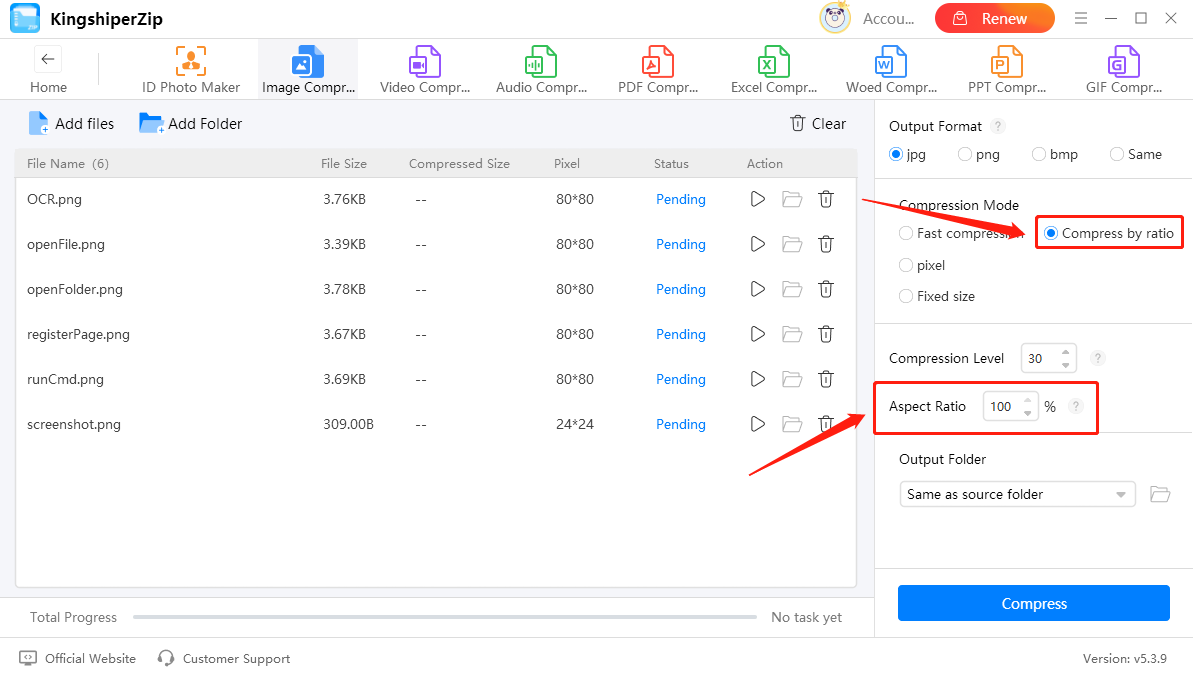
Step 3. Select “Compress by ratio” in the compression mode. Set the “Compression Level” to 100 and adjust the “Aspect Ratio”. The smaller the values for width and height, the more the image will be compressed, resulting in a smaller file size.
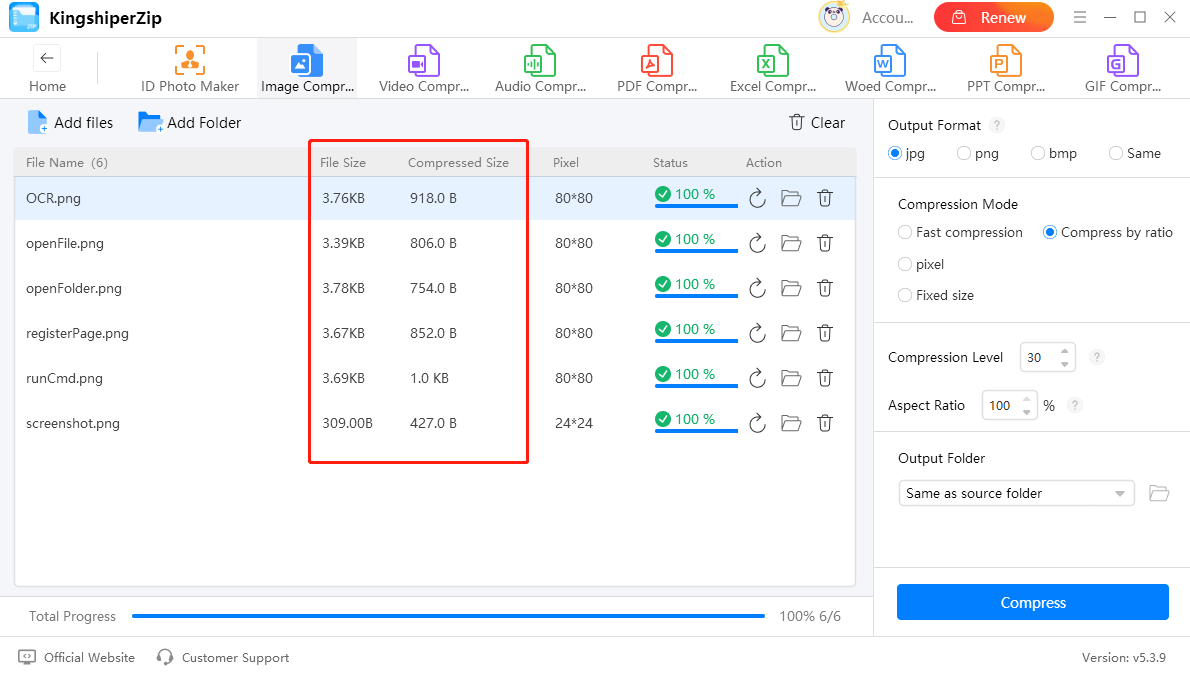
Step 4. Once done, you can find that the file size has been significantly reduced in the interface.
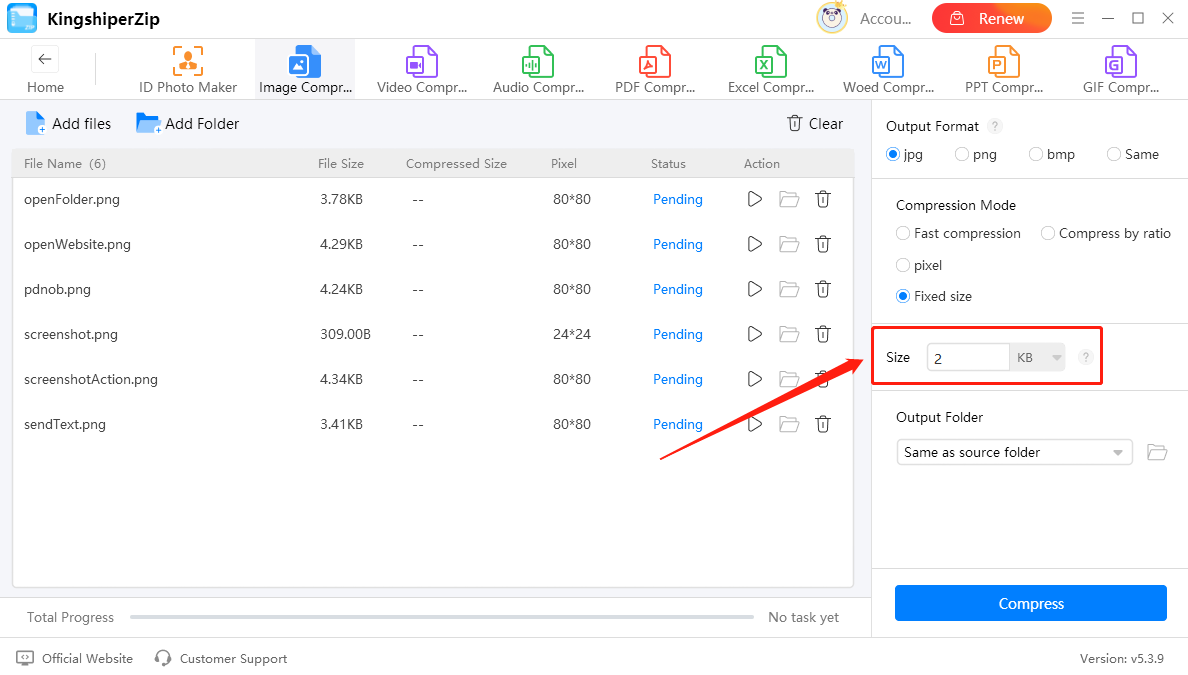
Method 2: Use “Fixed Pixels” to Resize Image to a Specific Size
Step 1. Select the “Fixed size” option on the Compression Mode.
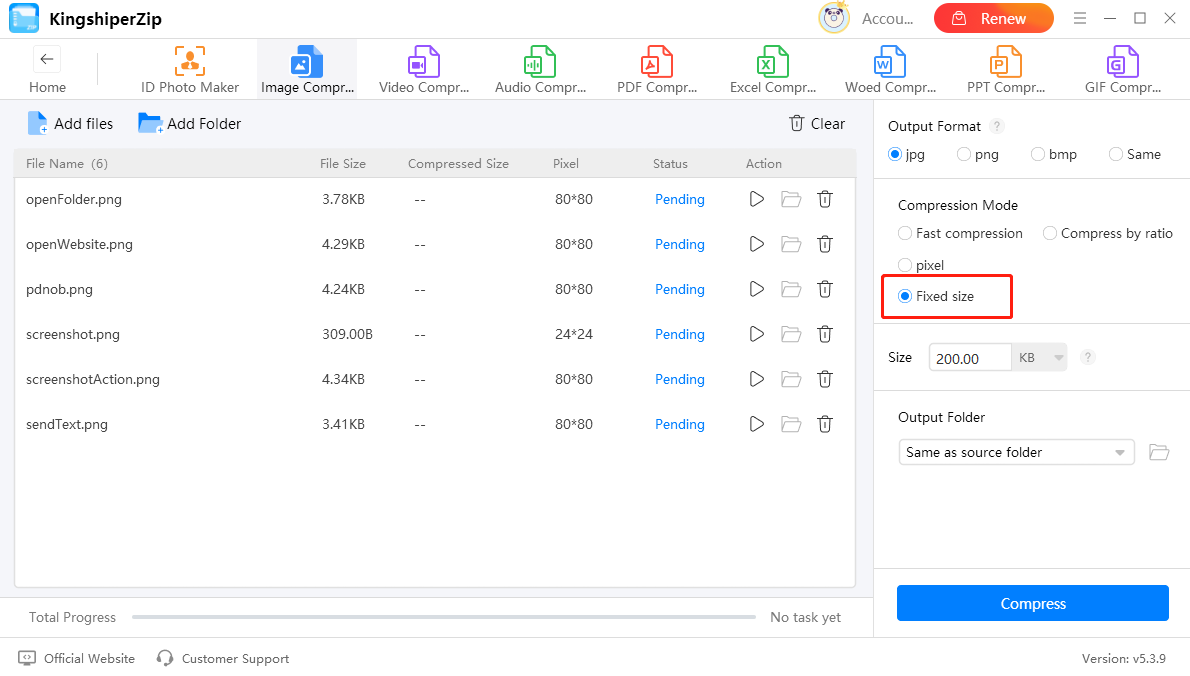
Step 2. Then, set the “Size” to values smaller than the original file size. That’s all.
To wrap up, KingshiperZip makes it easy to compress JPG/PNG images to a specific size. If the image doesn’t meet the target size, reducing its resolution is an effective solution. For more tips and tricks about reducing image size, please pay attention to Kingshiper Software.
You May Also Like:
How to Adjust Video Compression Settings


